|
|
|
|
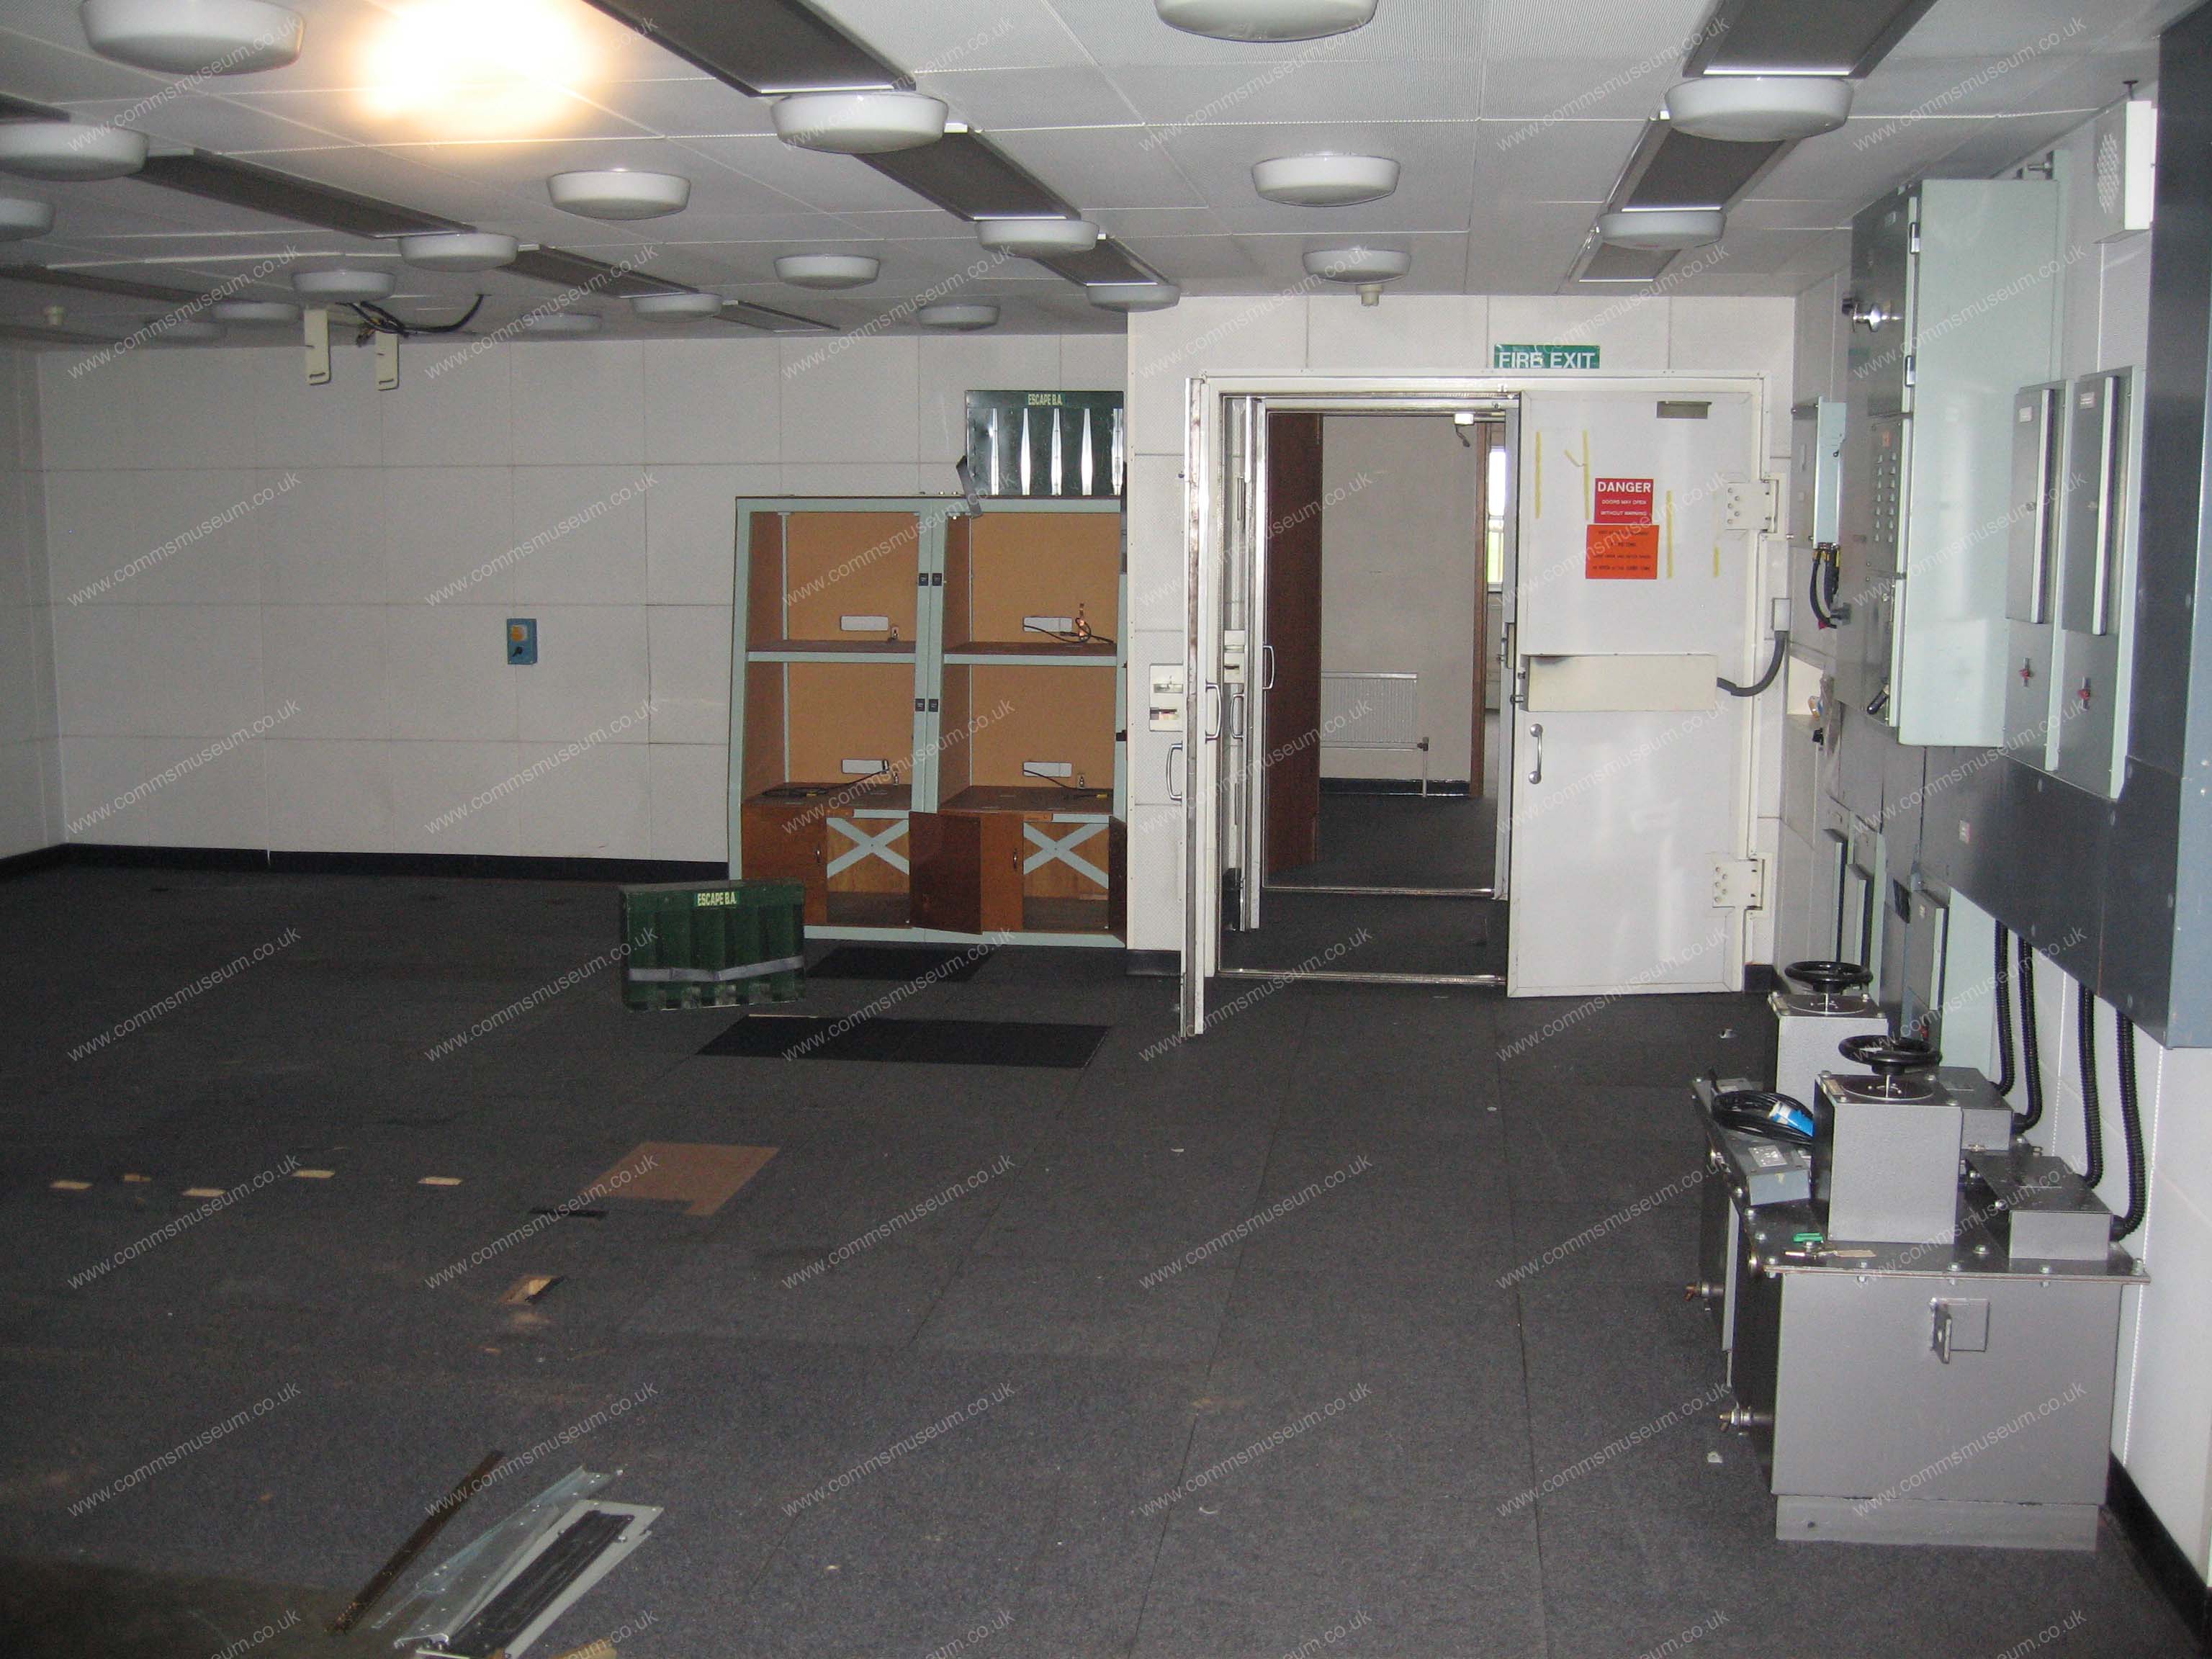
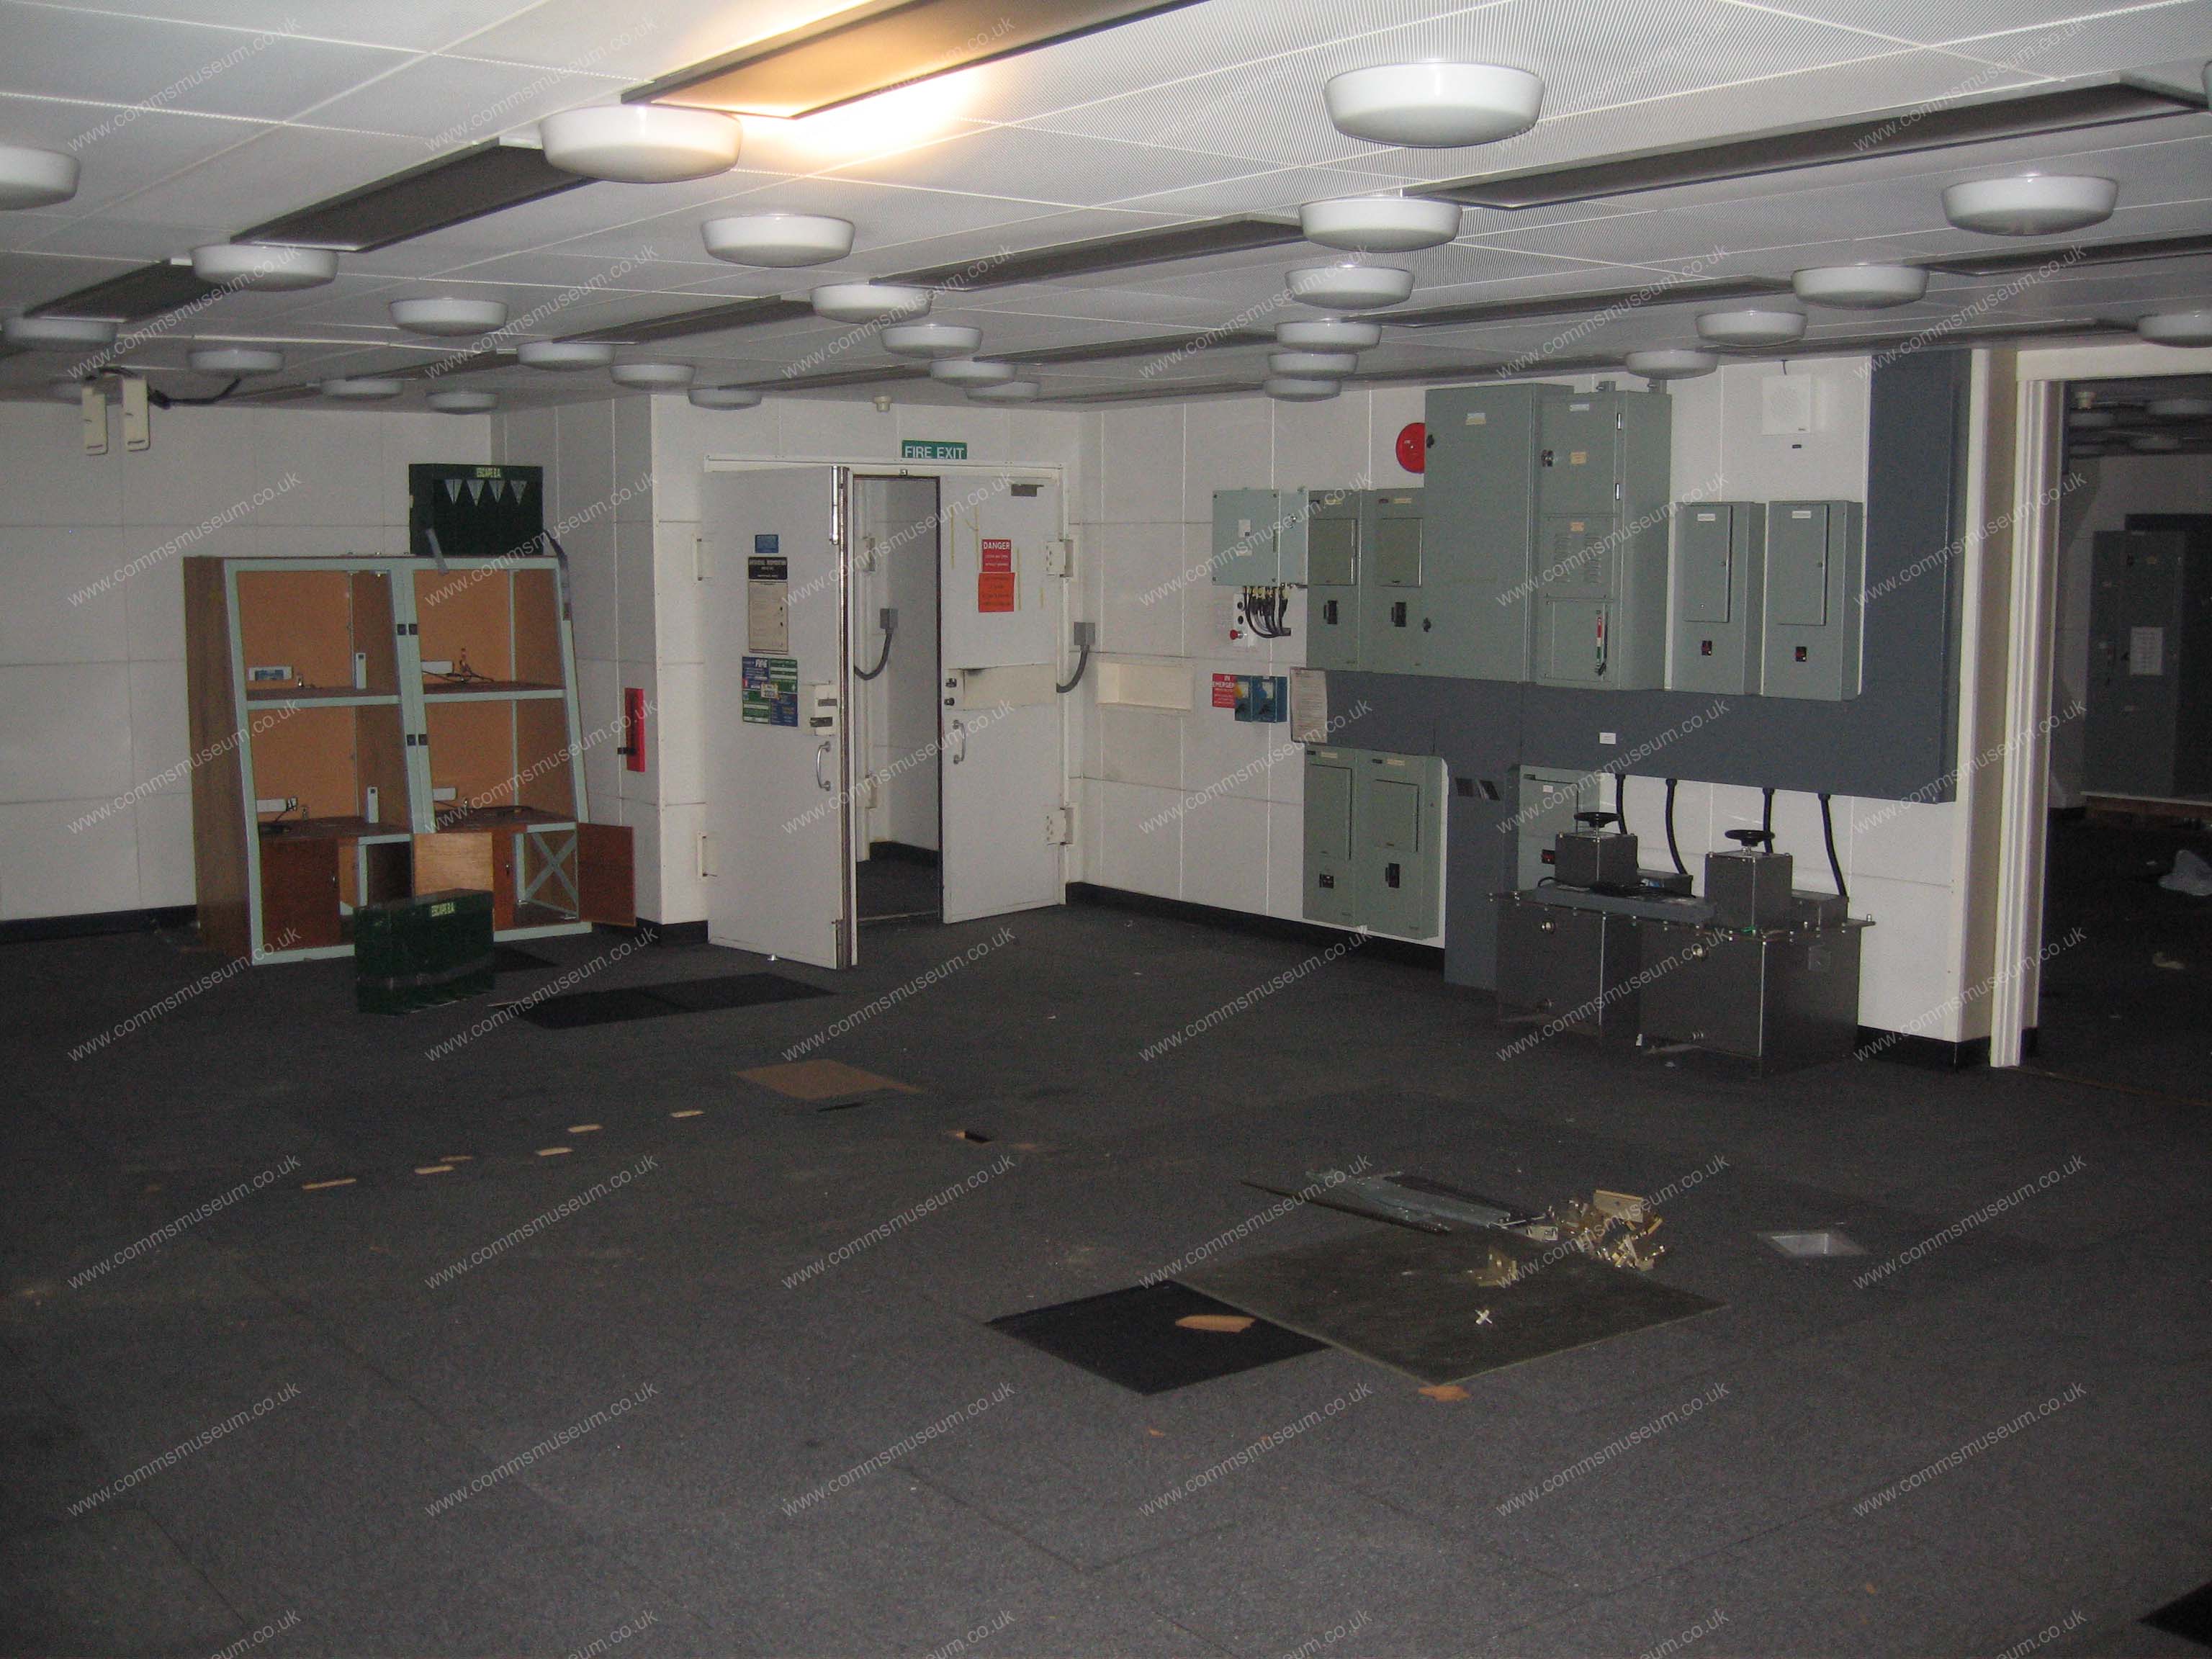
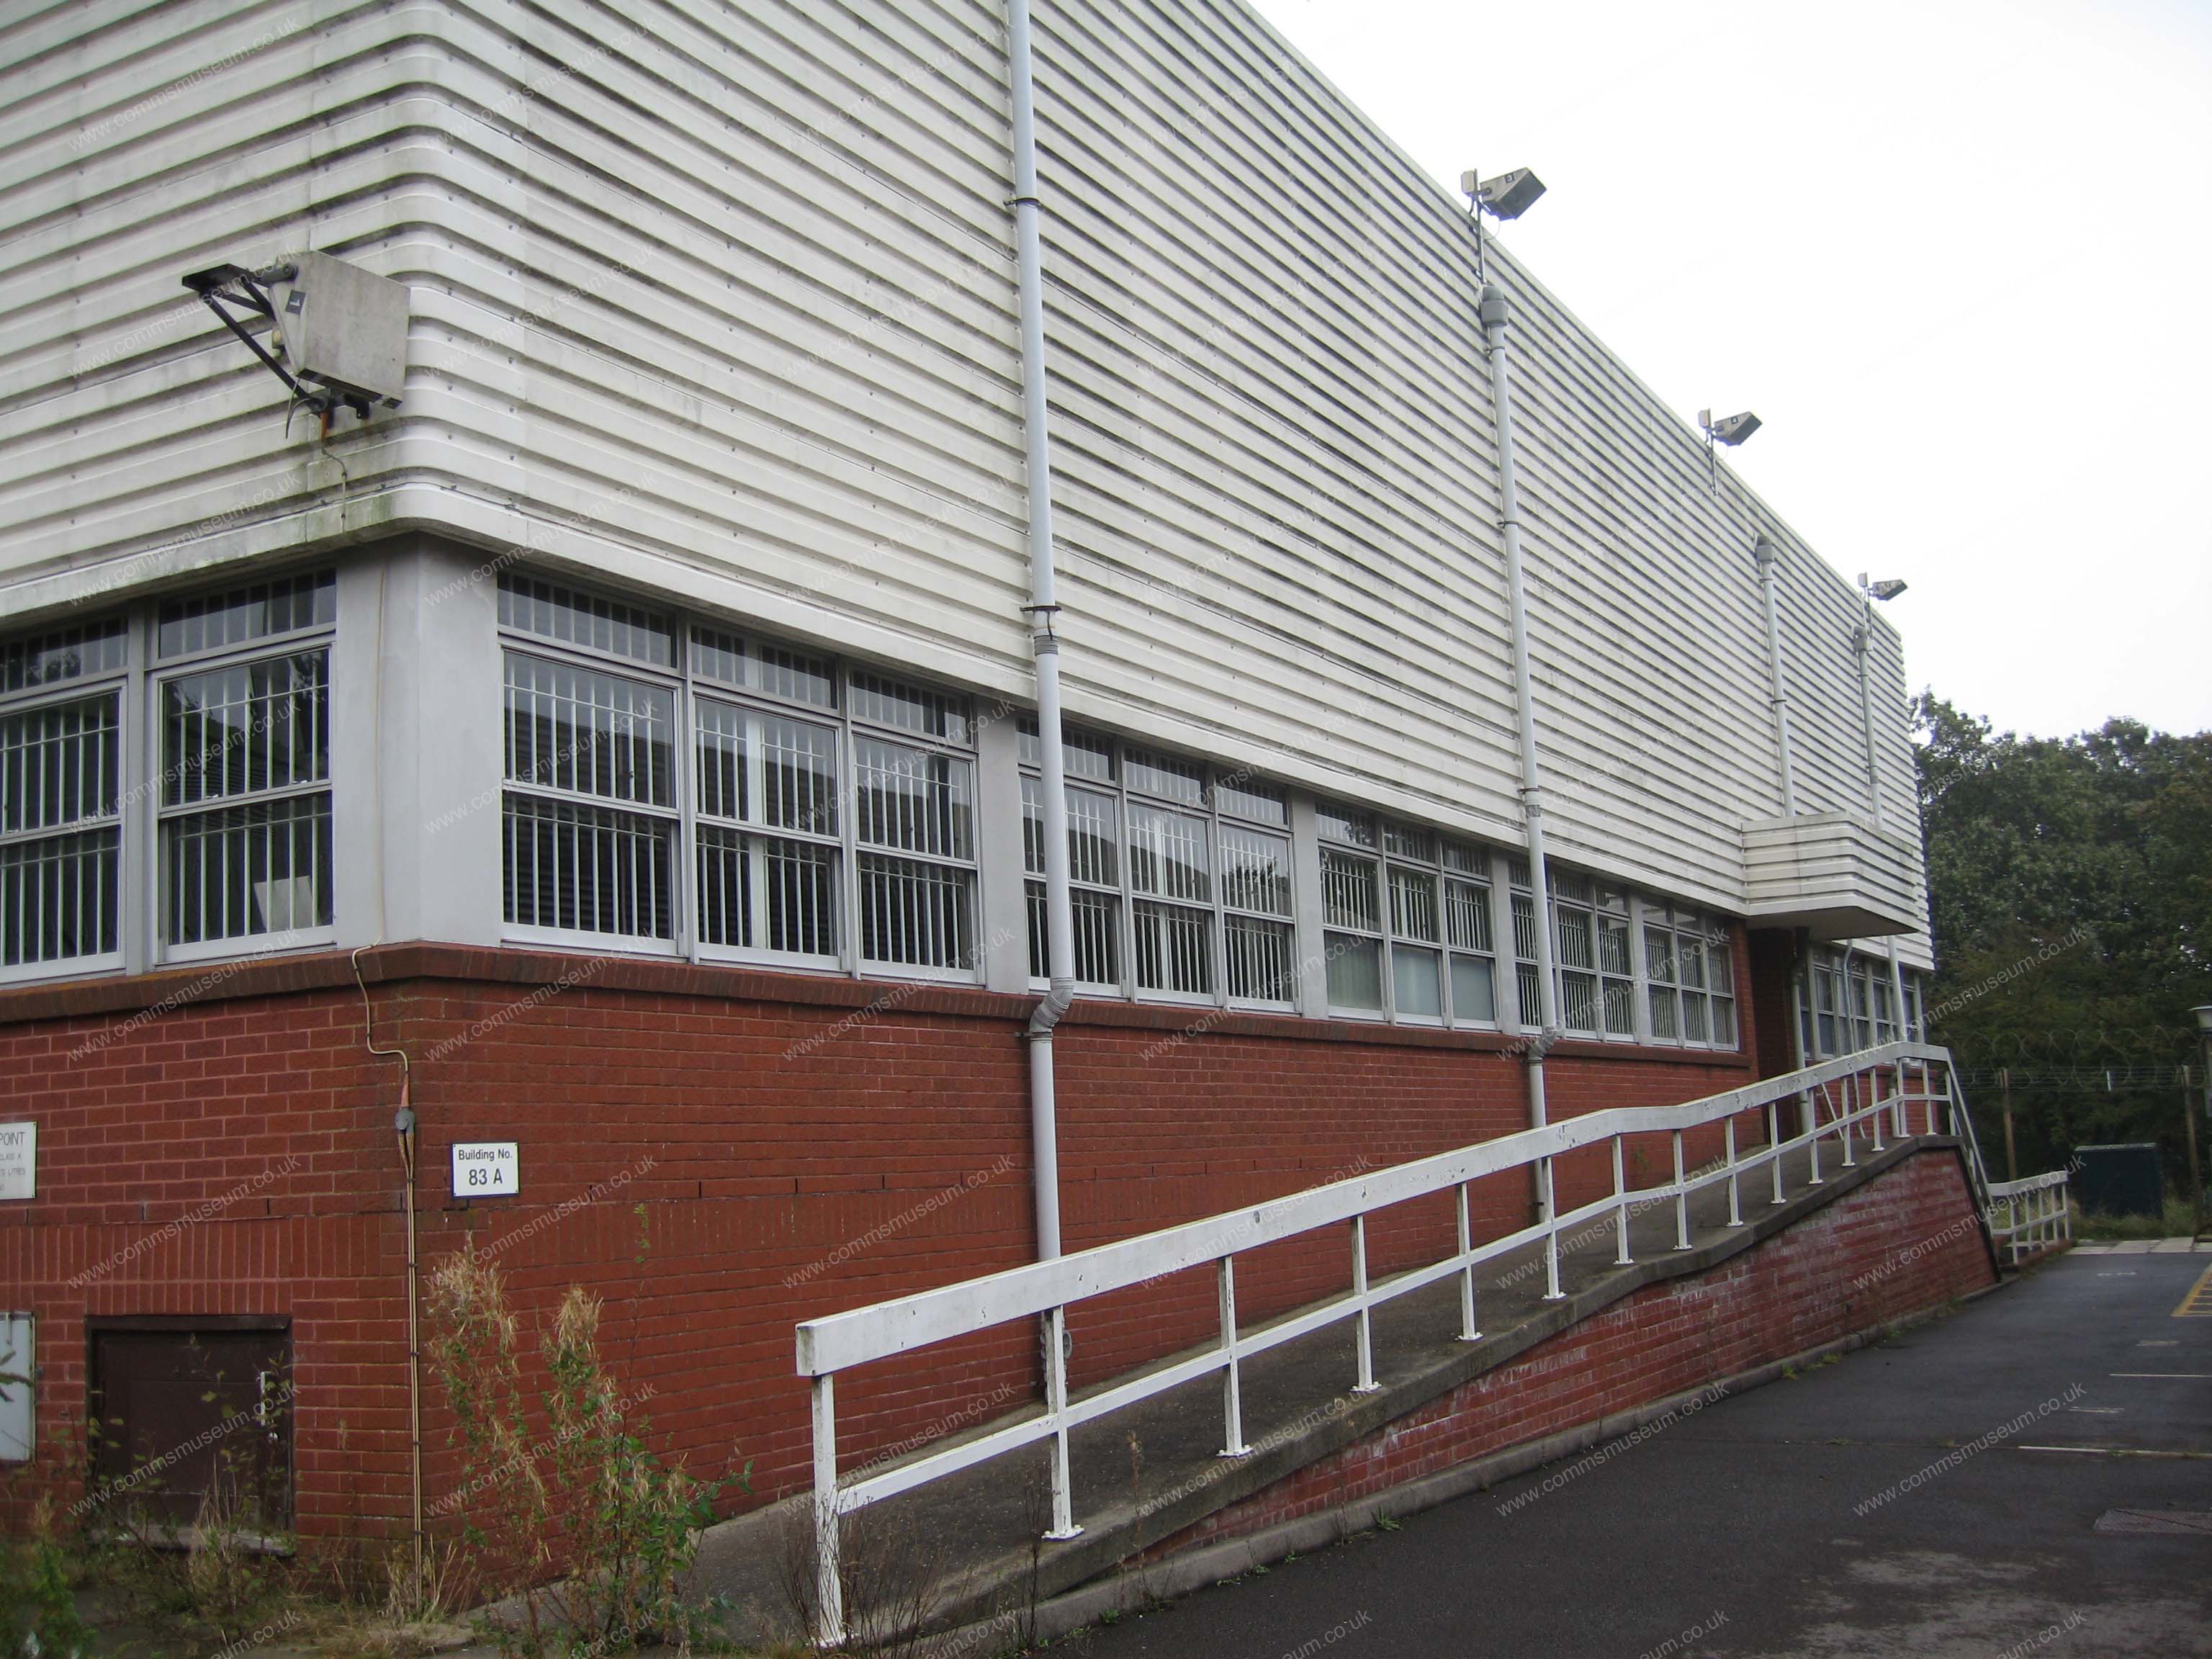
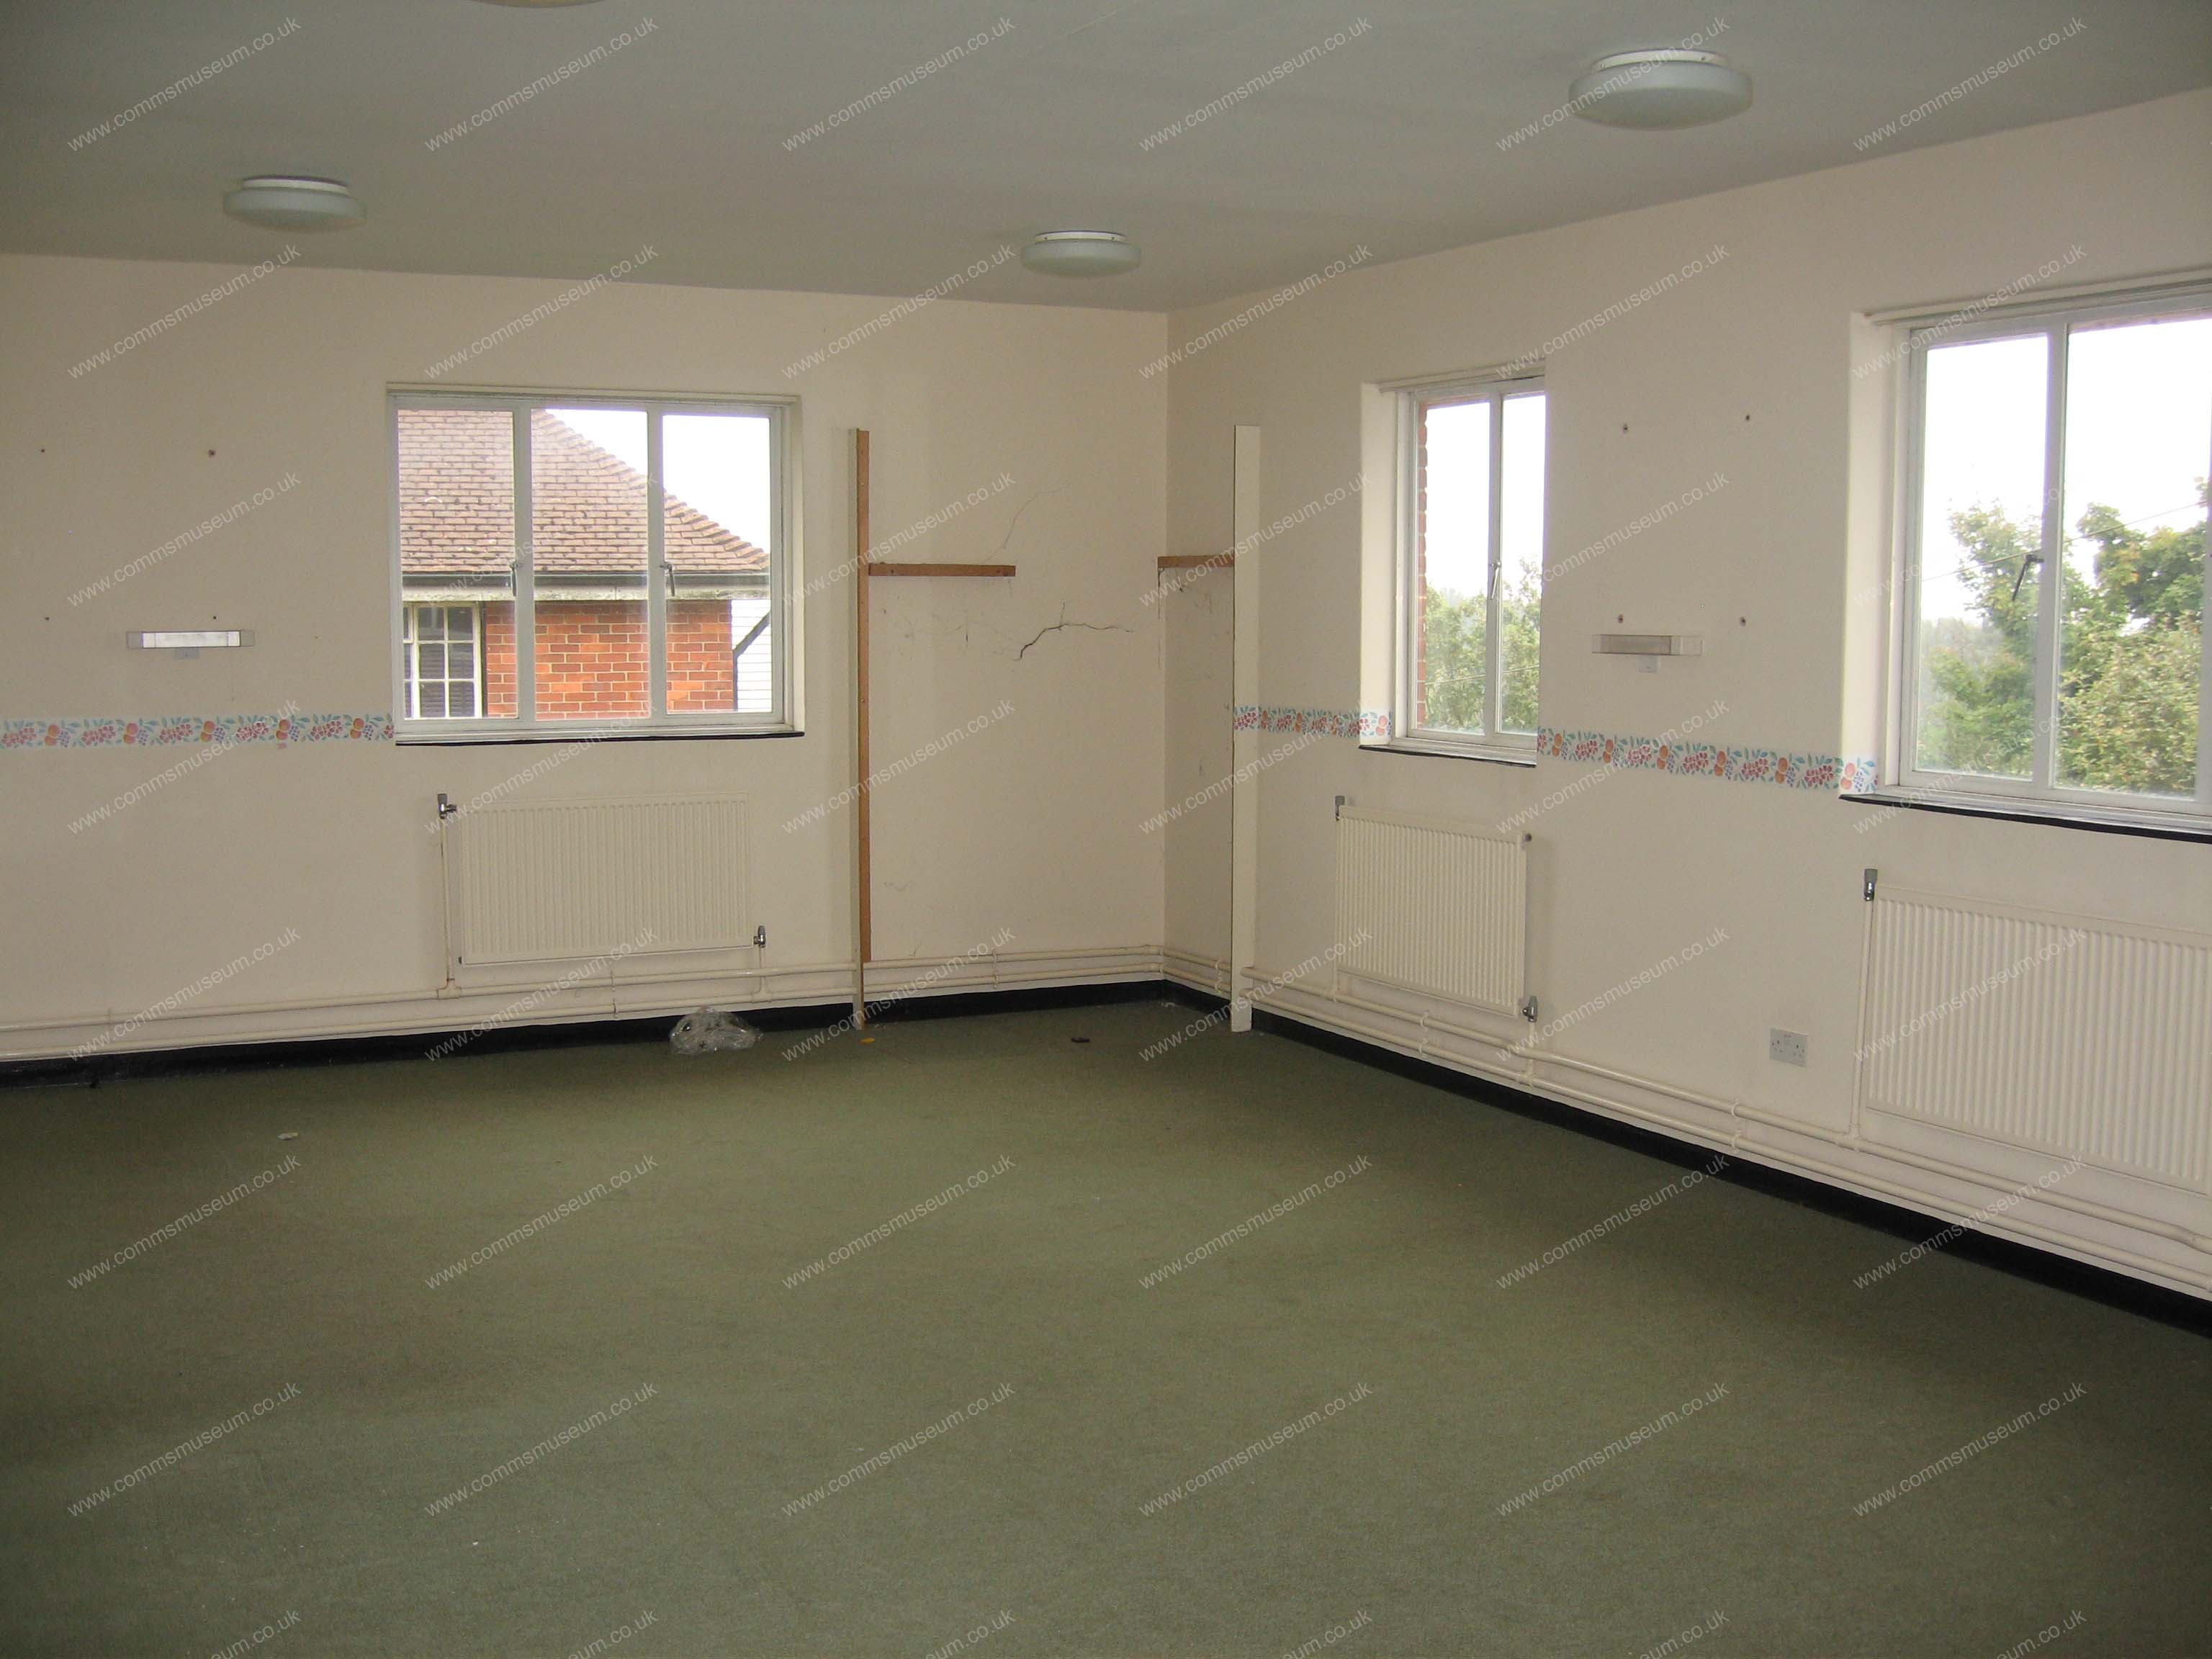
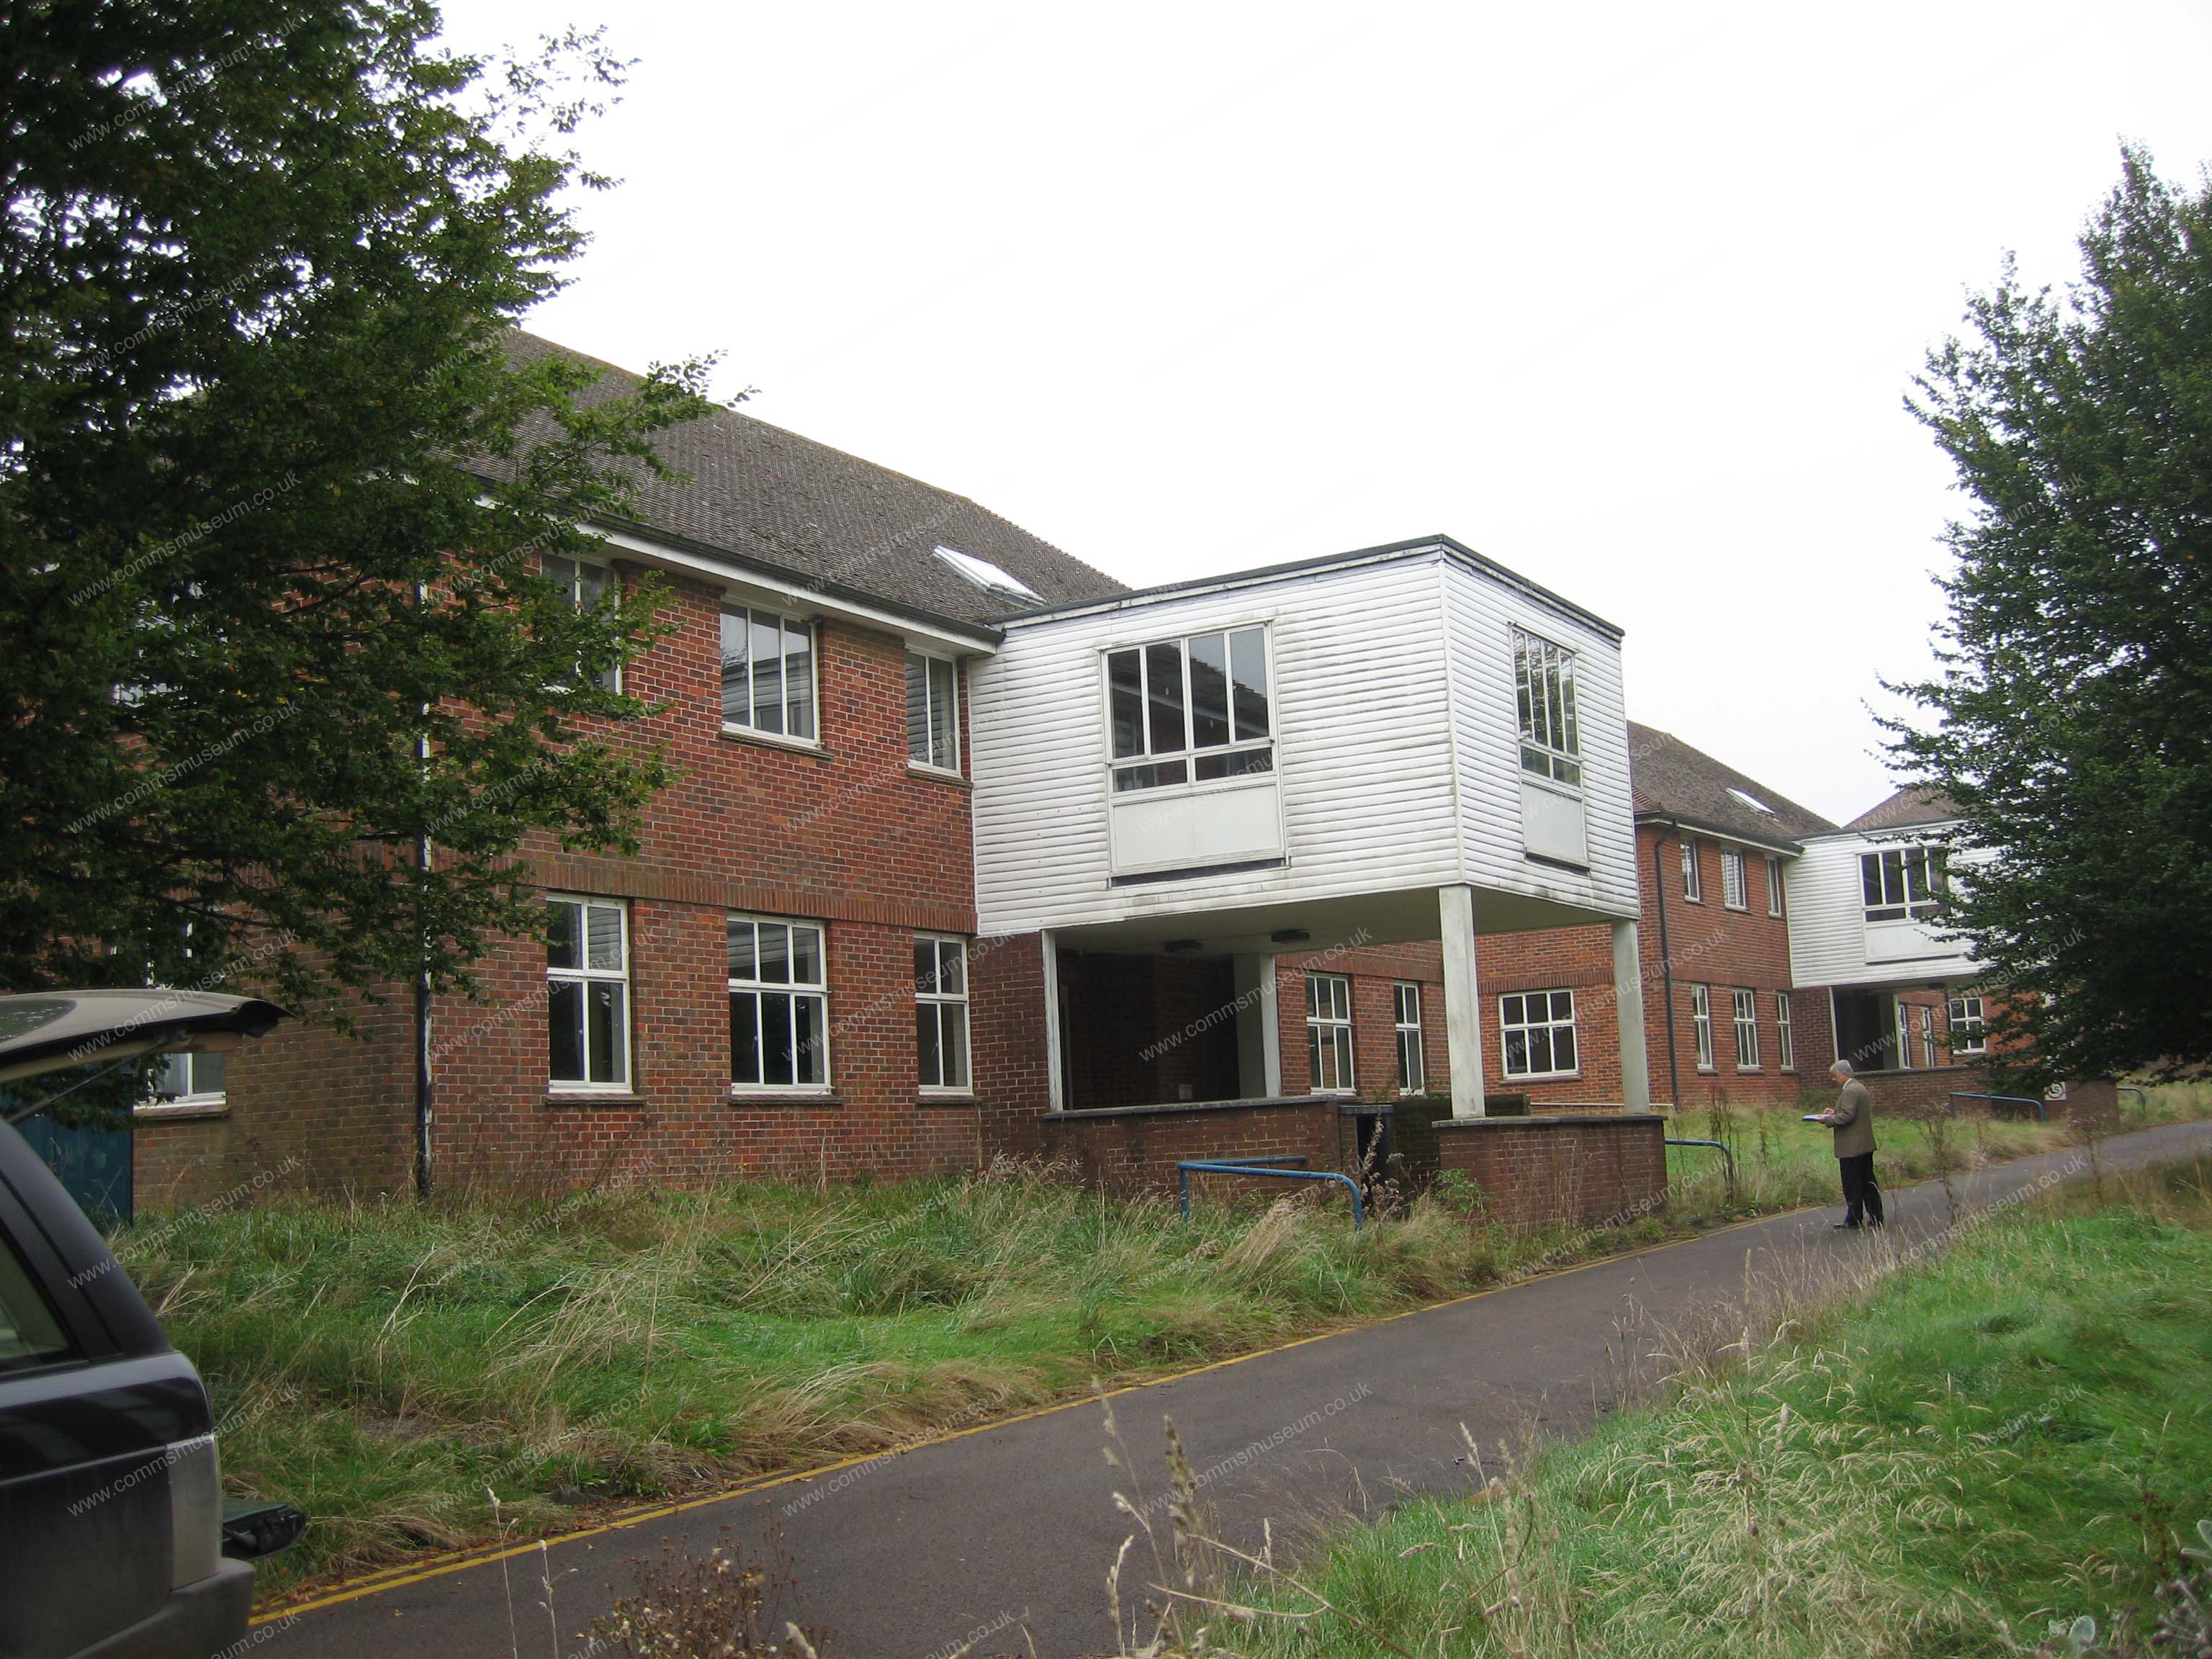
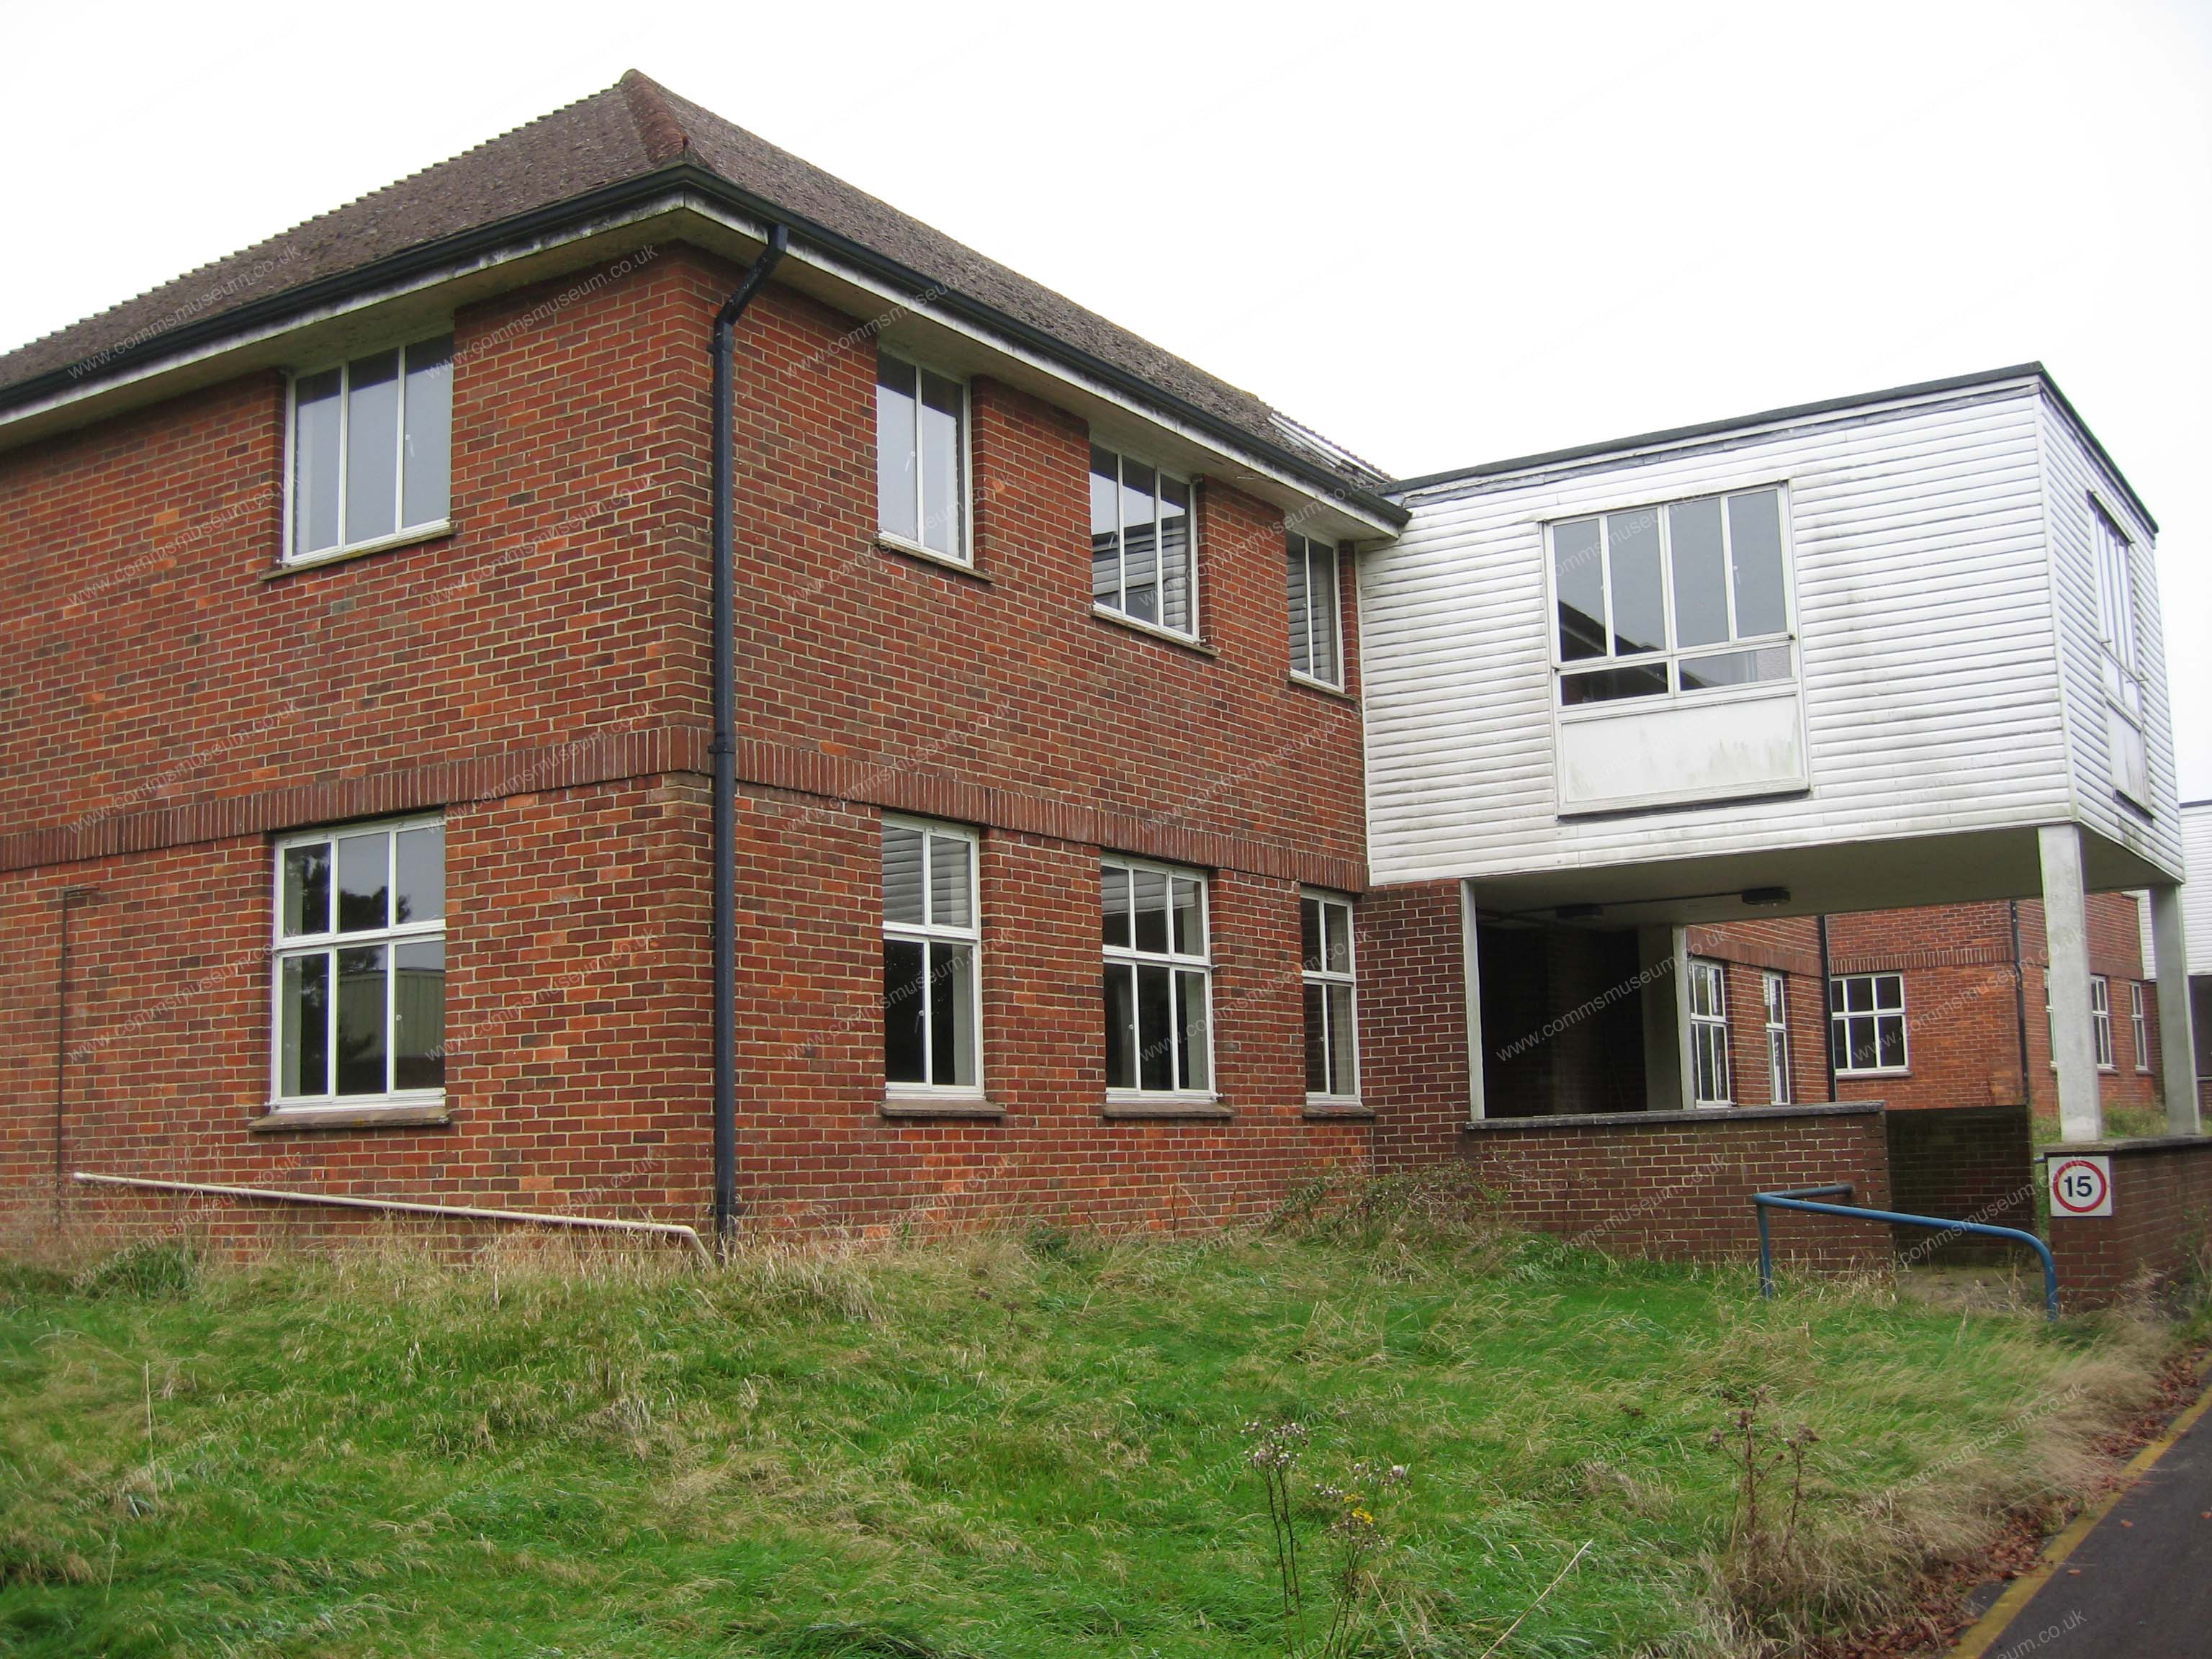
Ashmore Block |
Ashmore Block |
Ashmore Block |
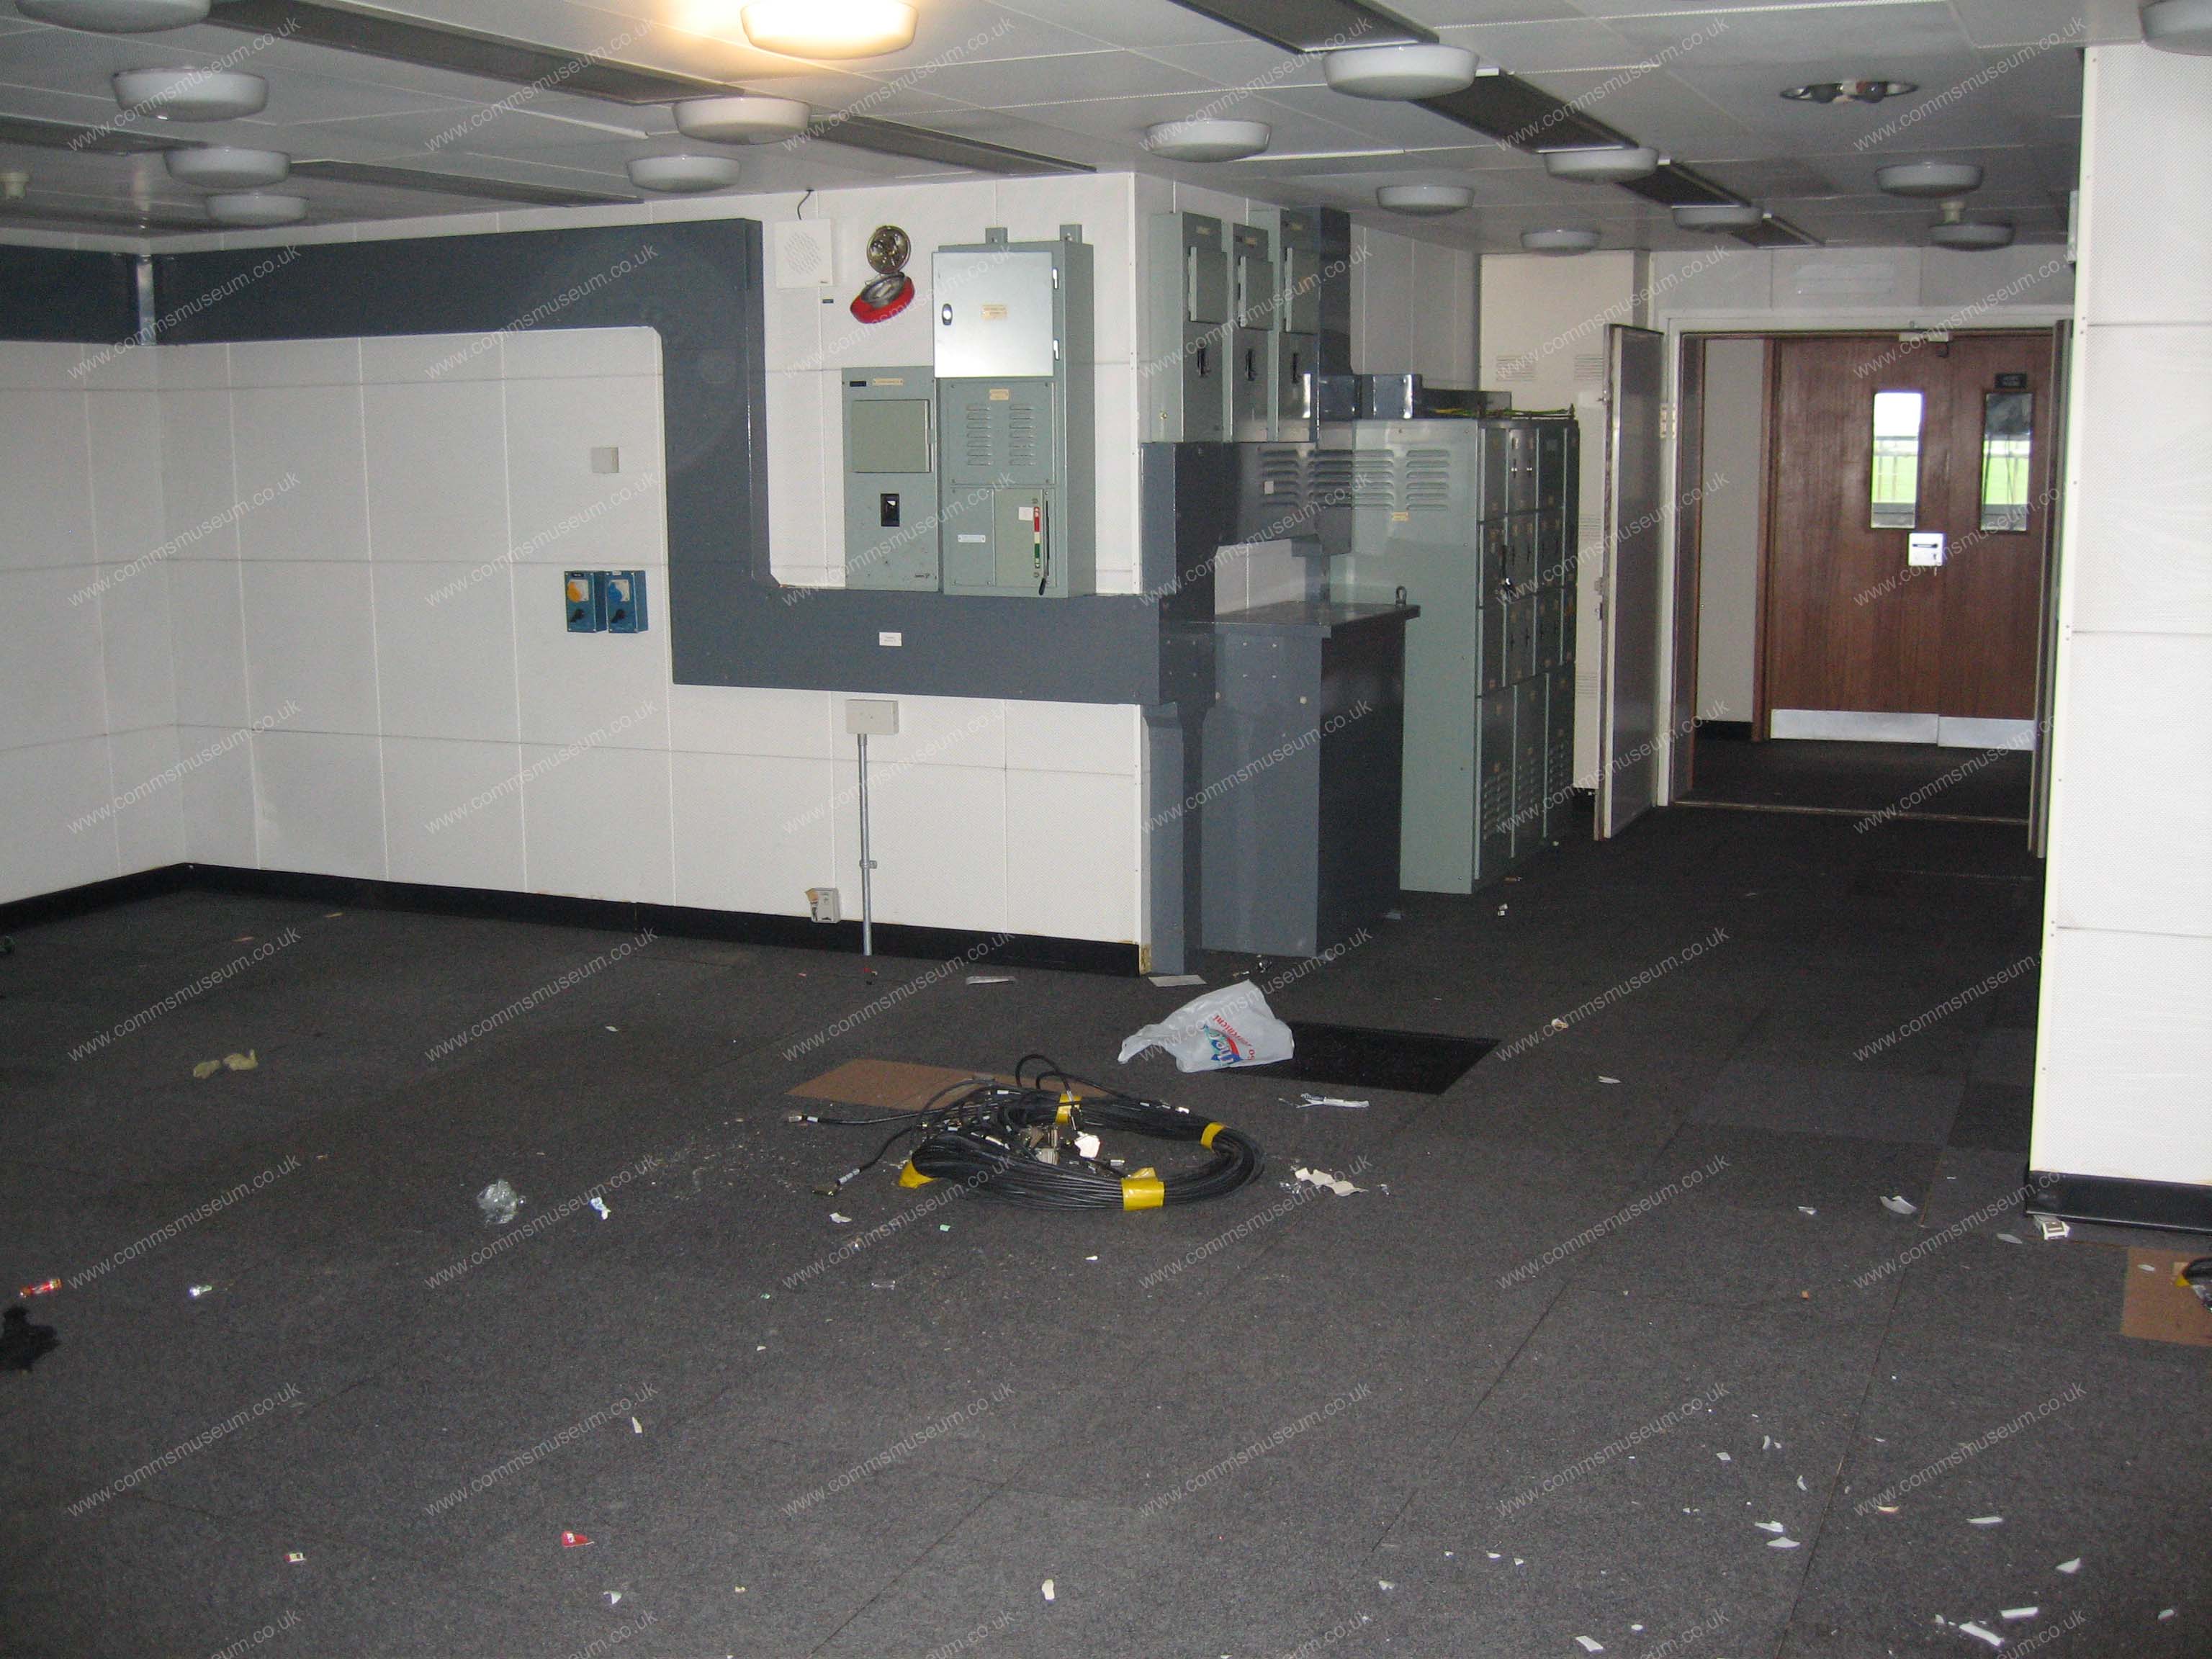
Ashmore Block |
|
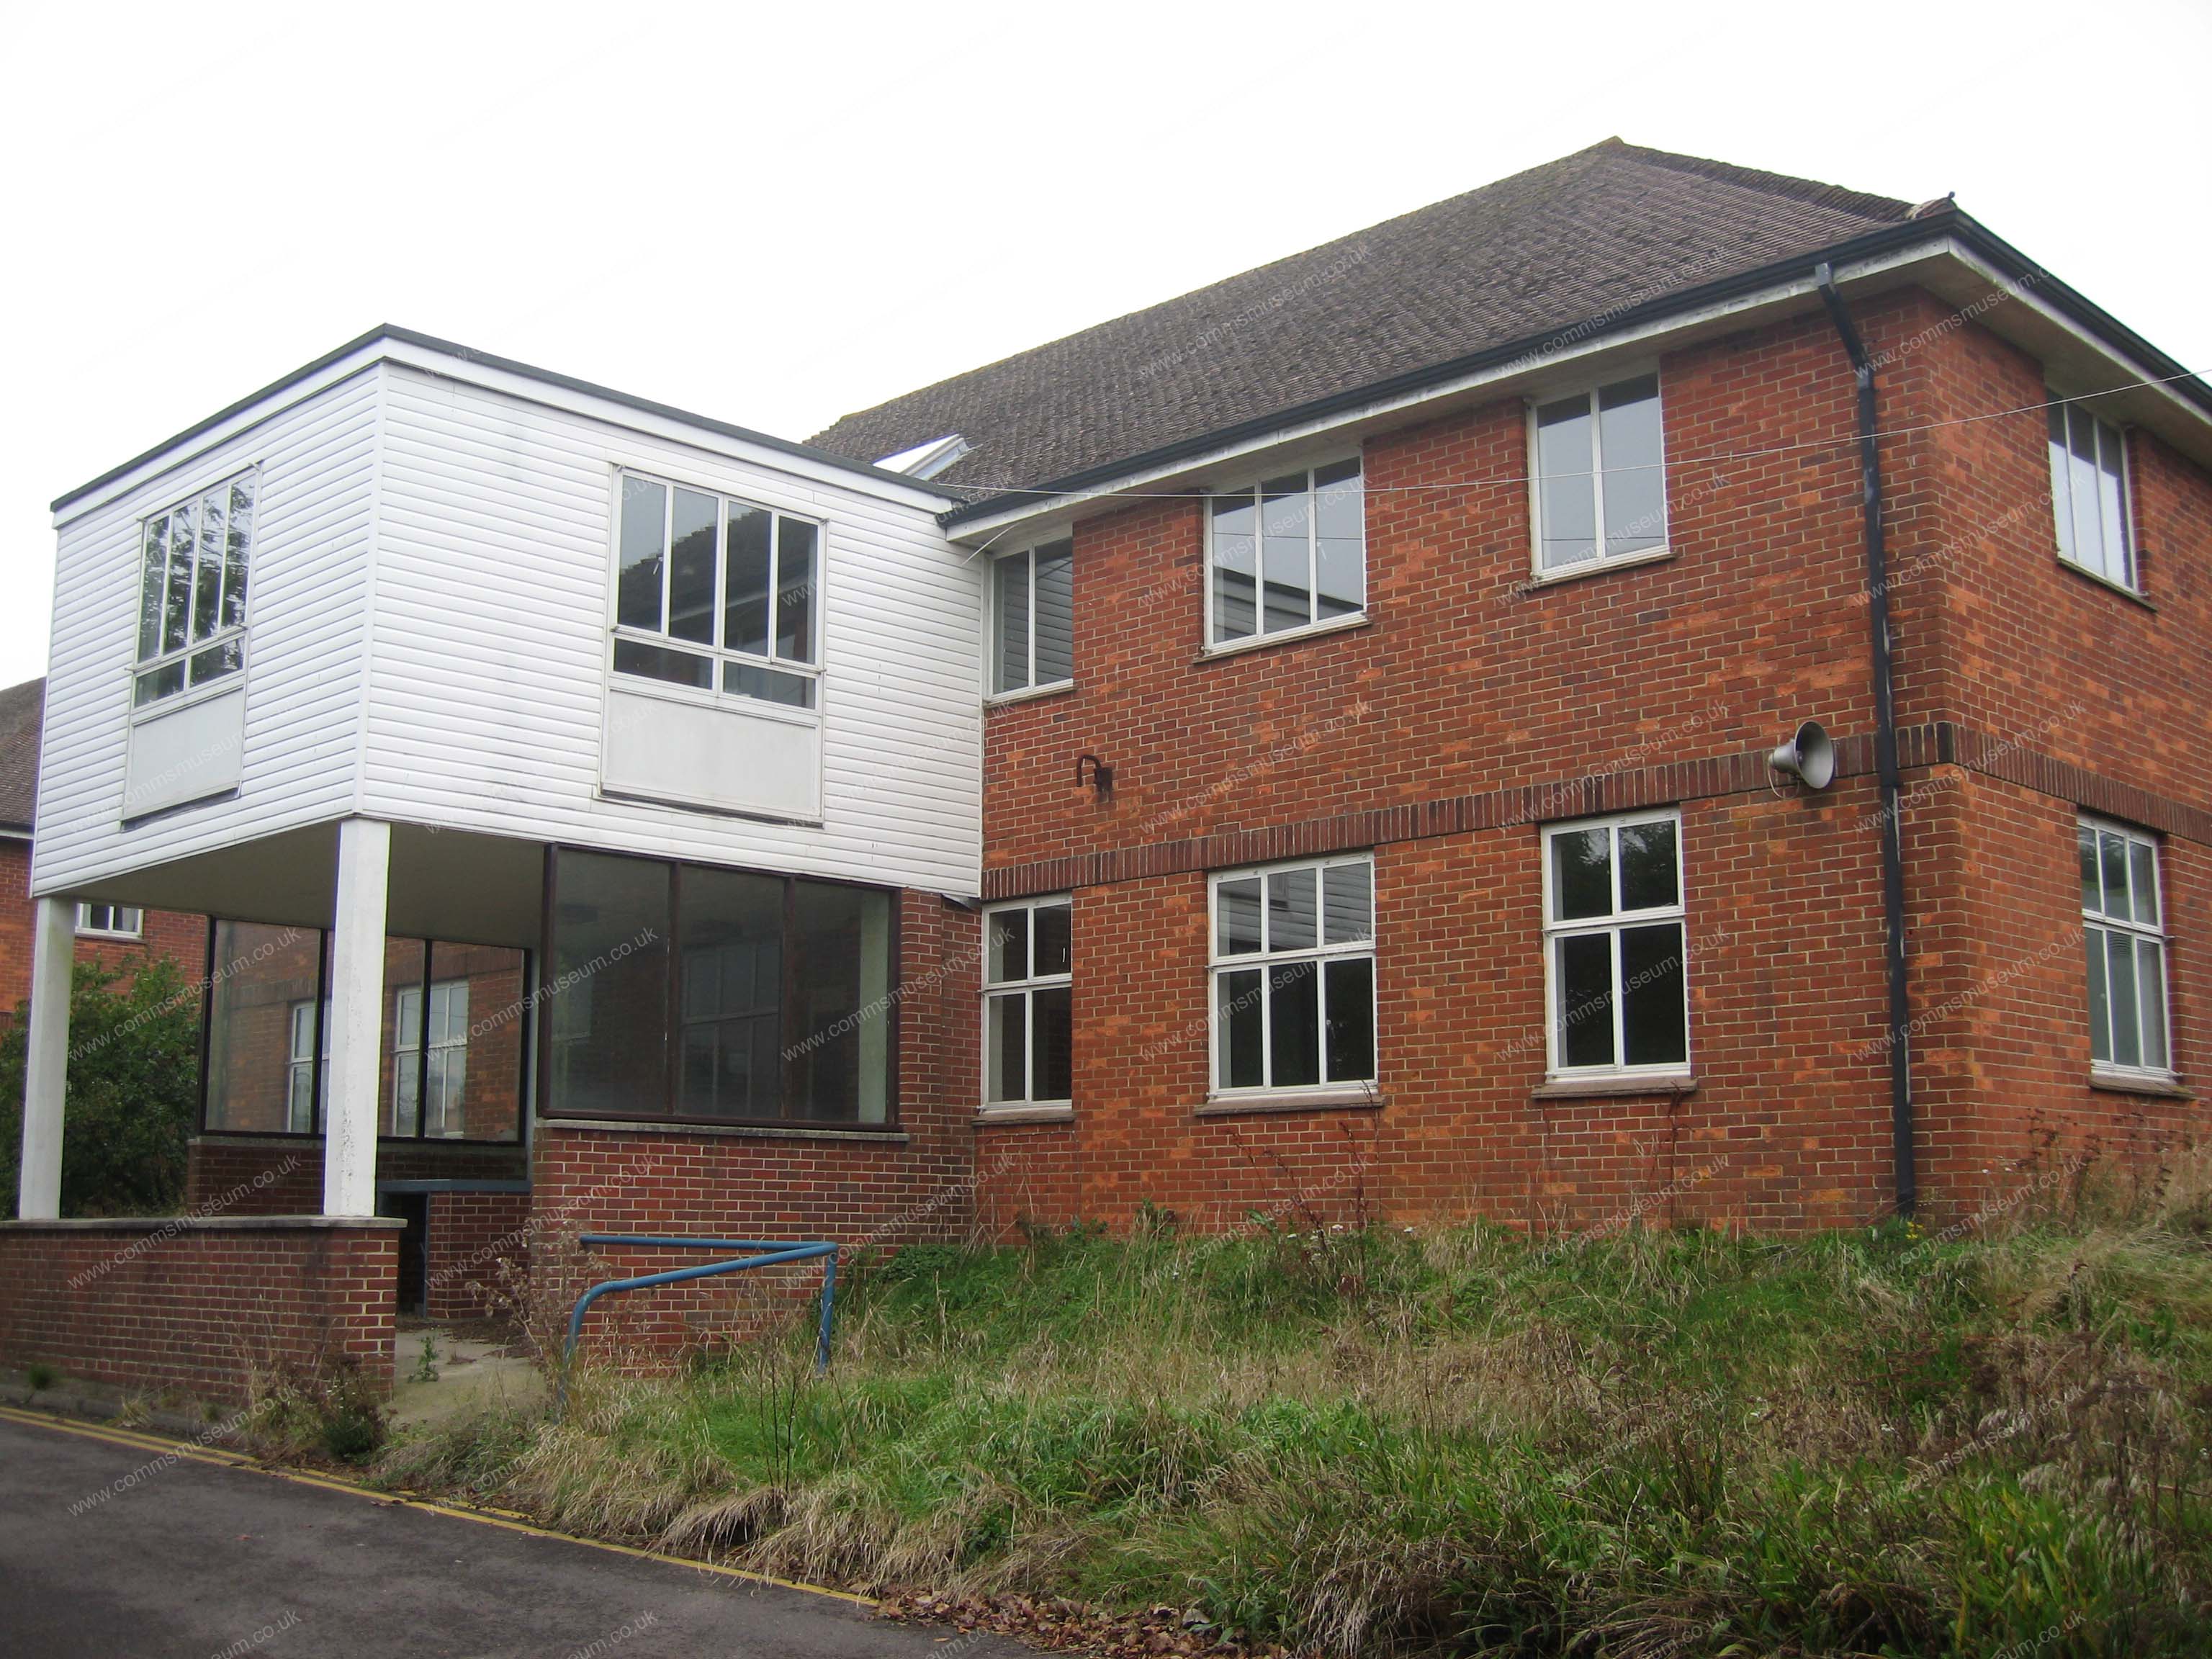
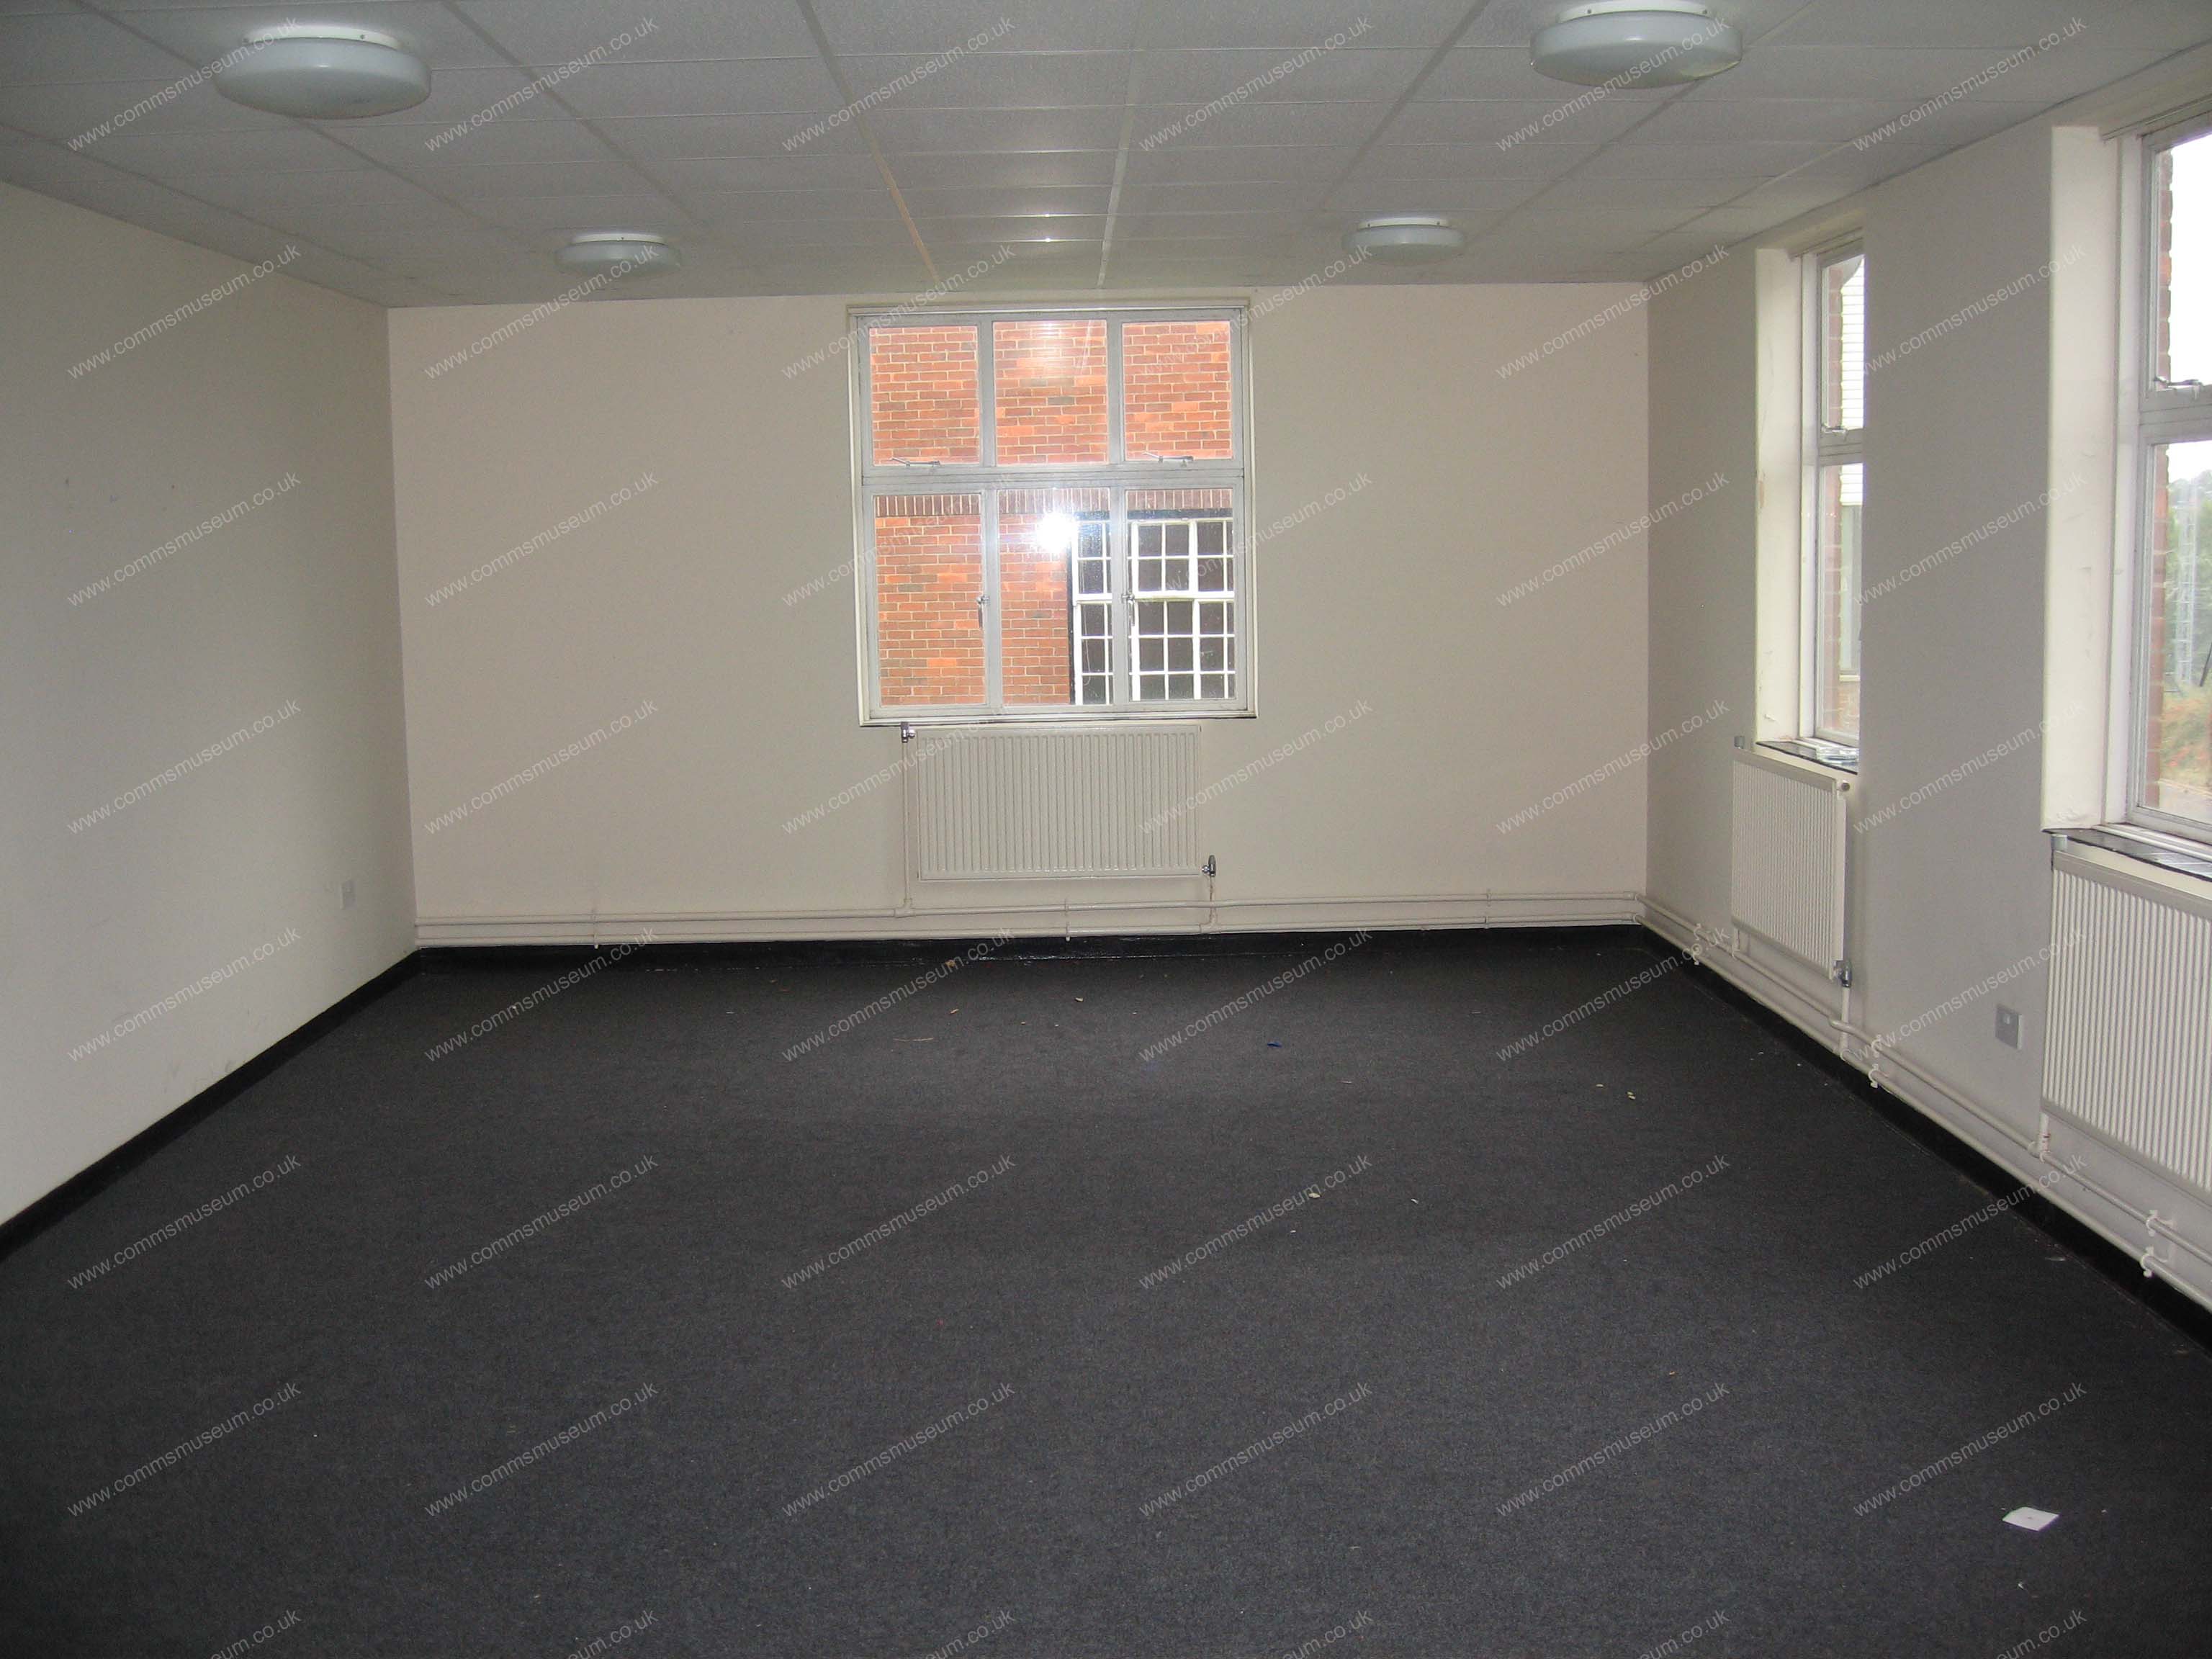
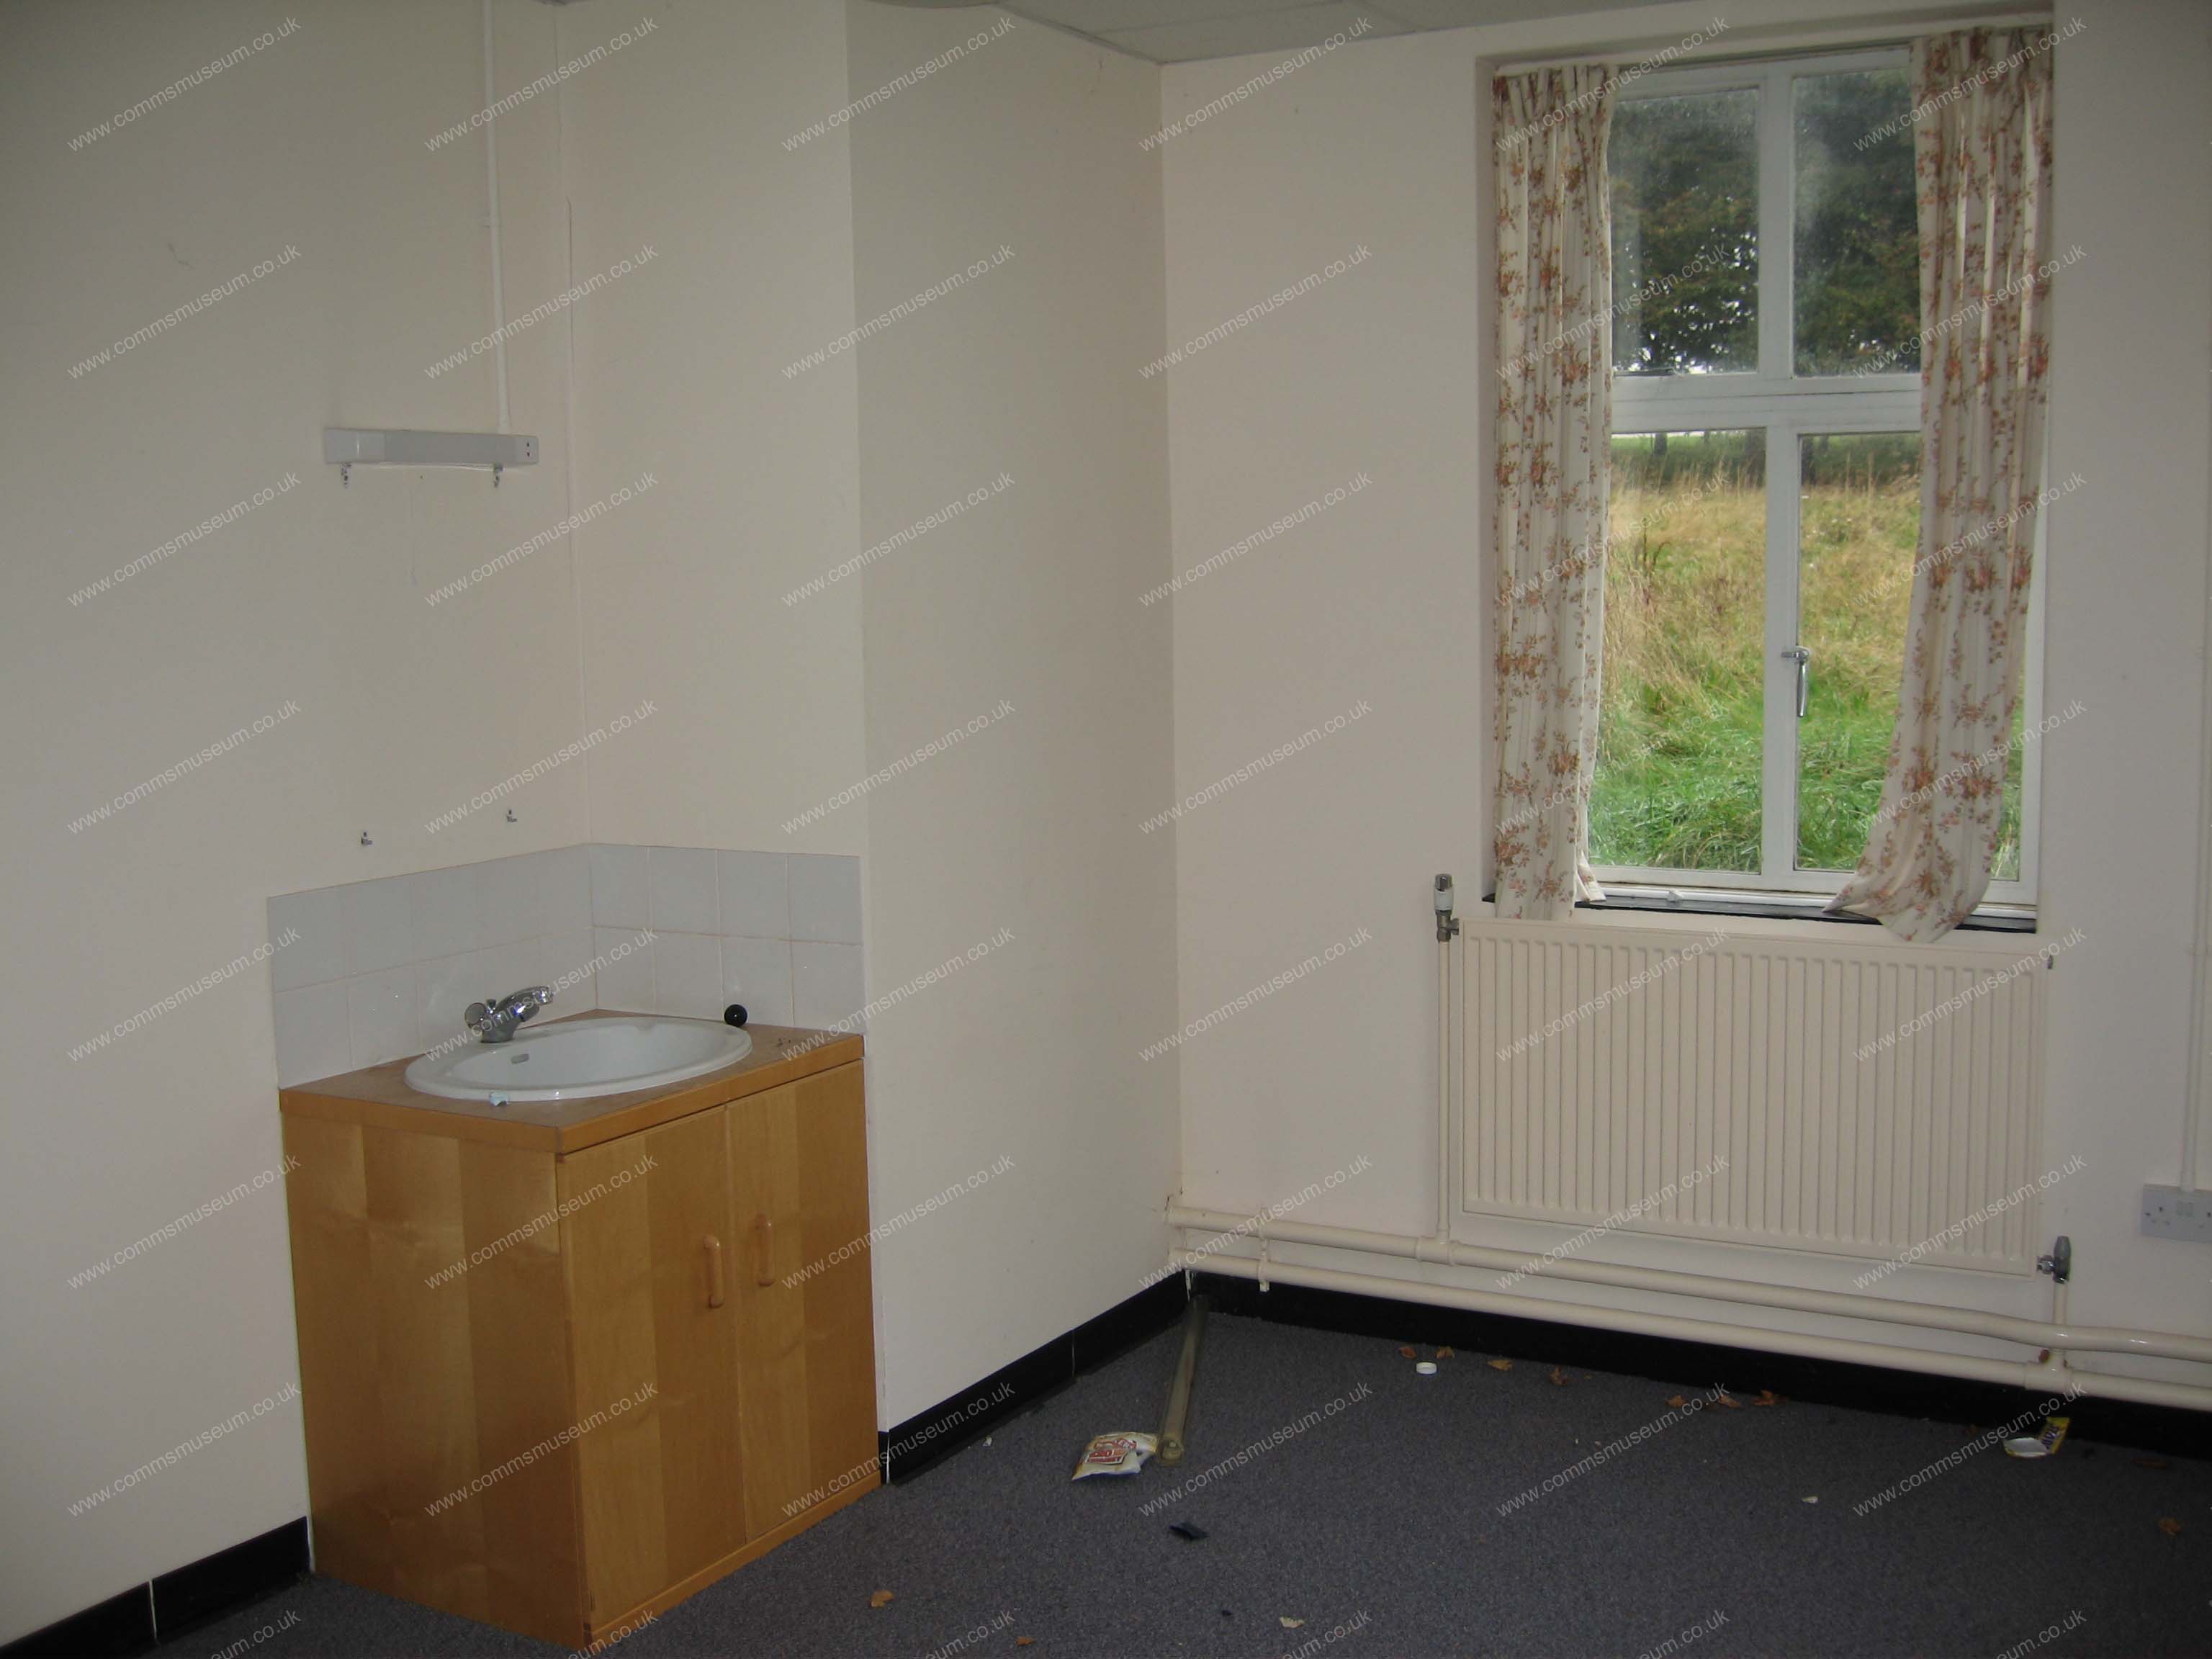
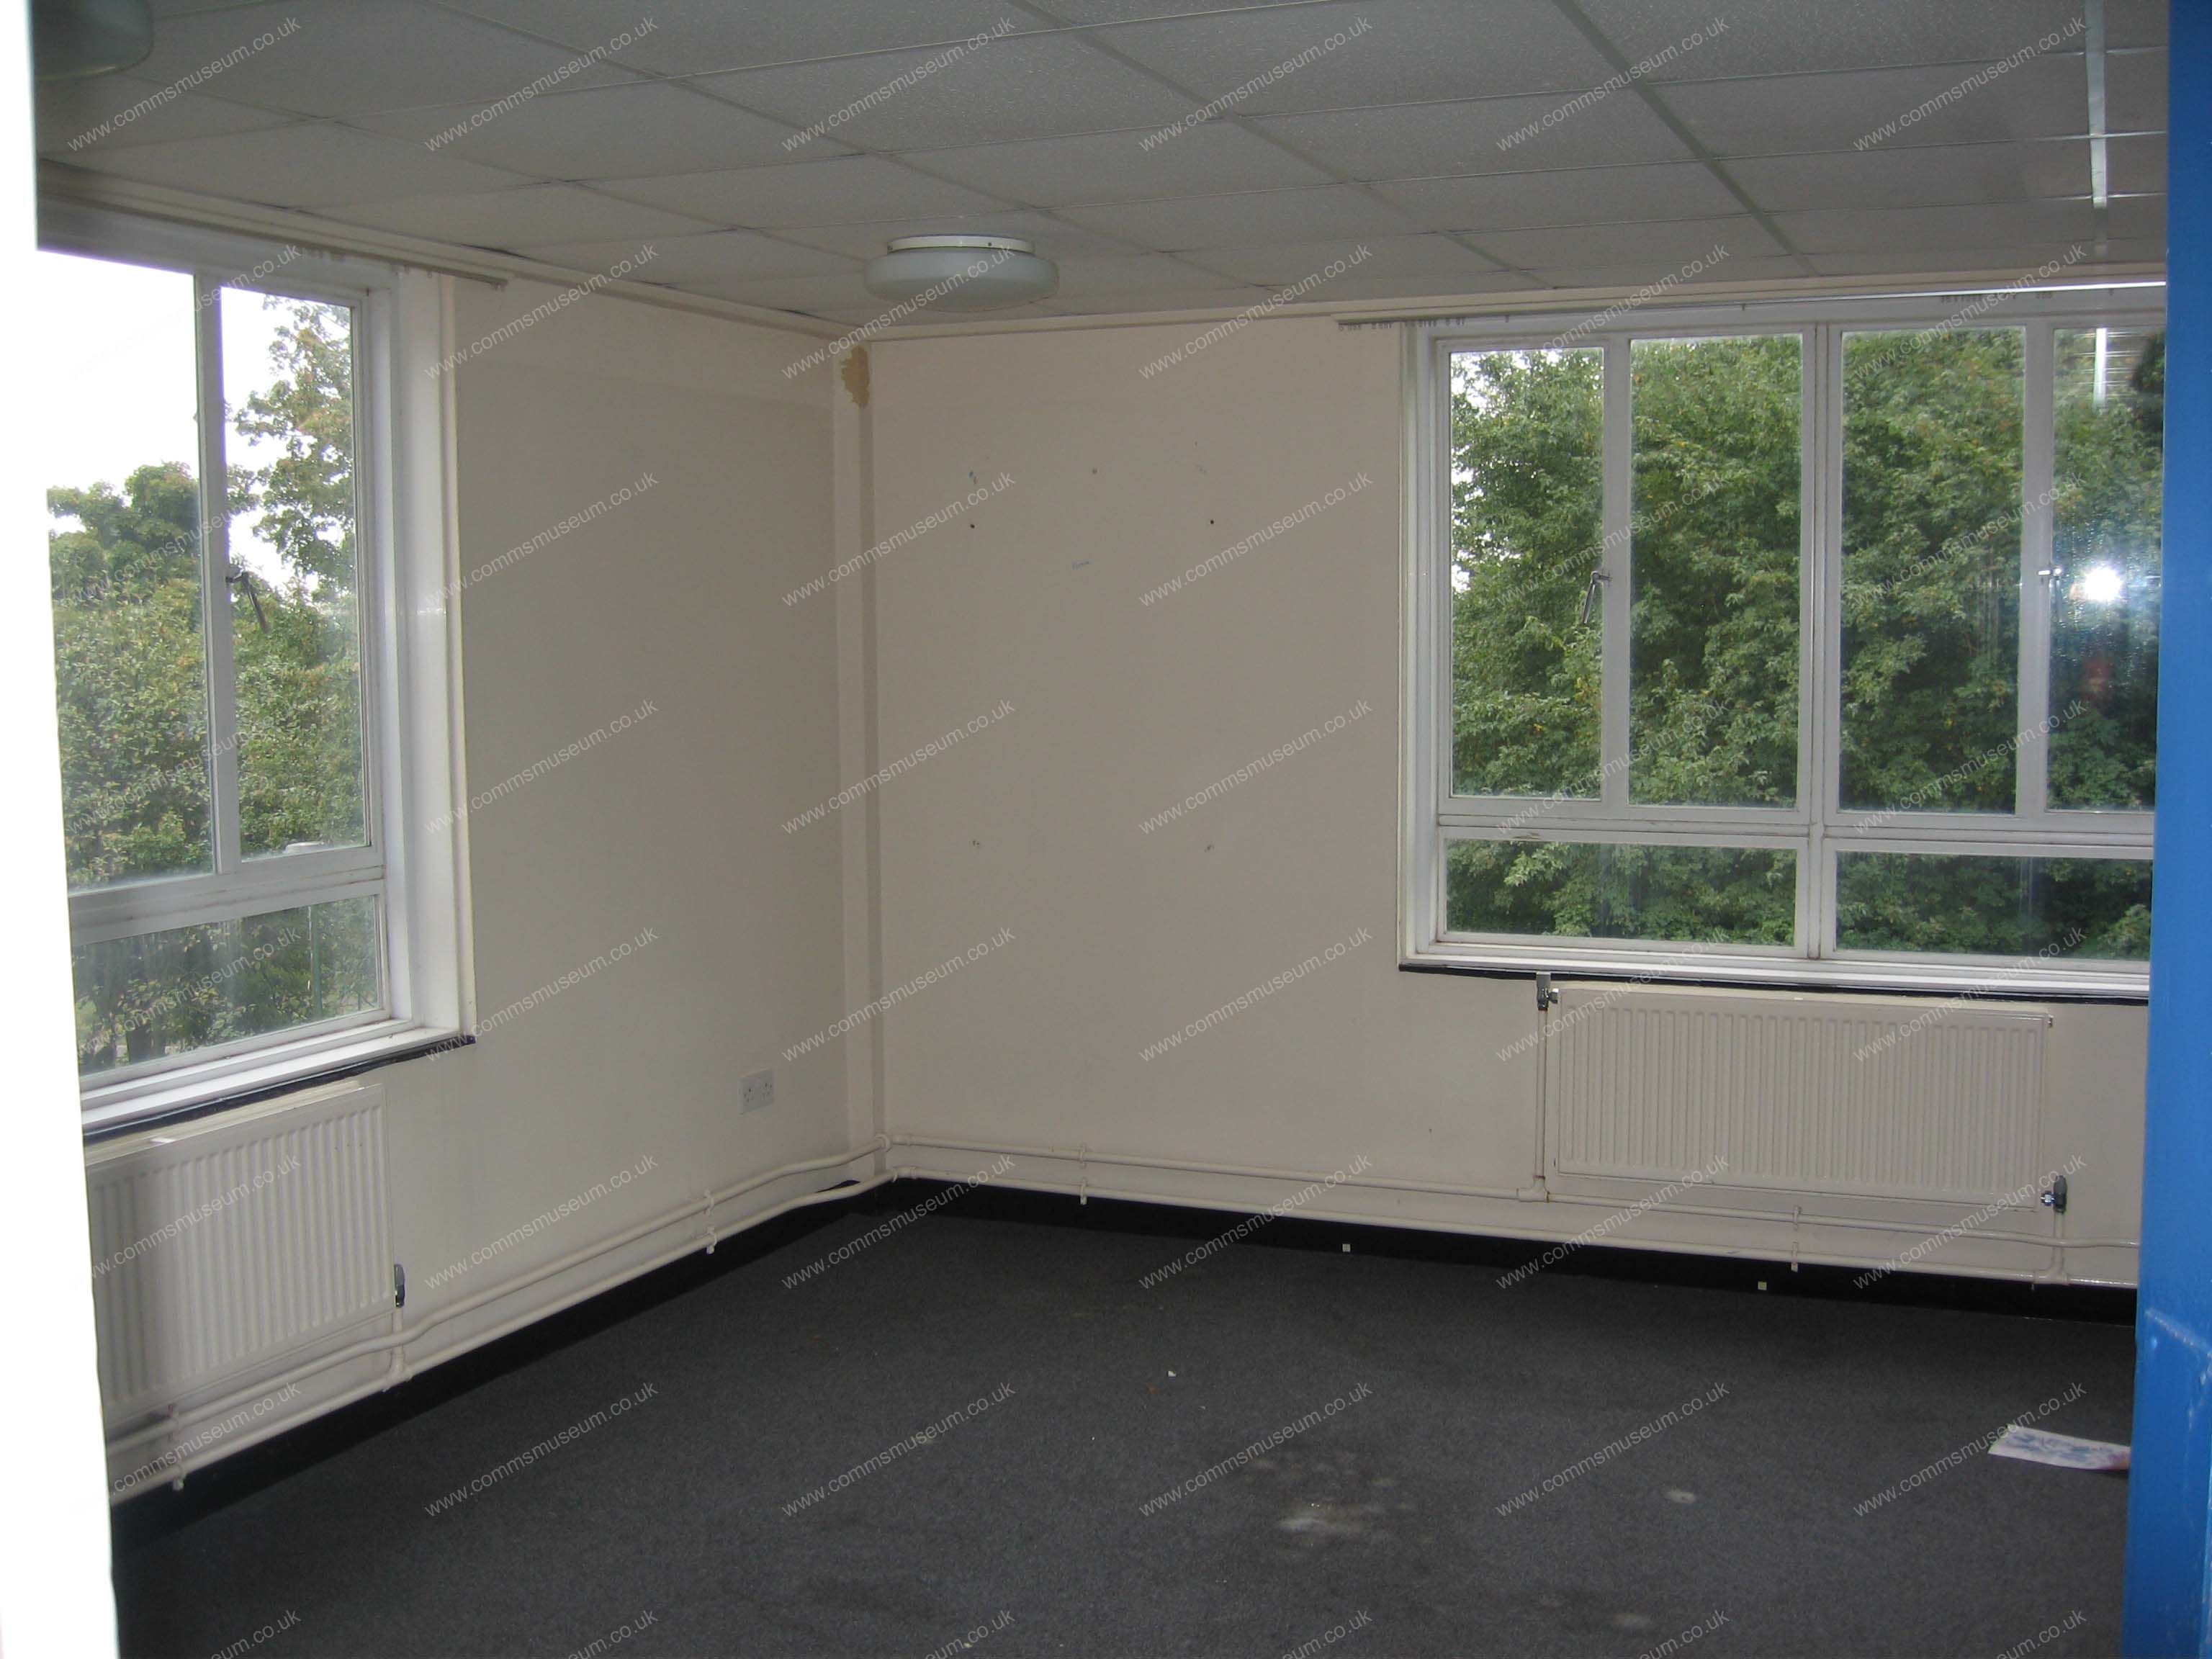
Ashmore Block |
Ashmore Block |
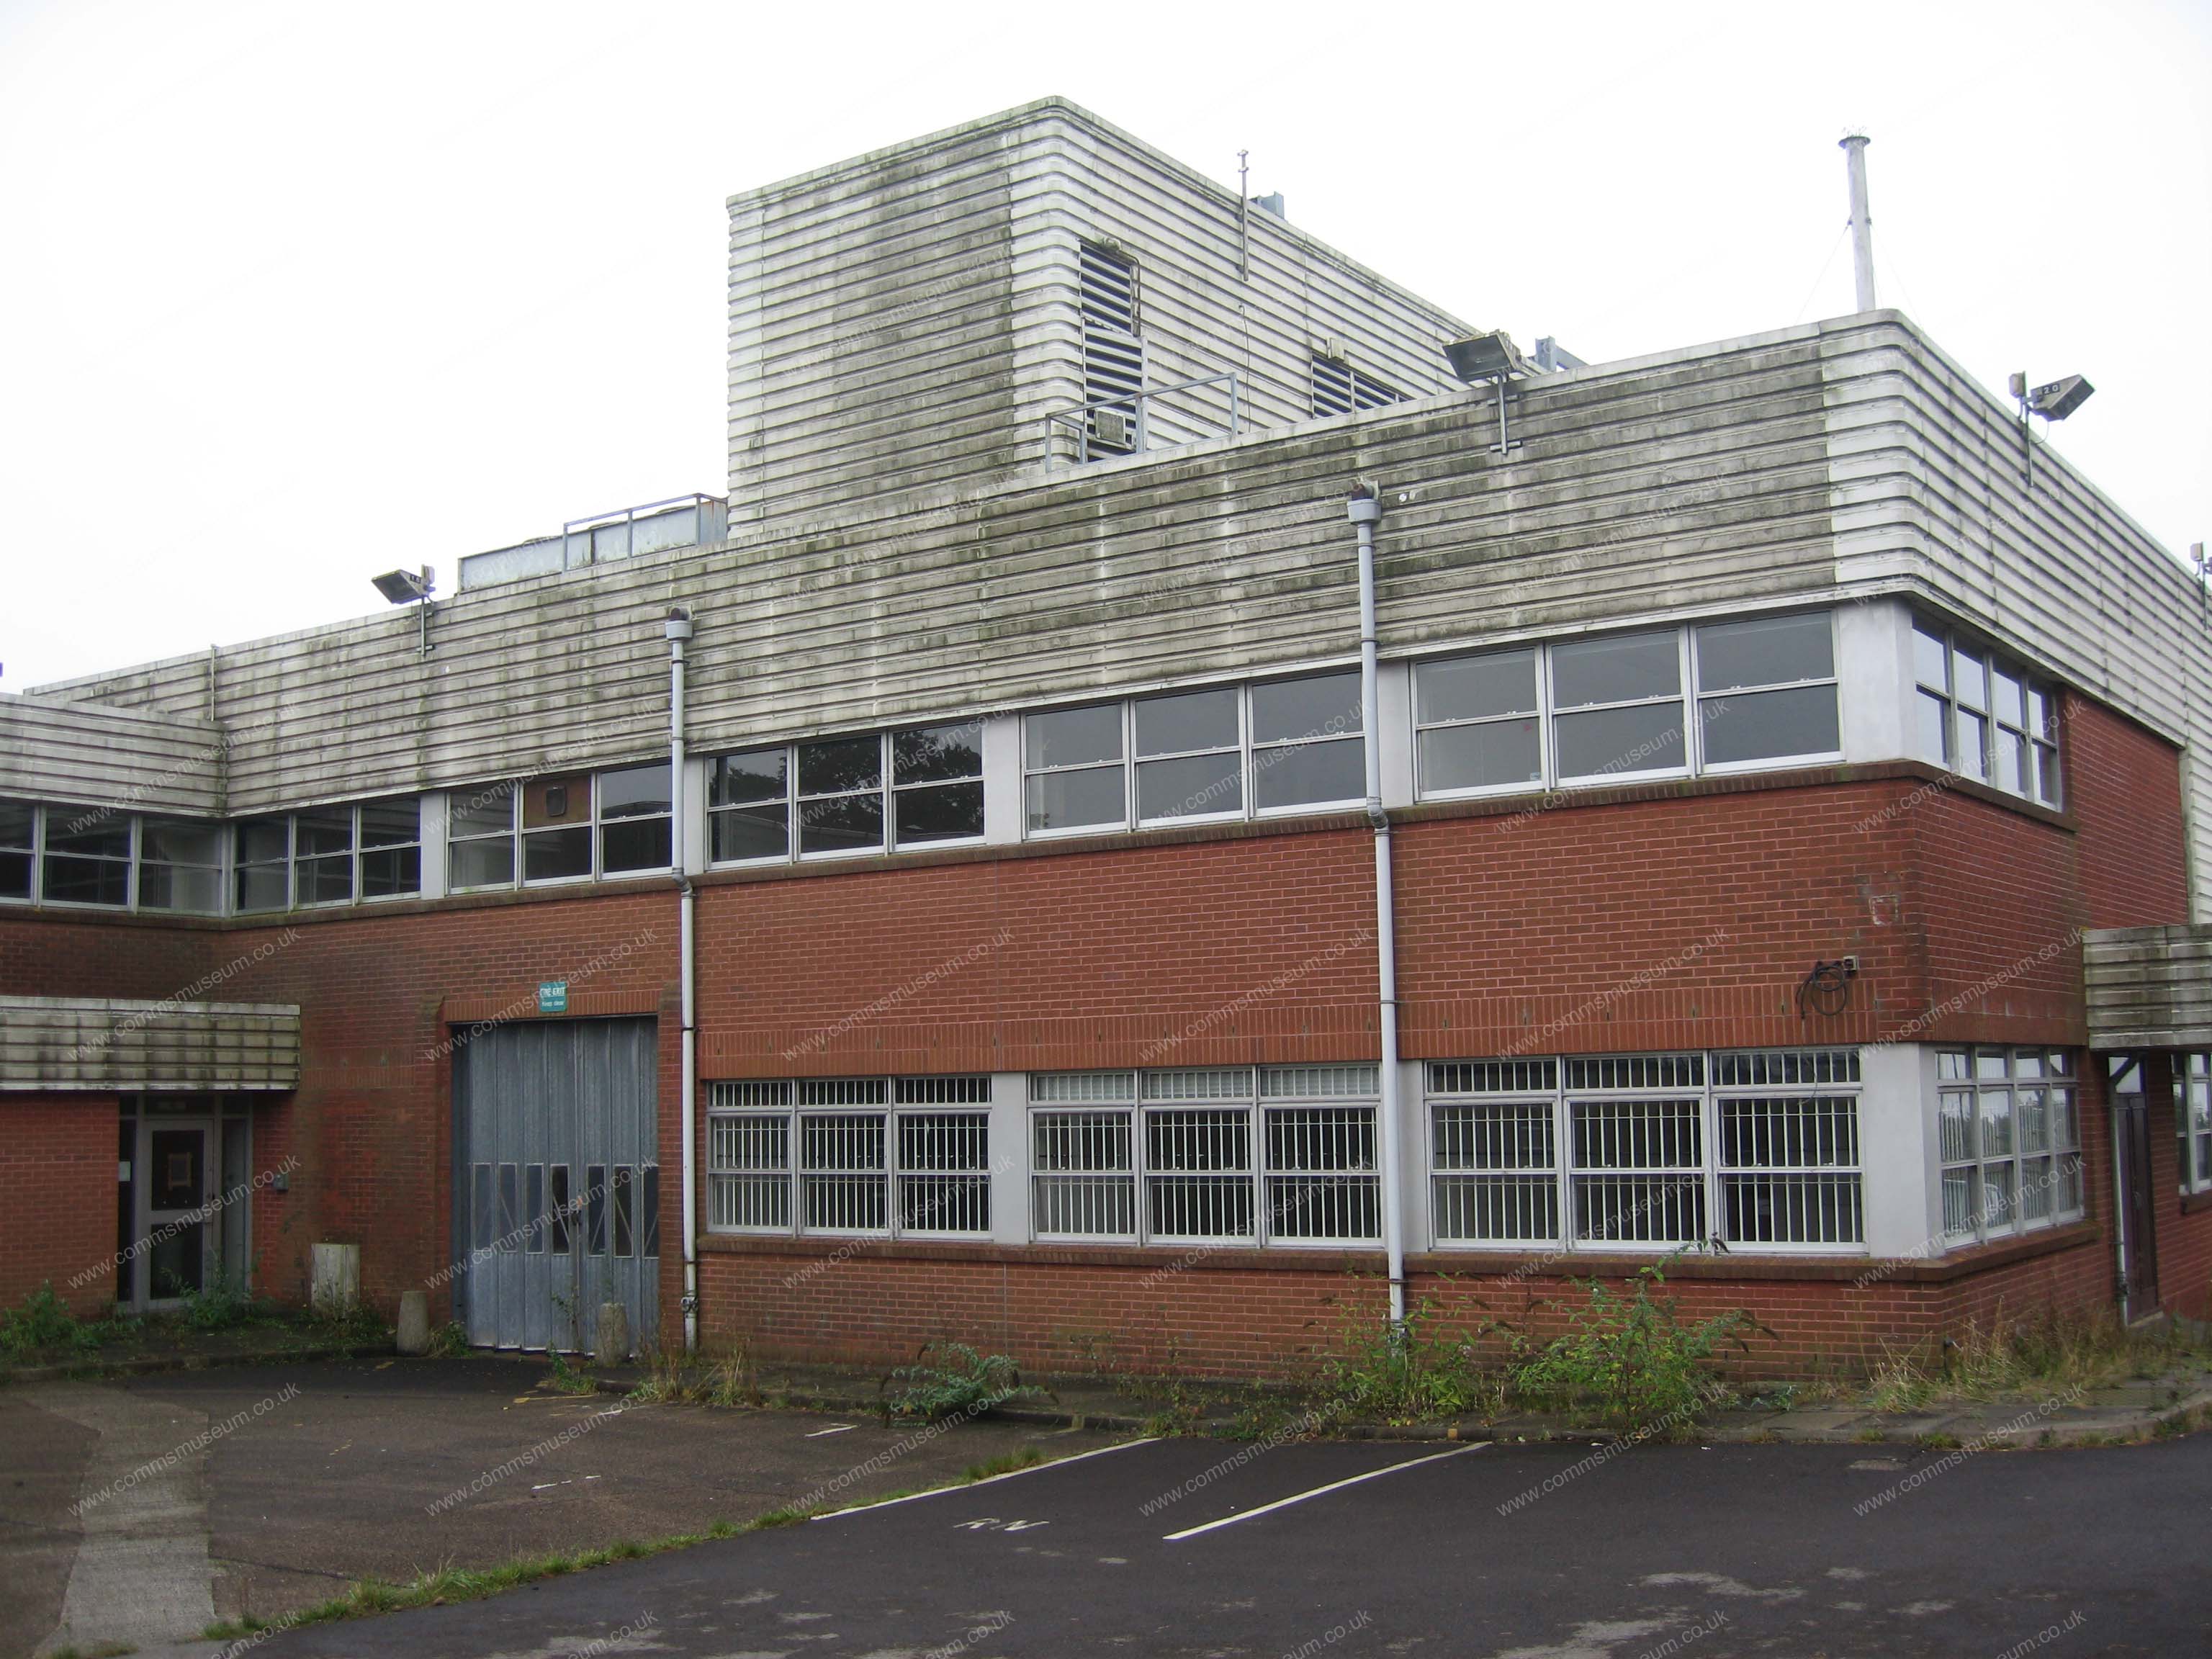
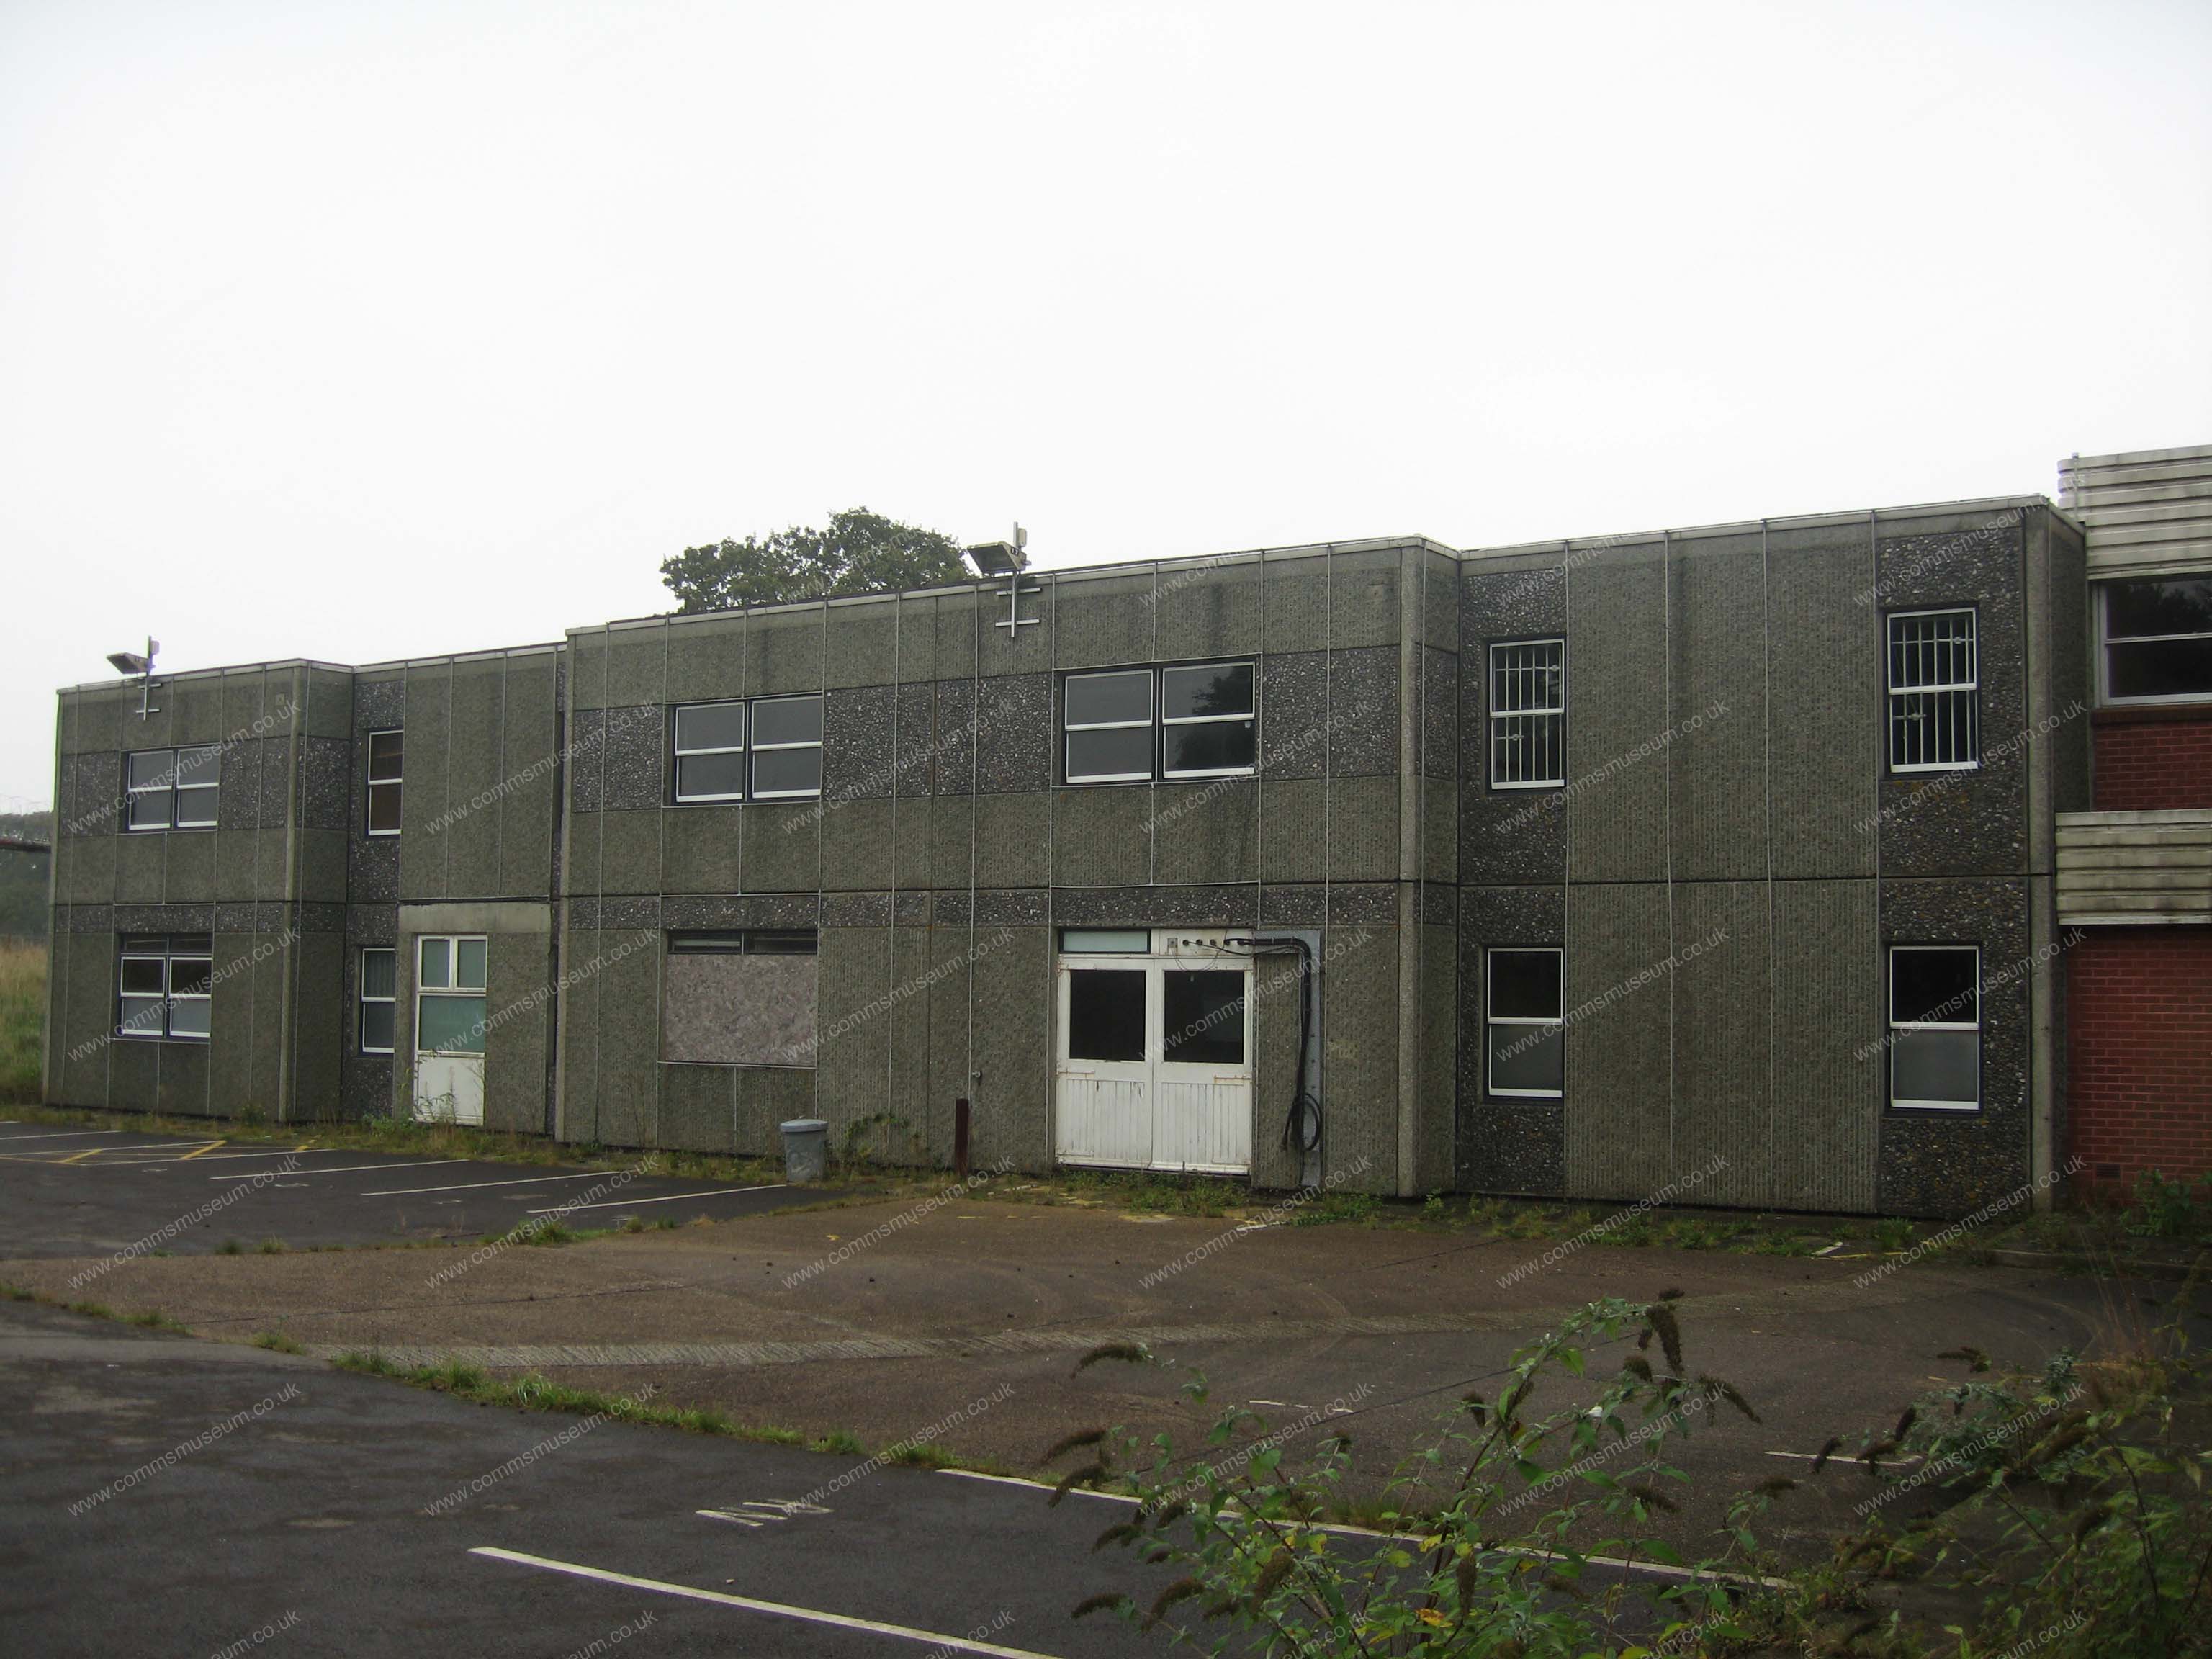
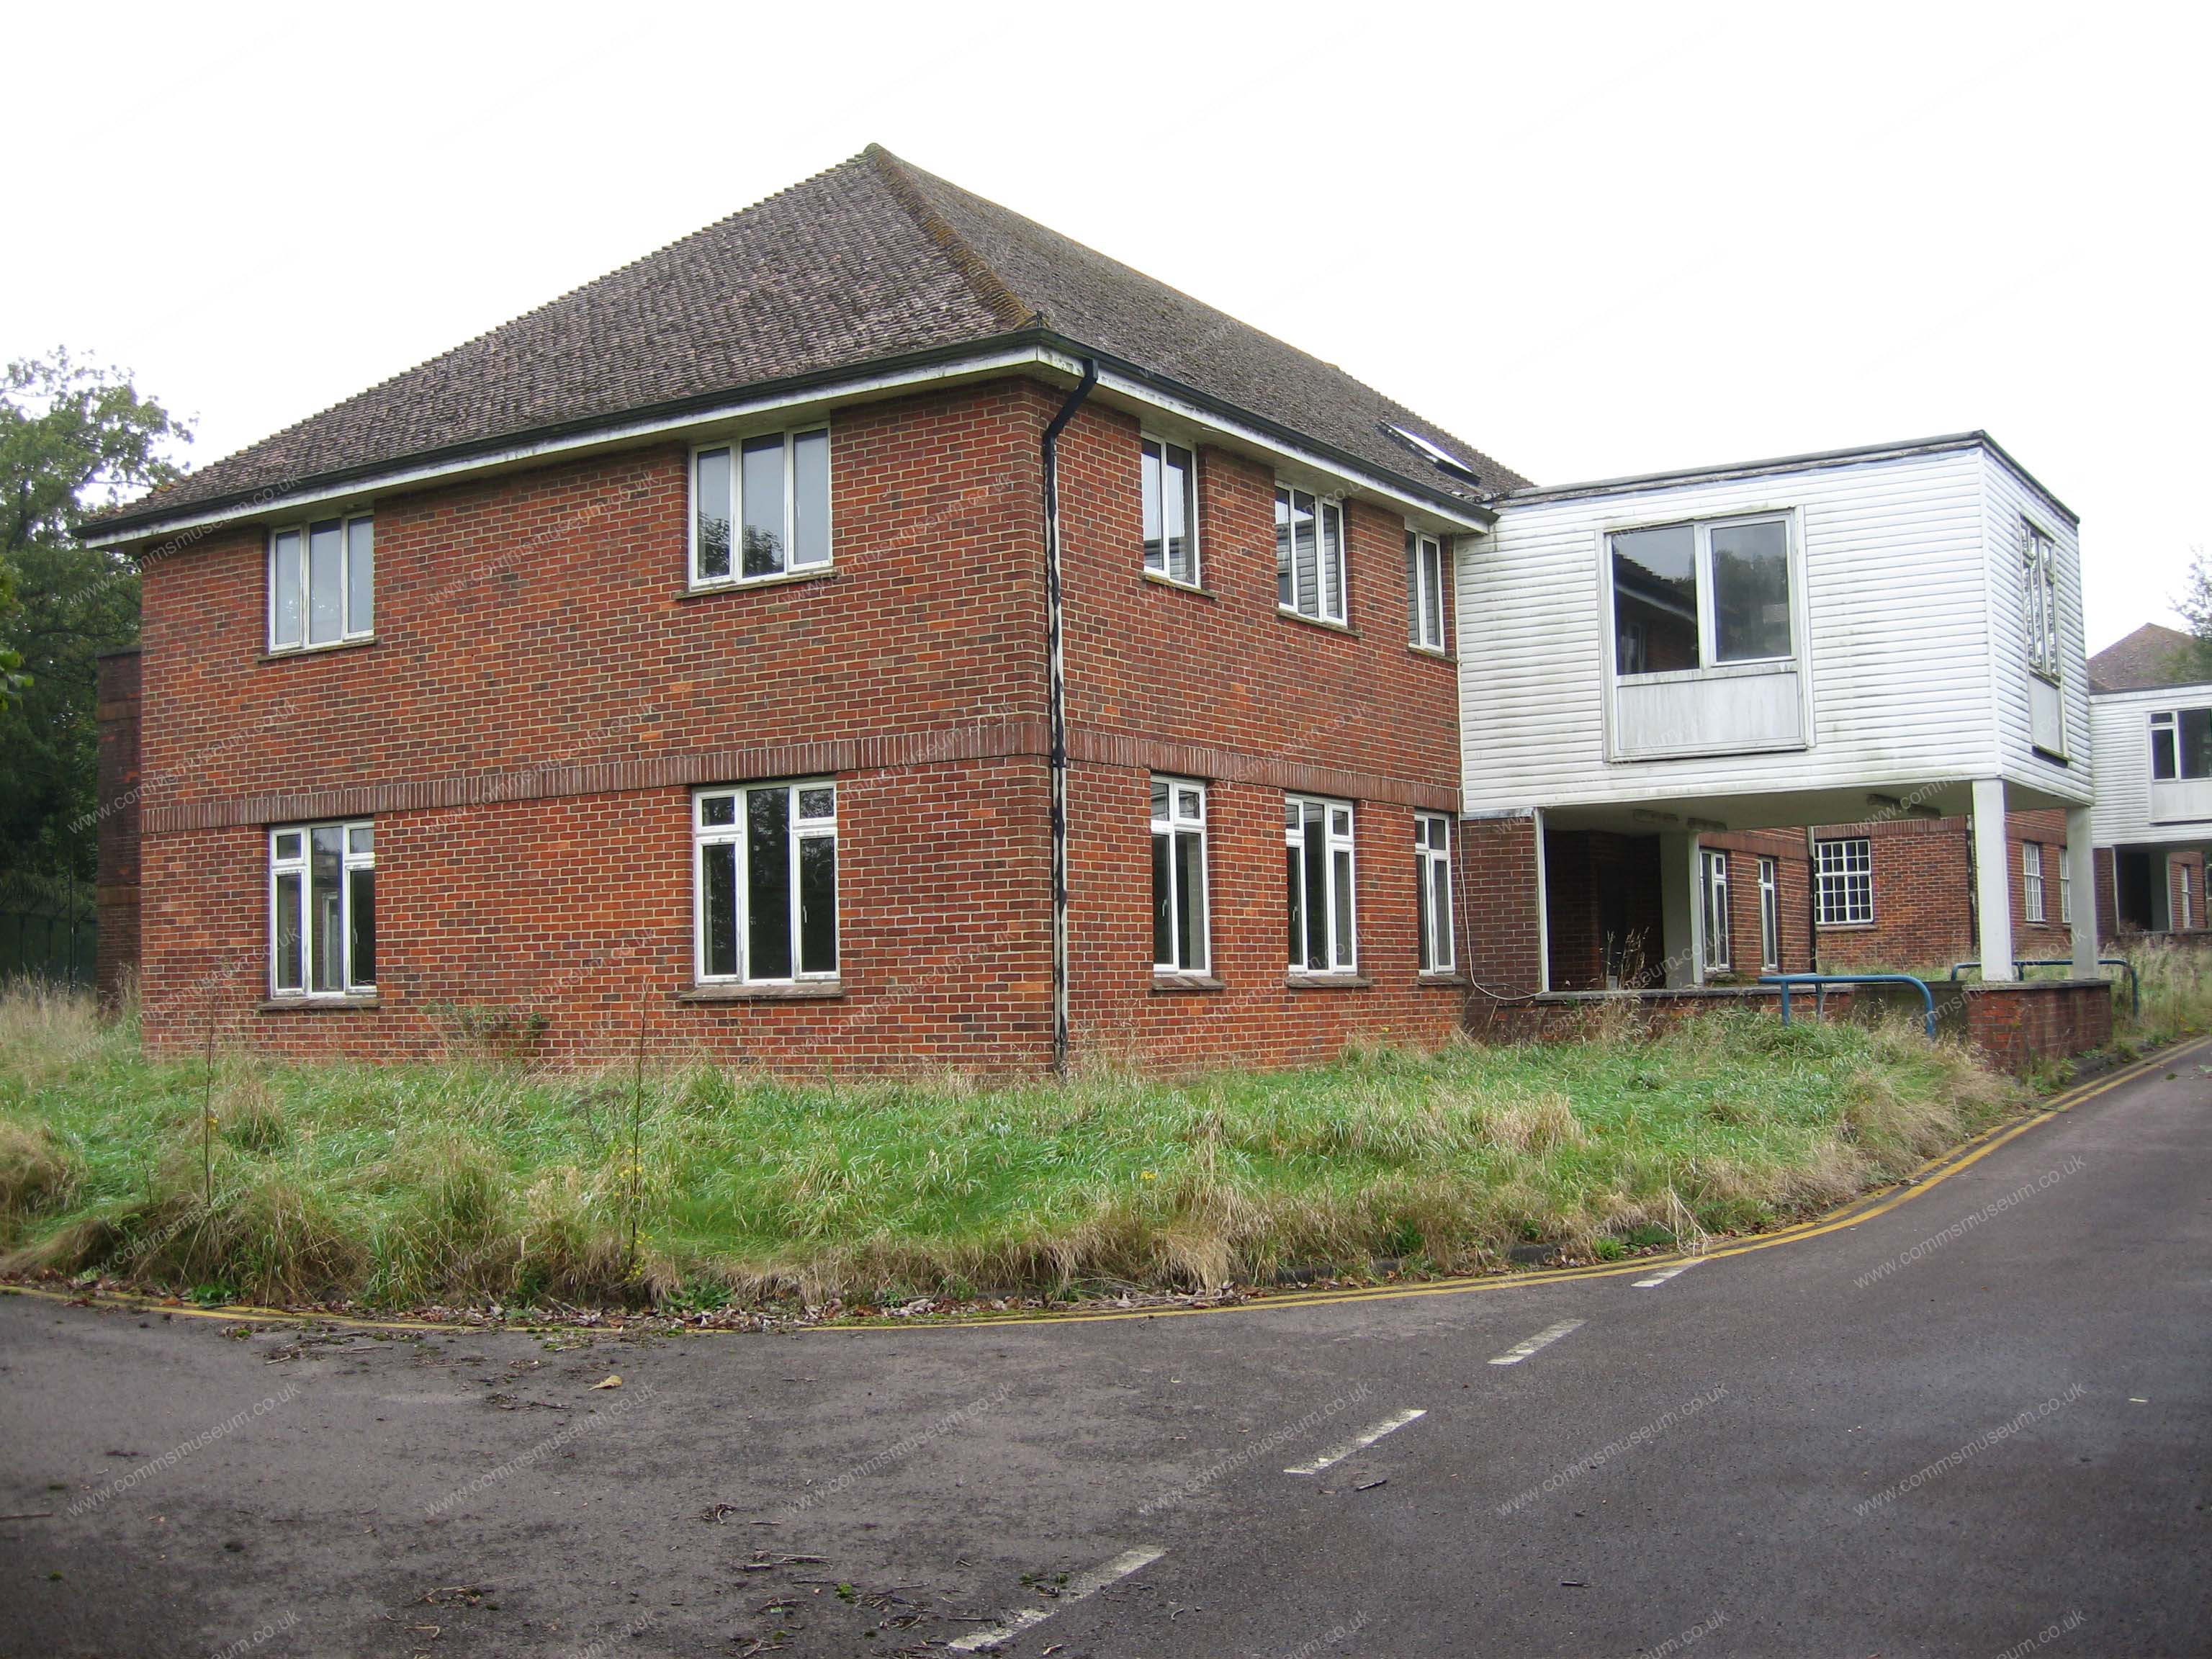
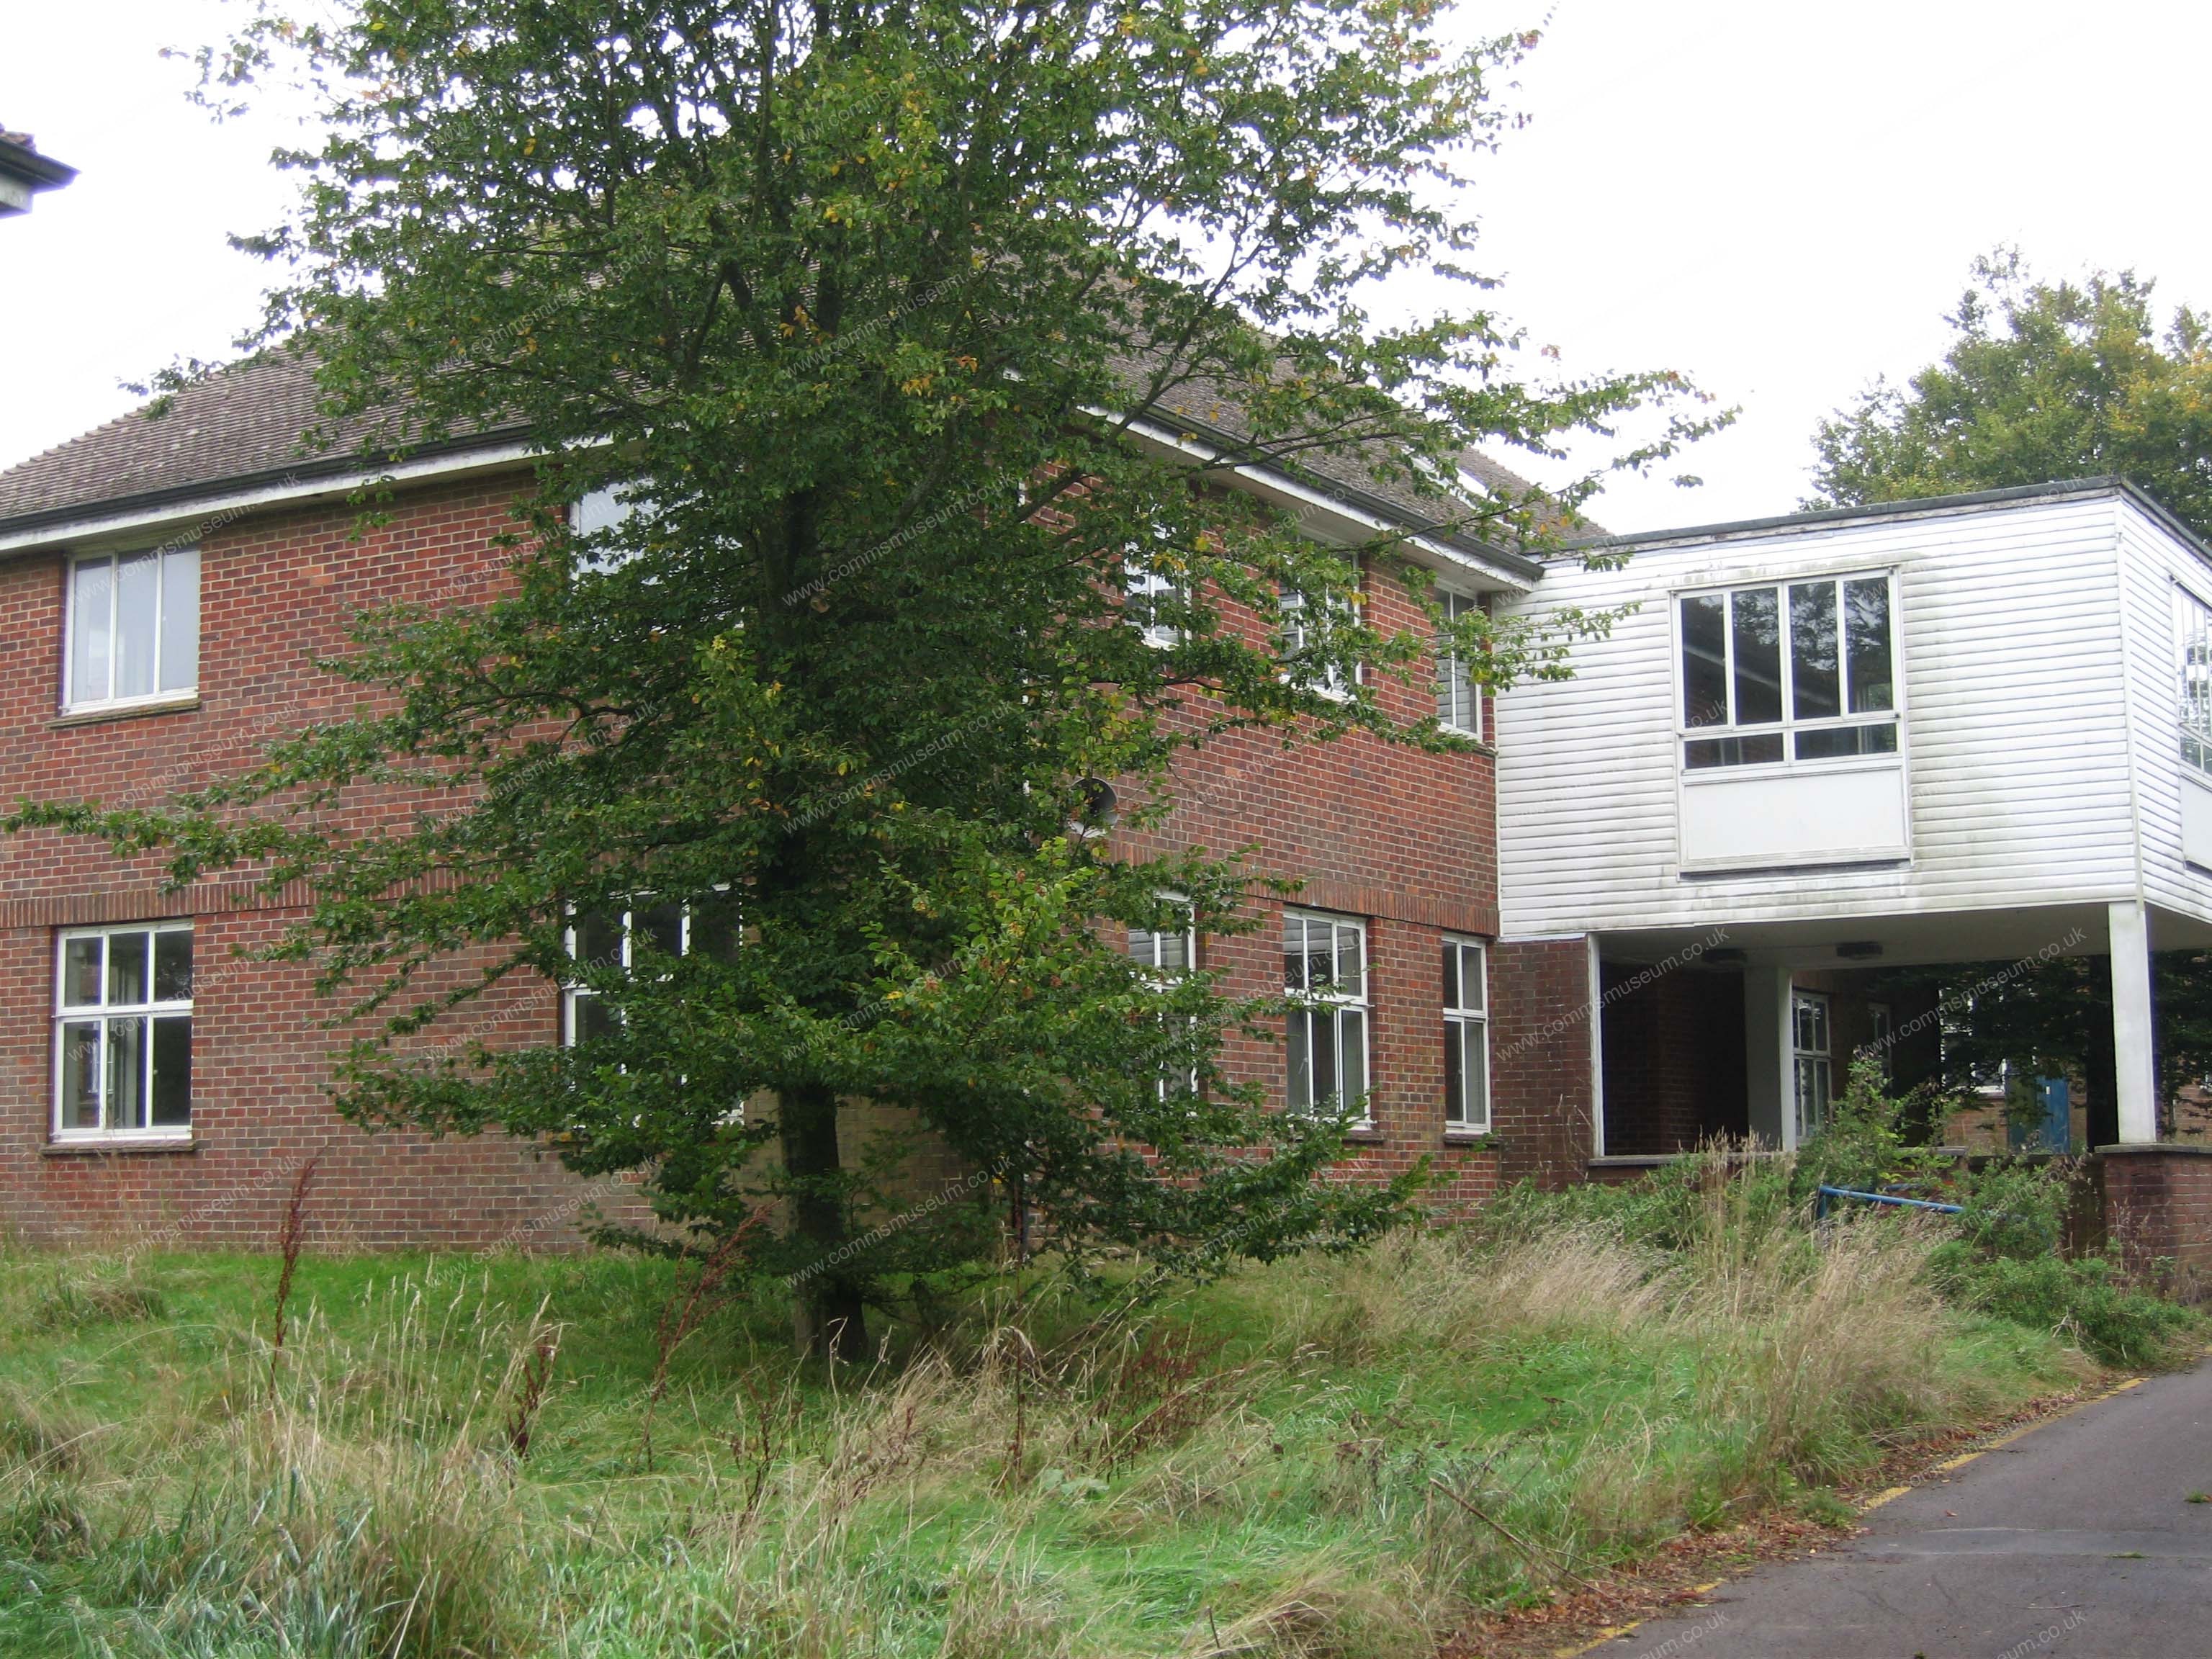
Ashmore Block Northern Elevation |
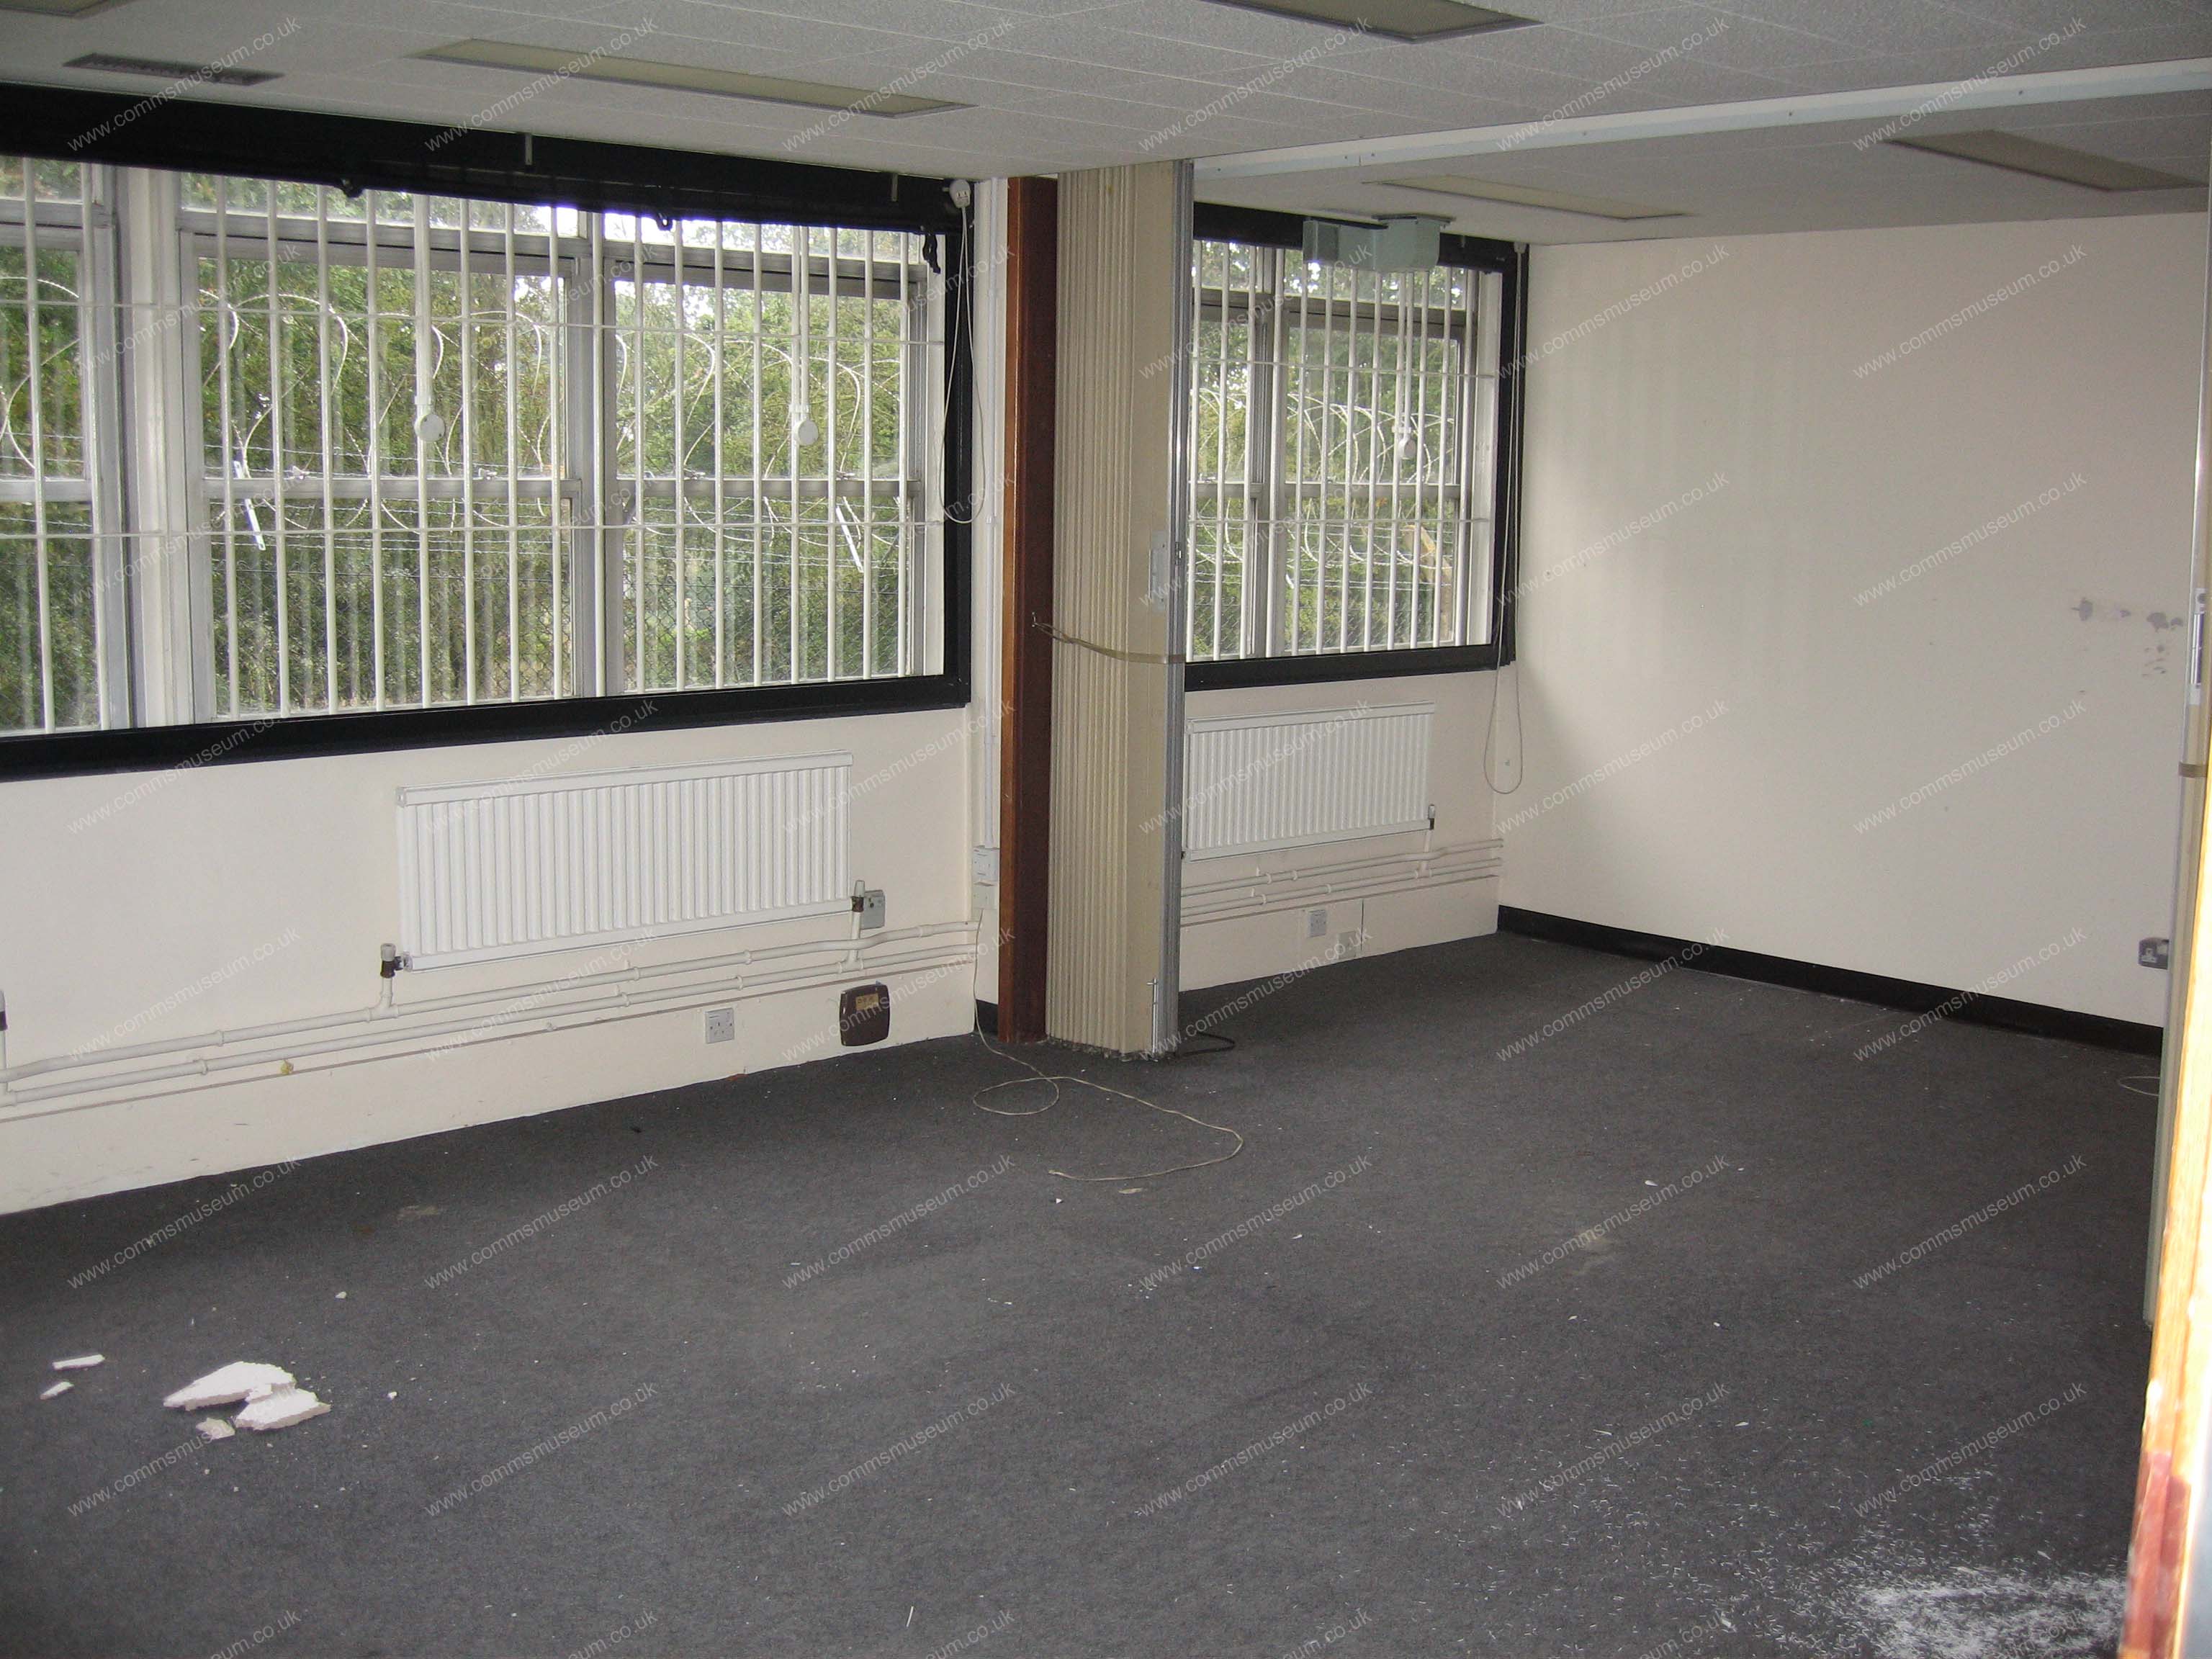
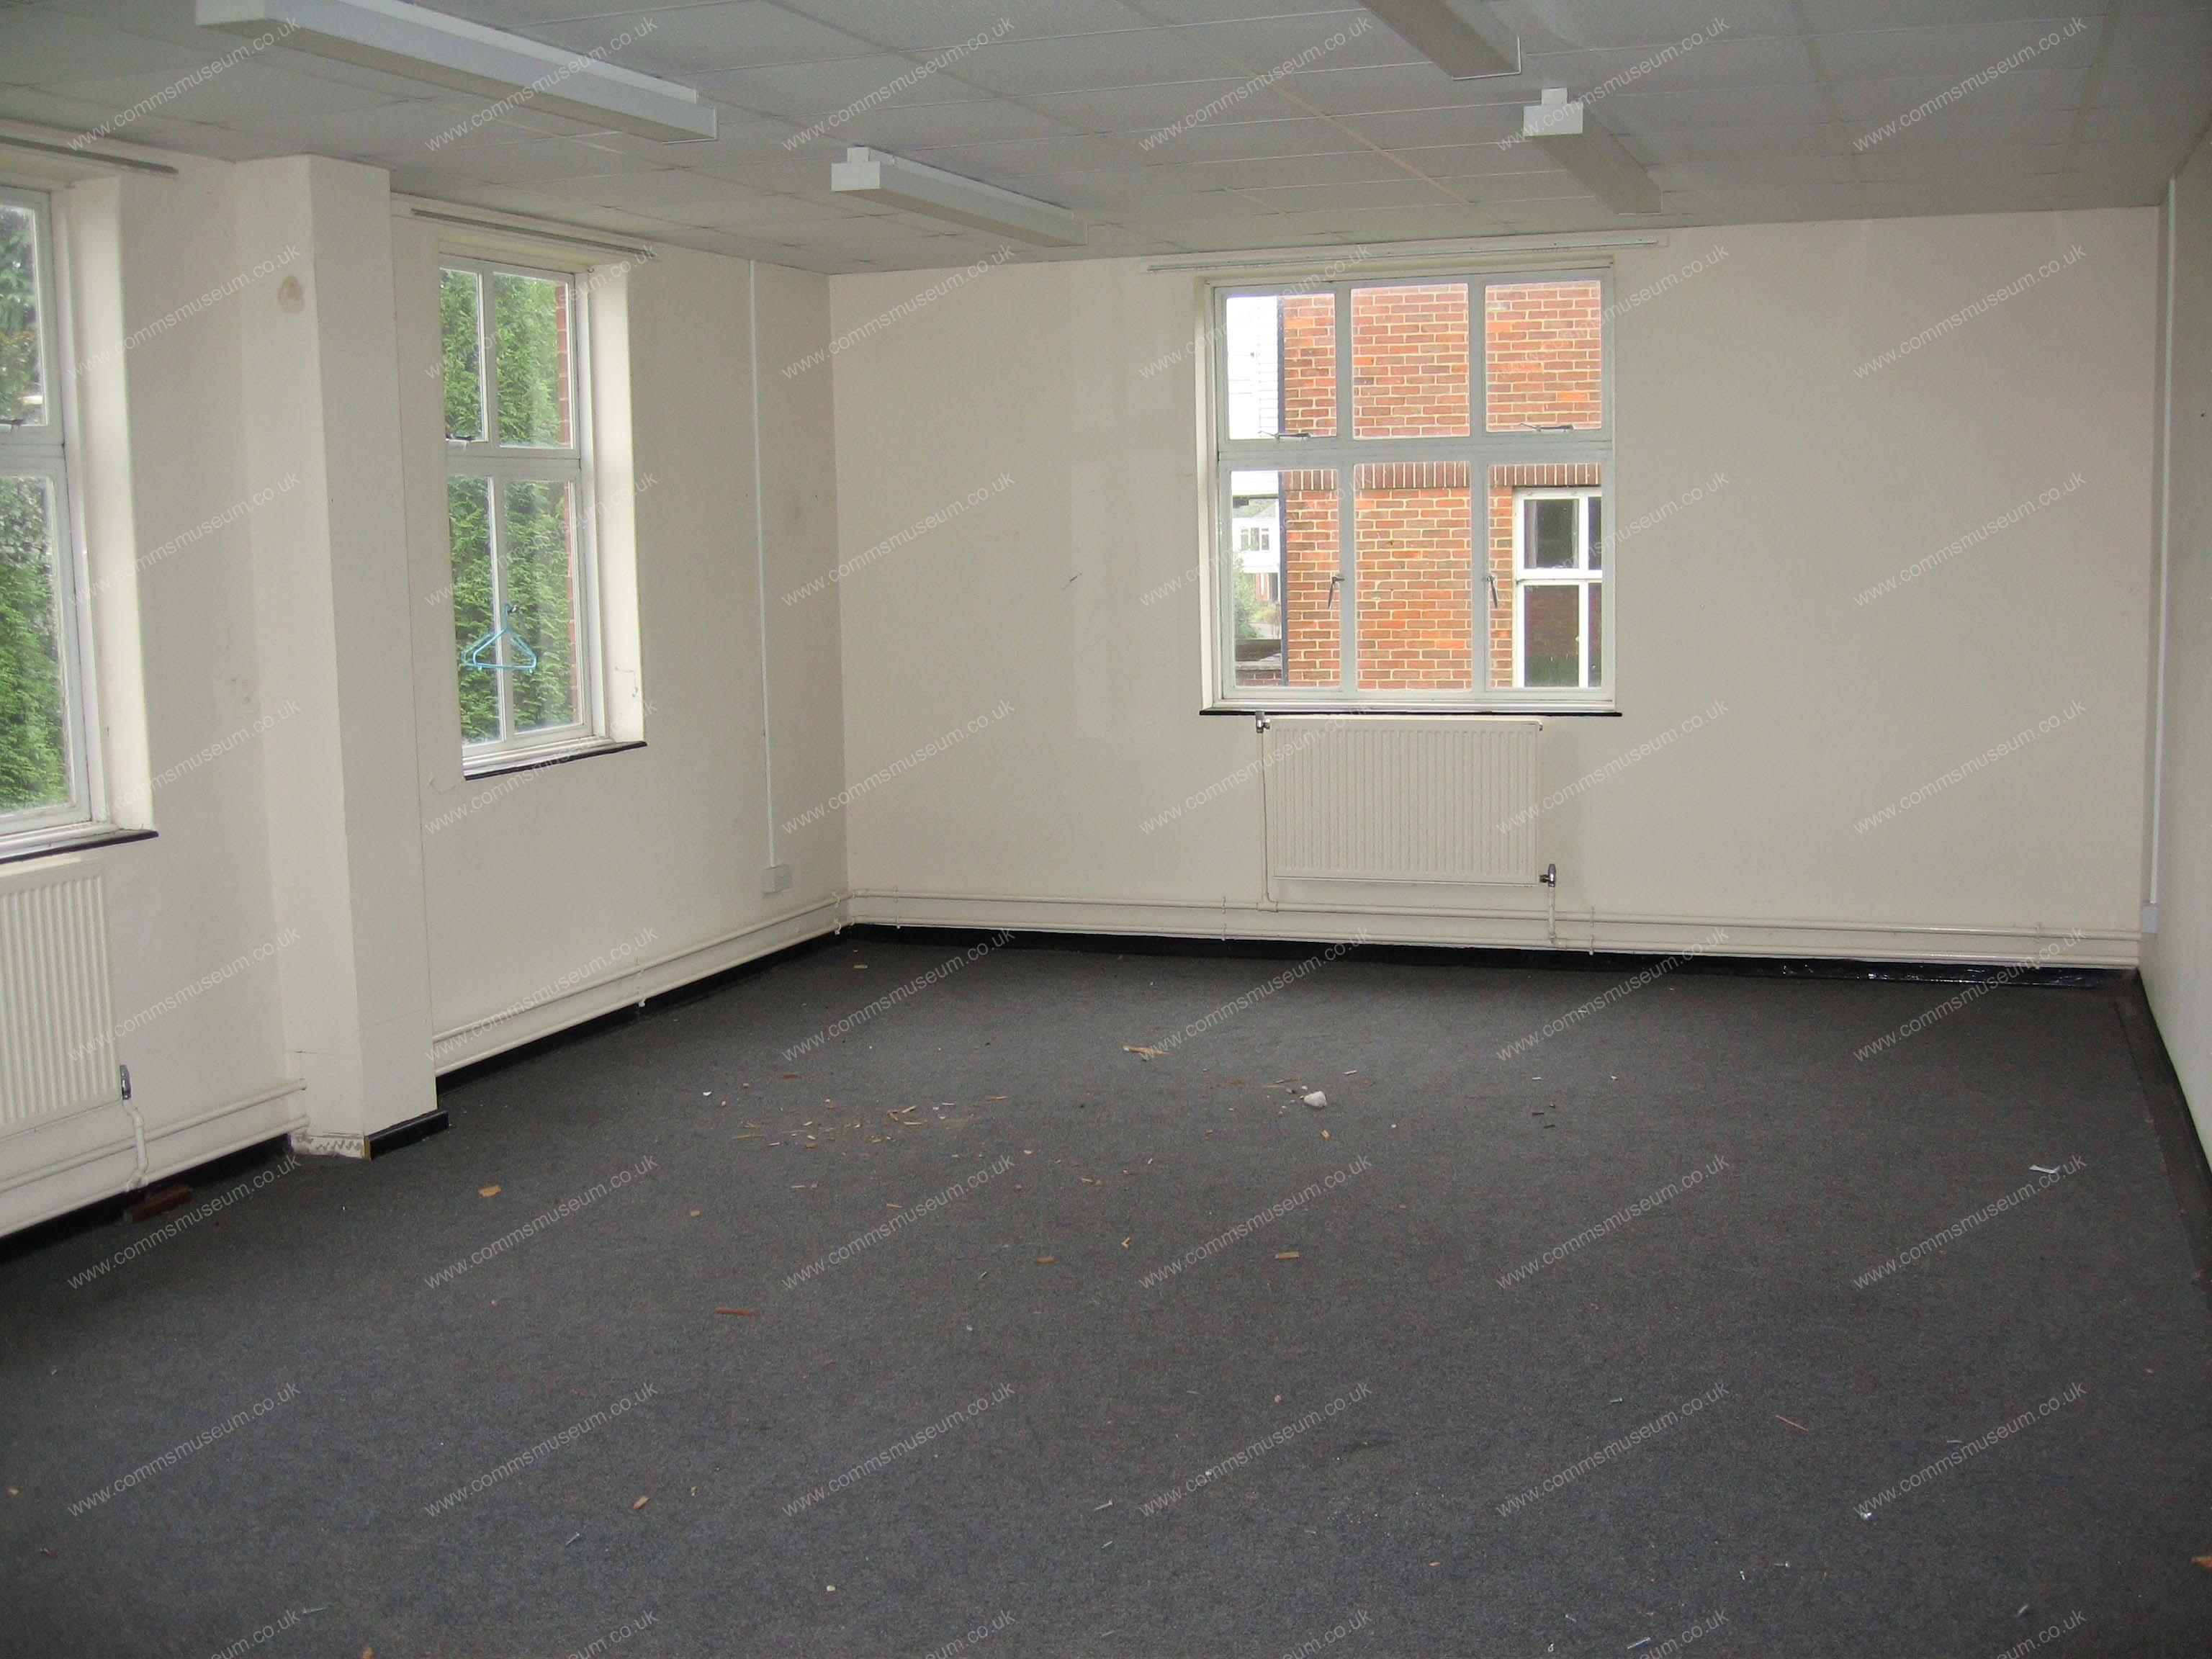
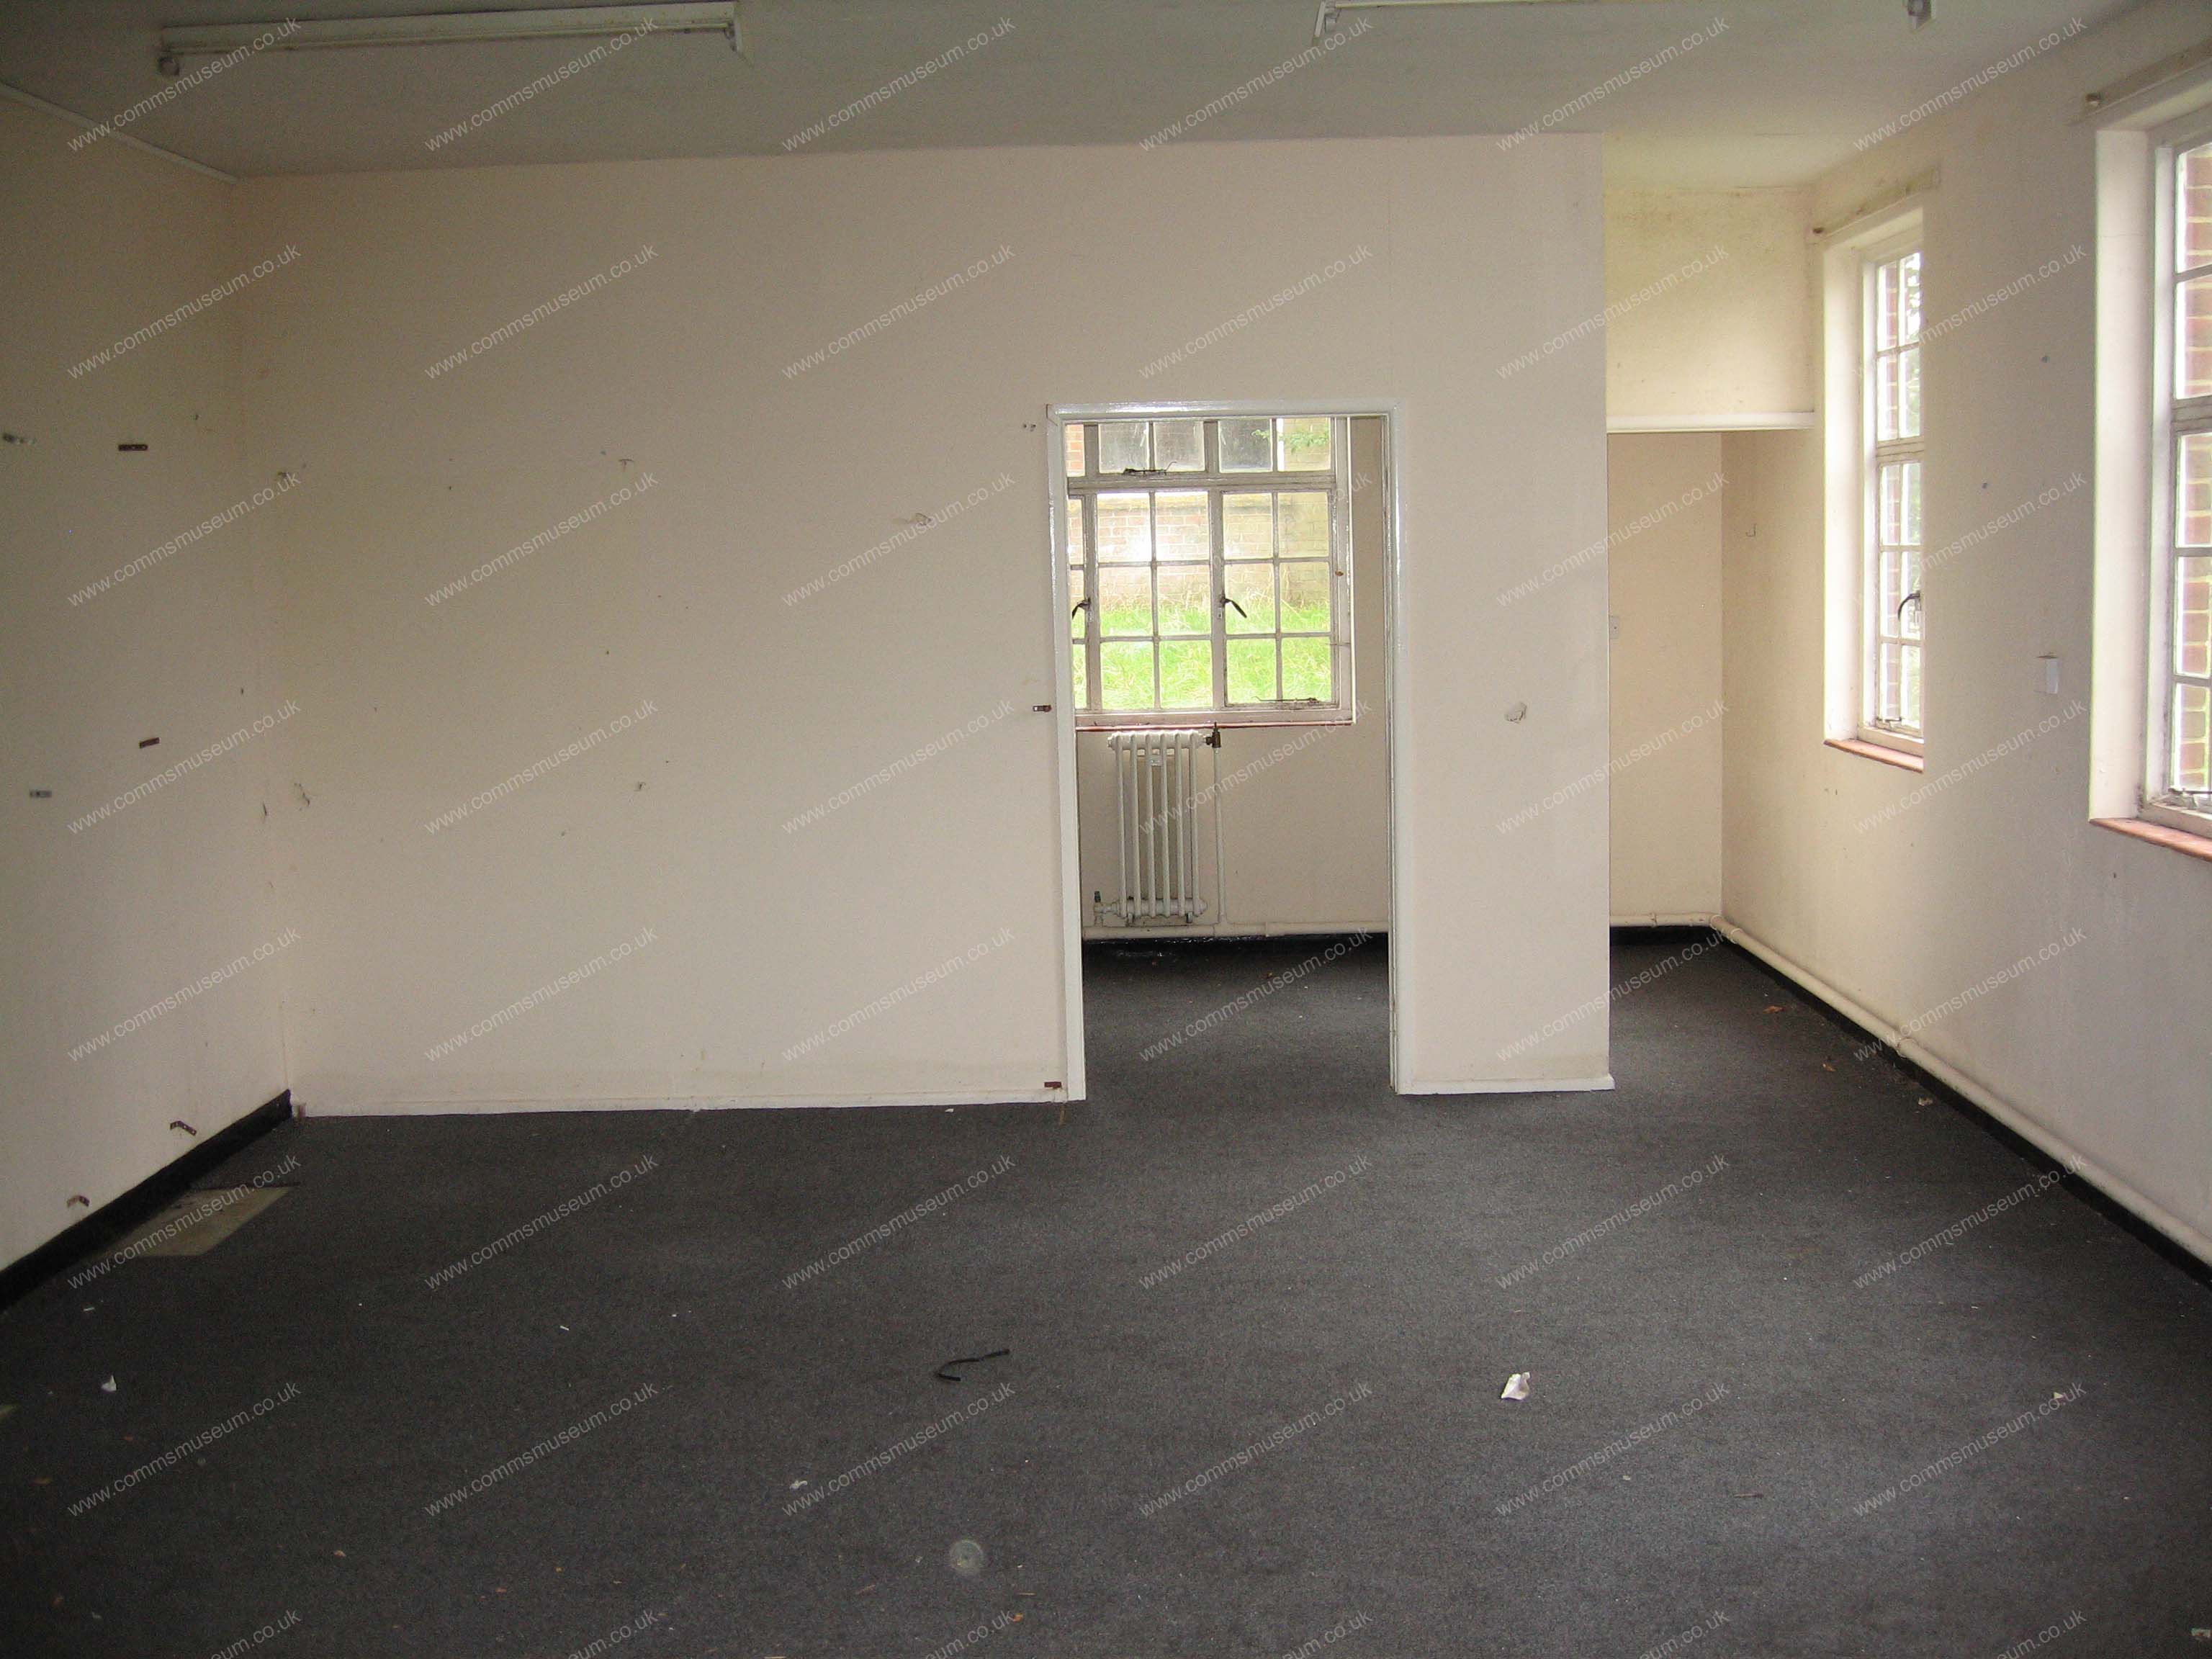
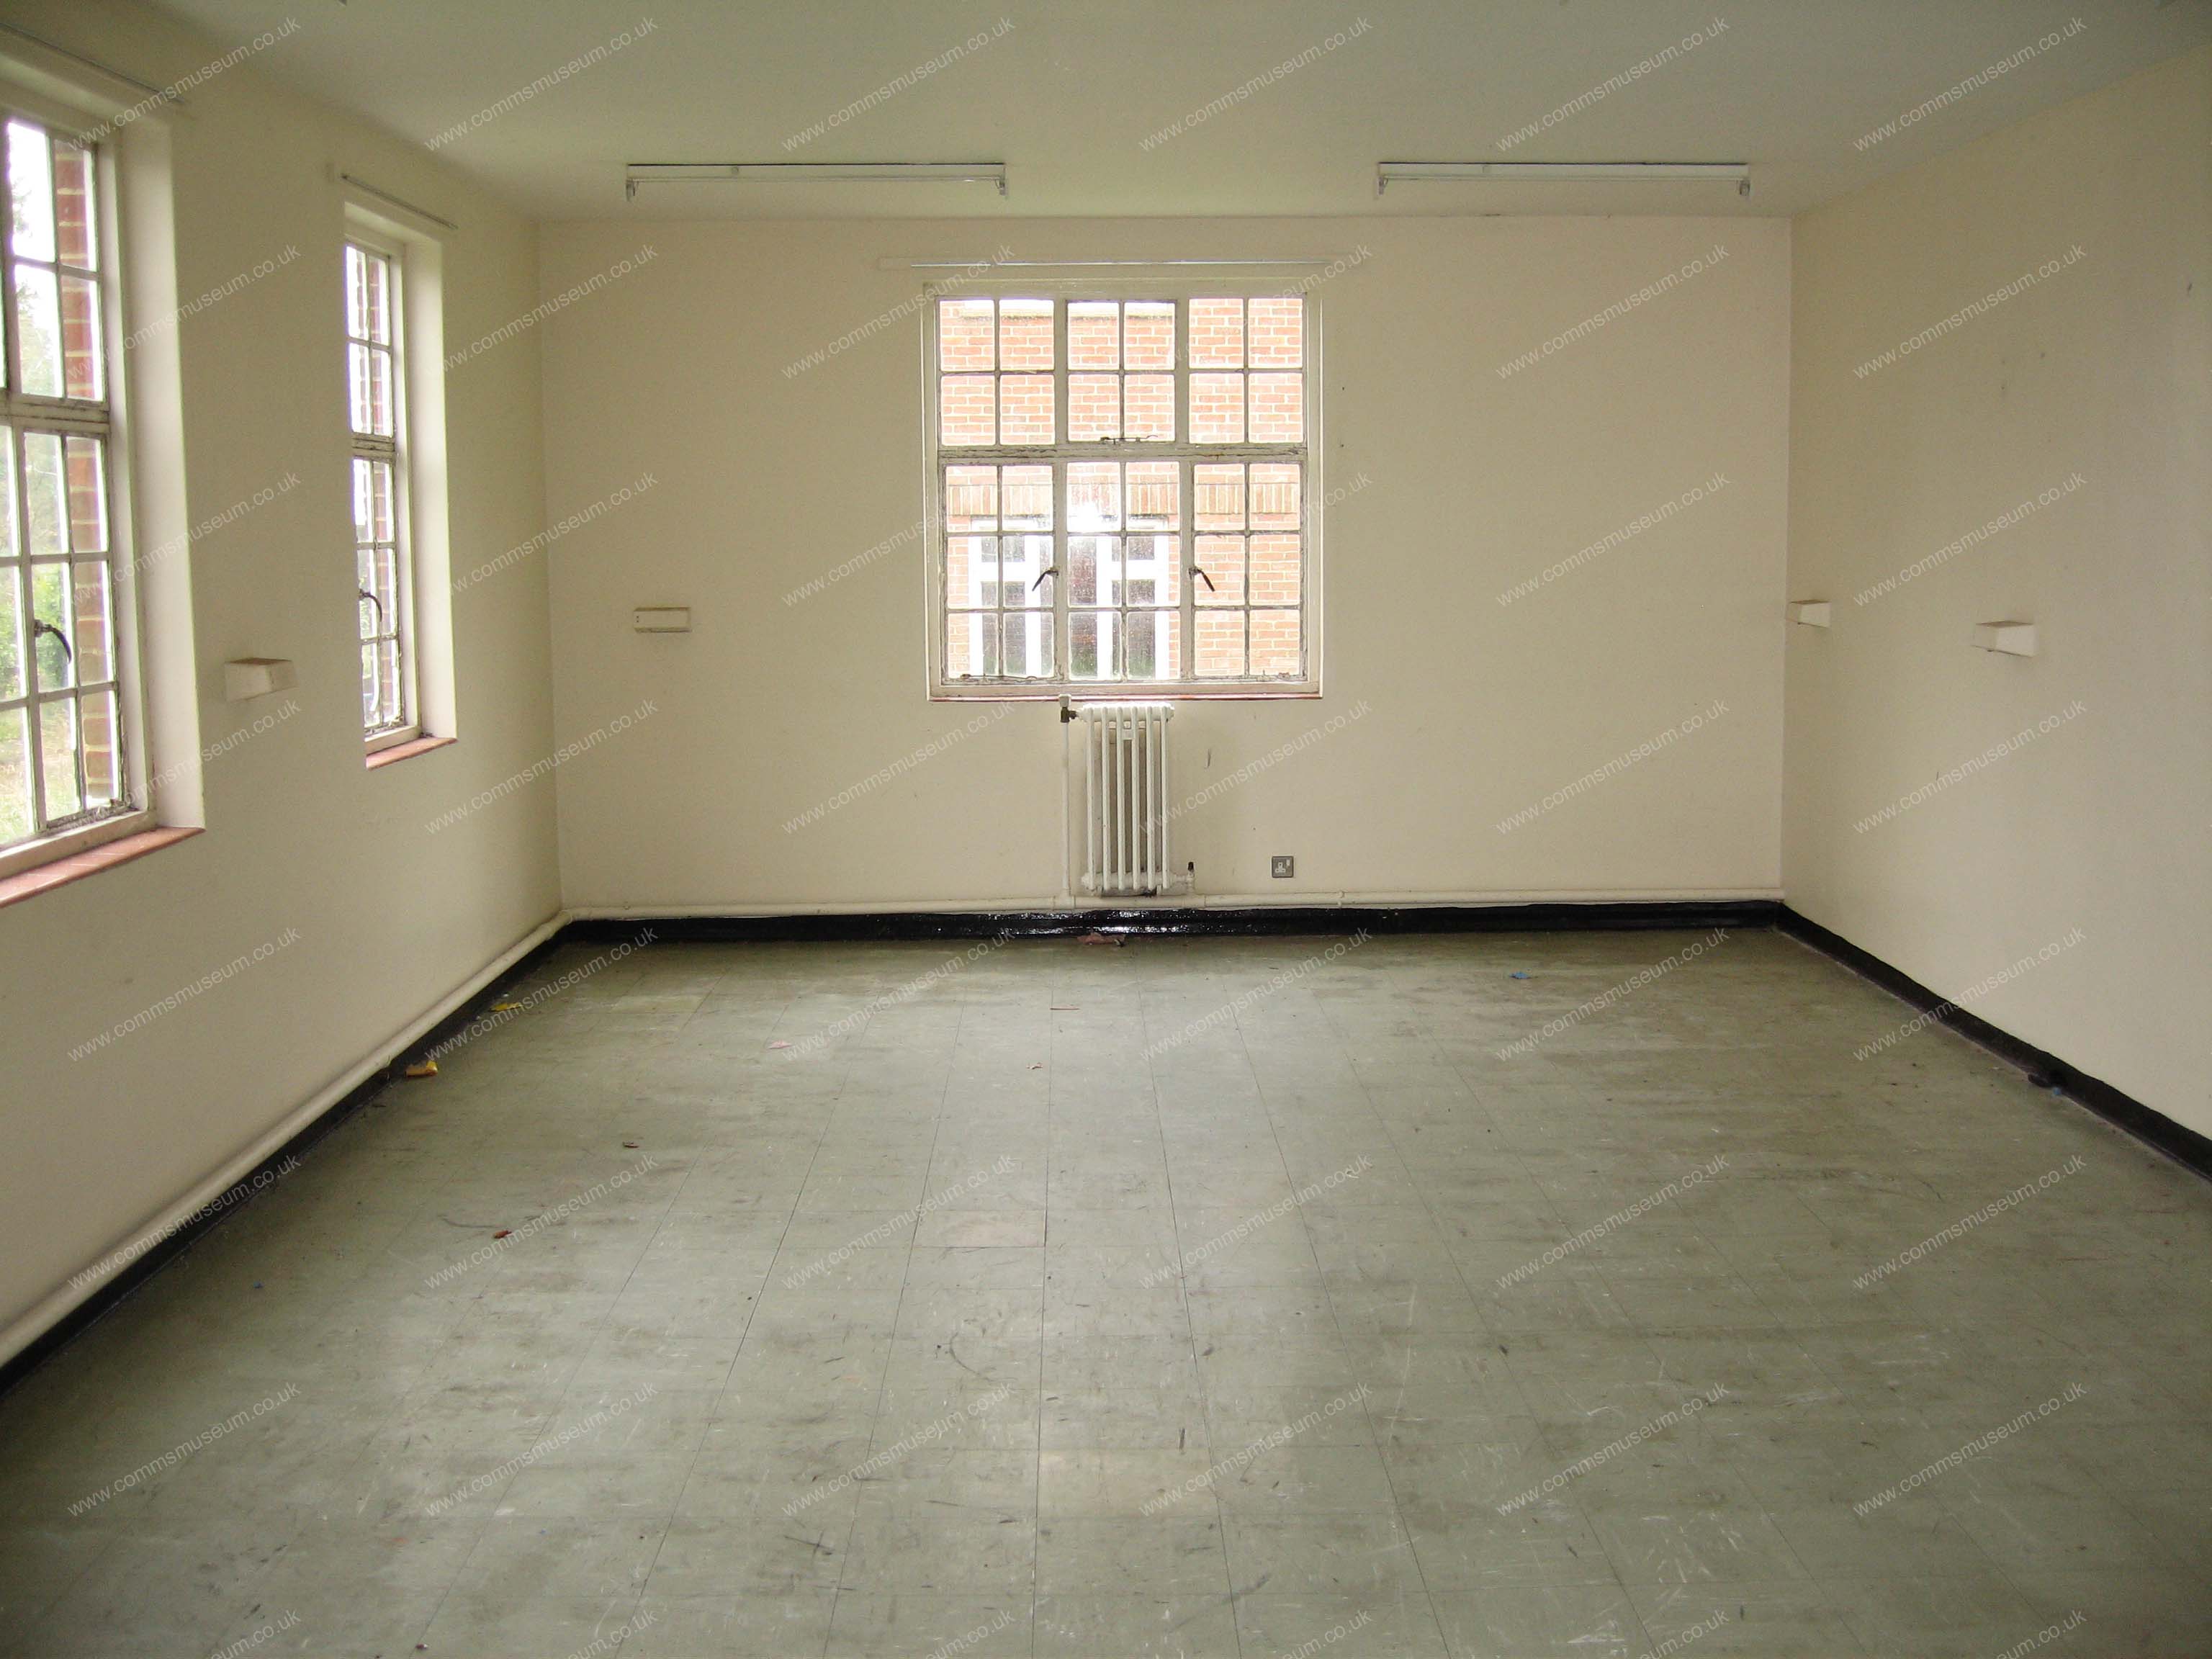
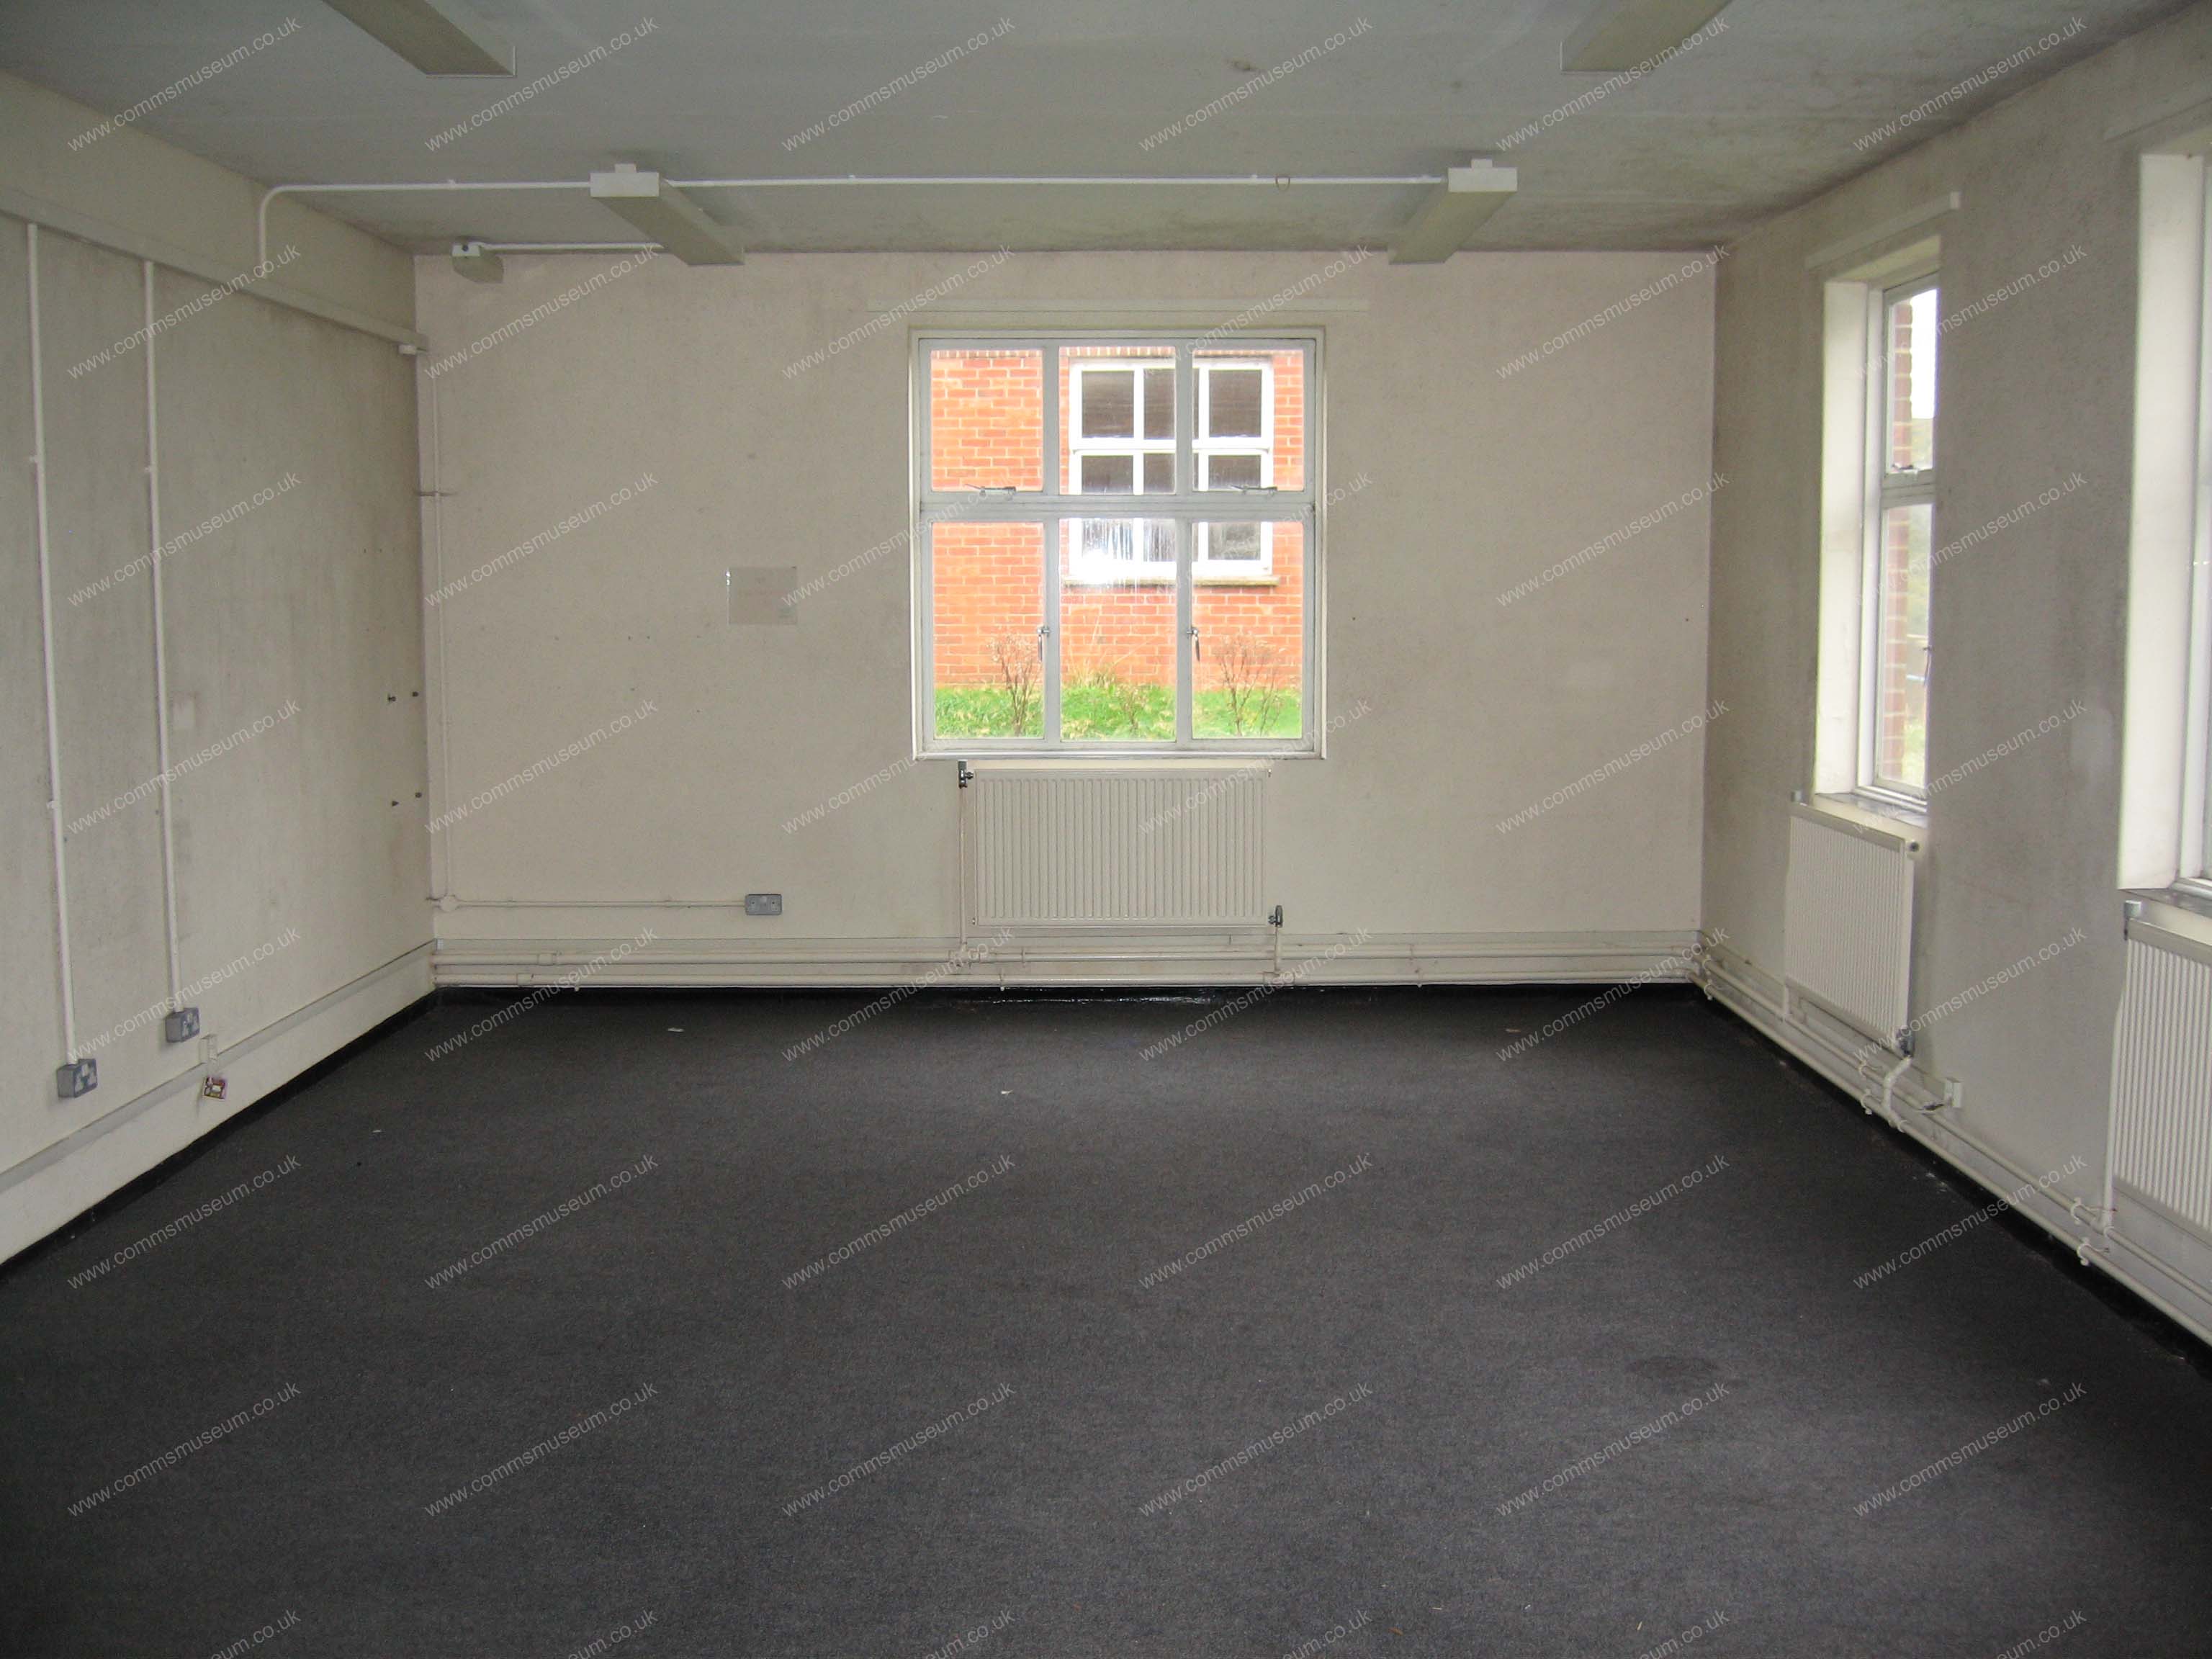
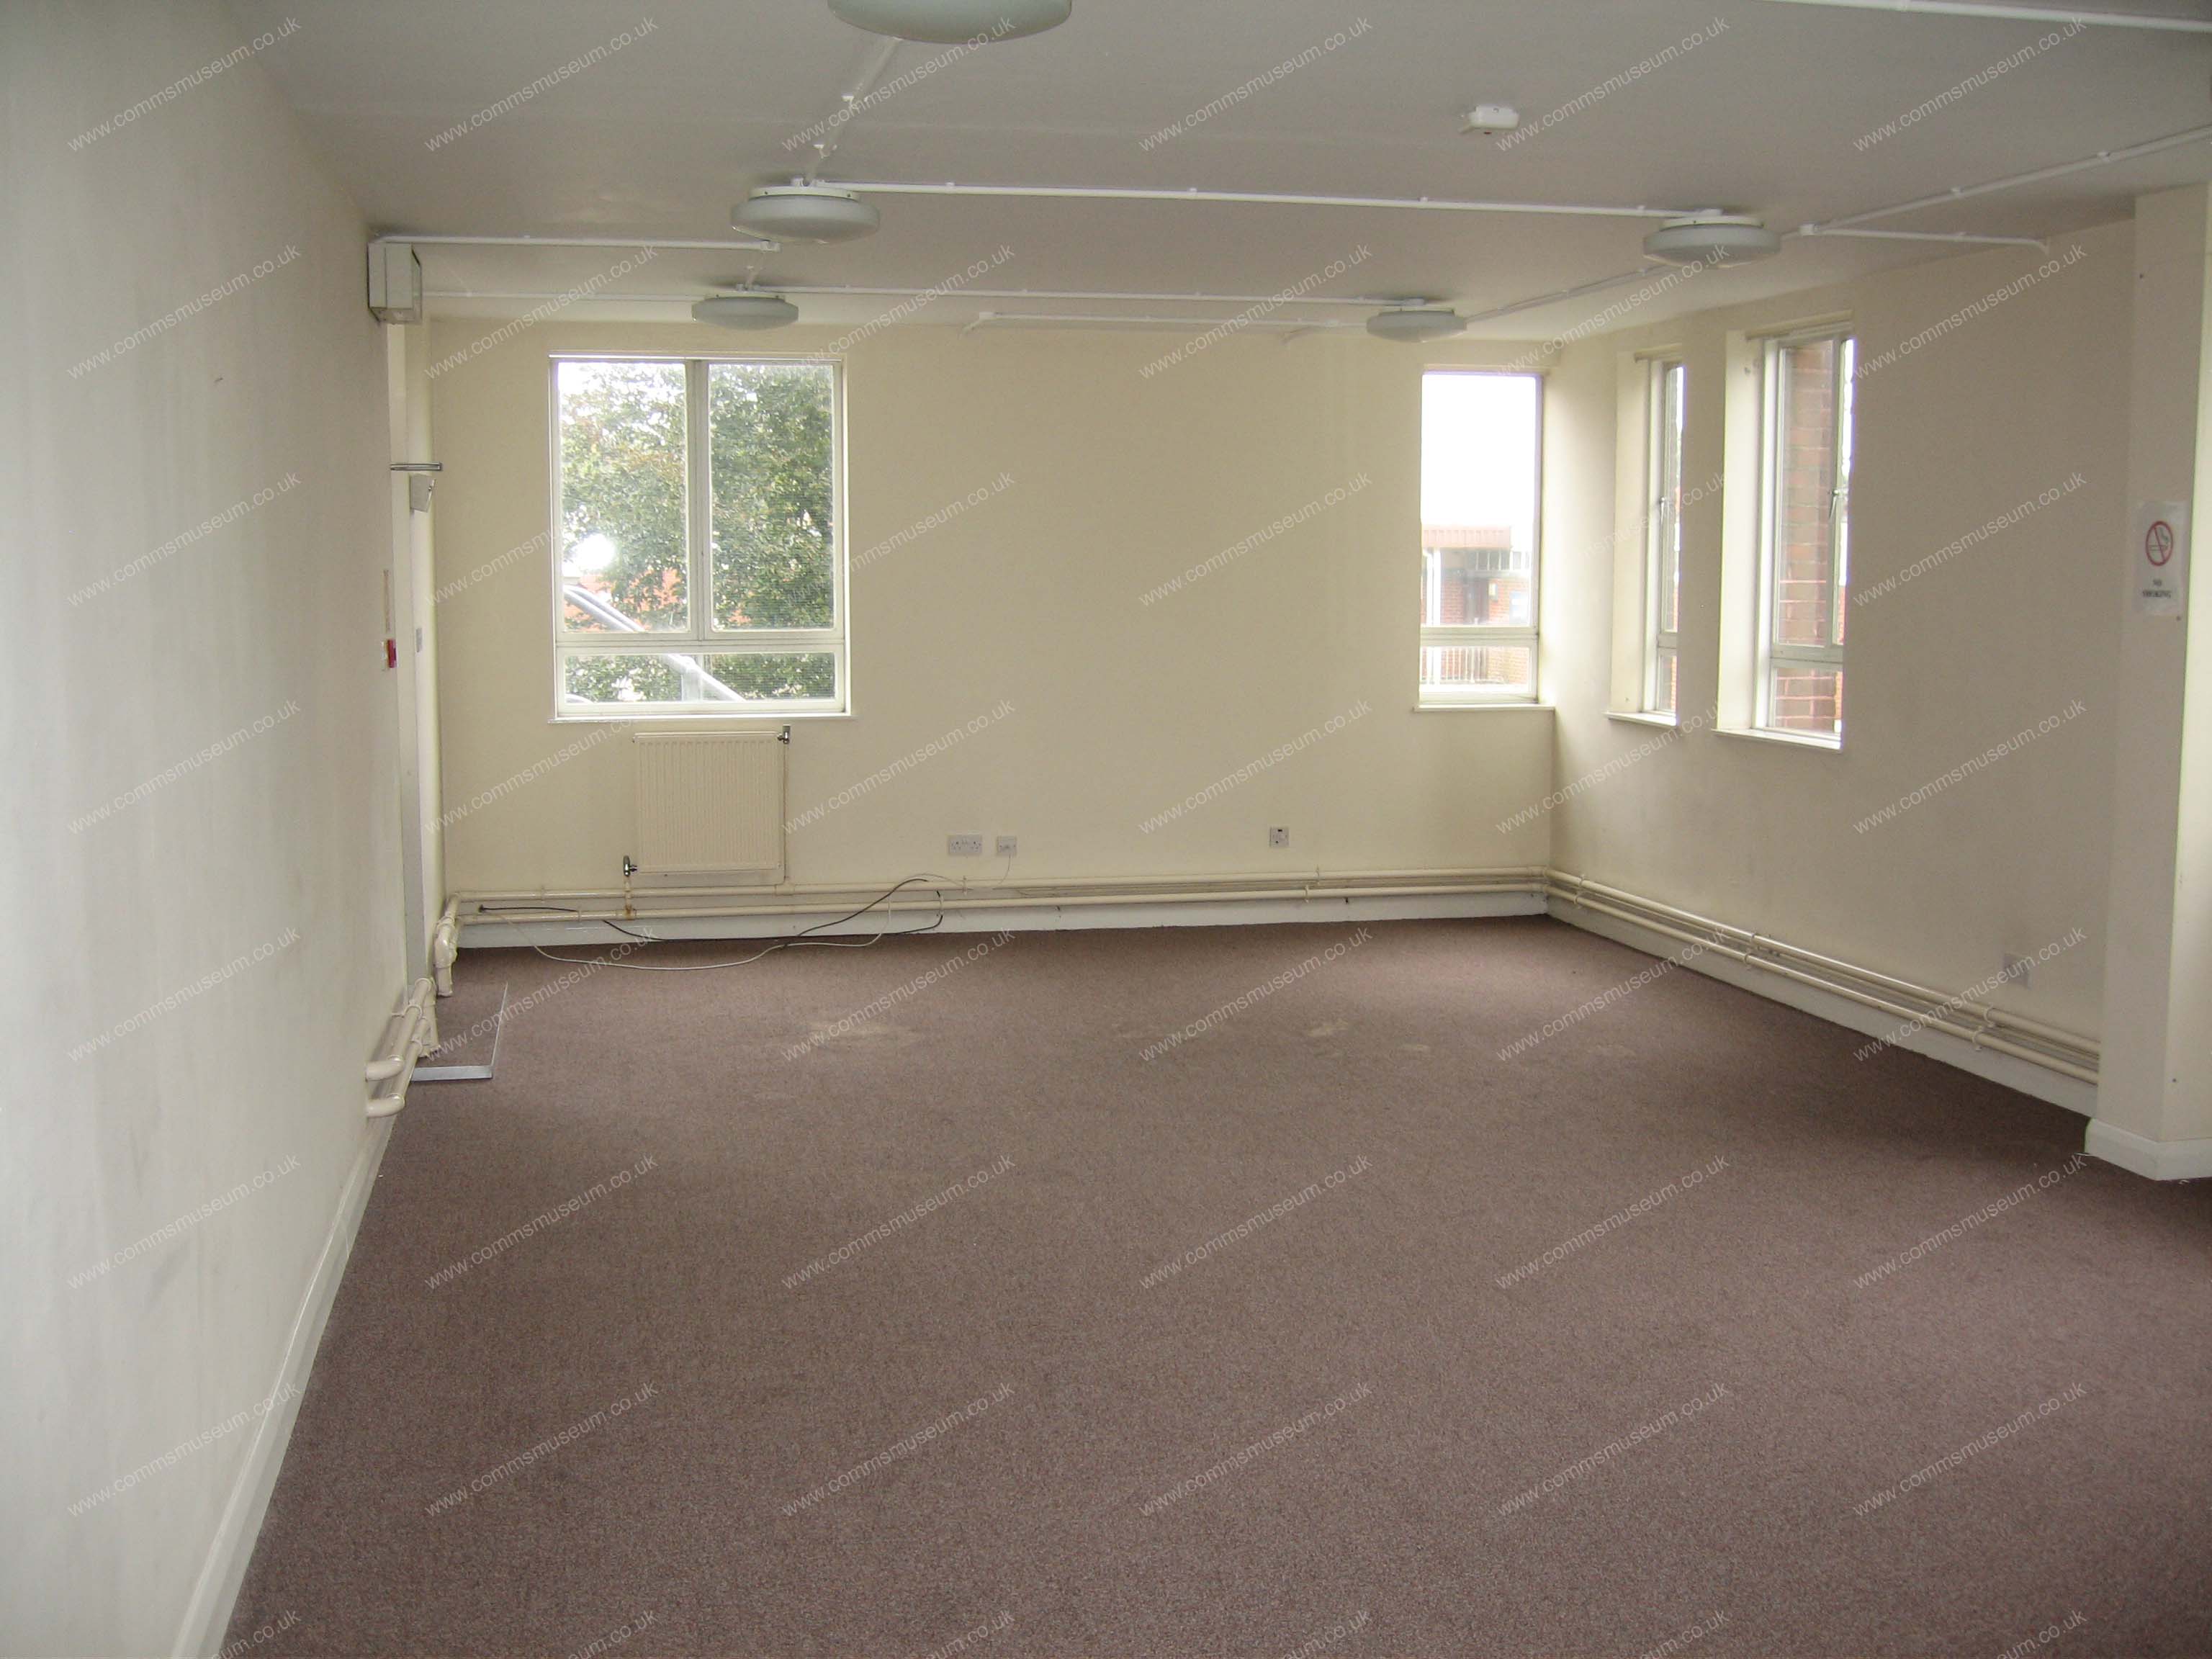
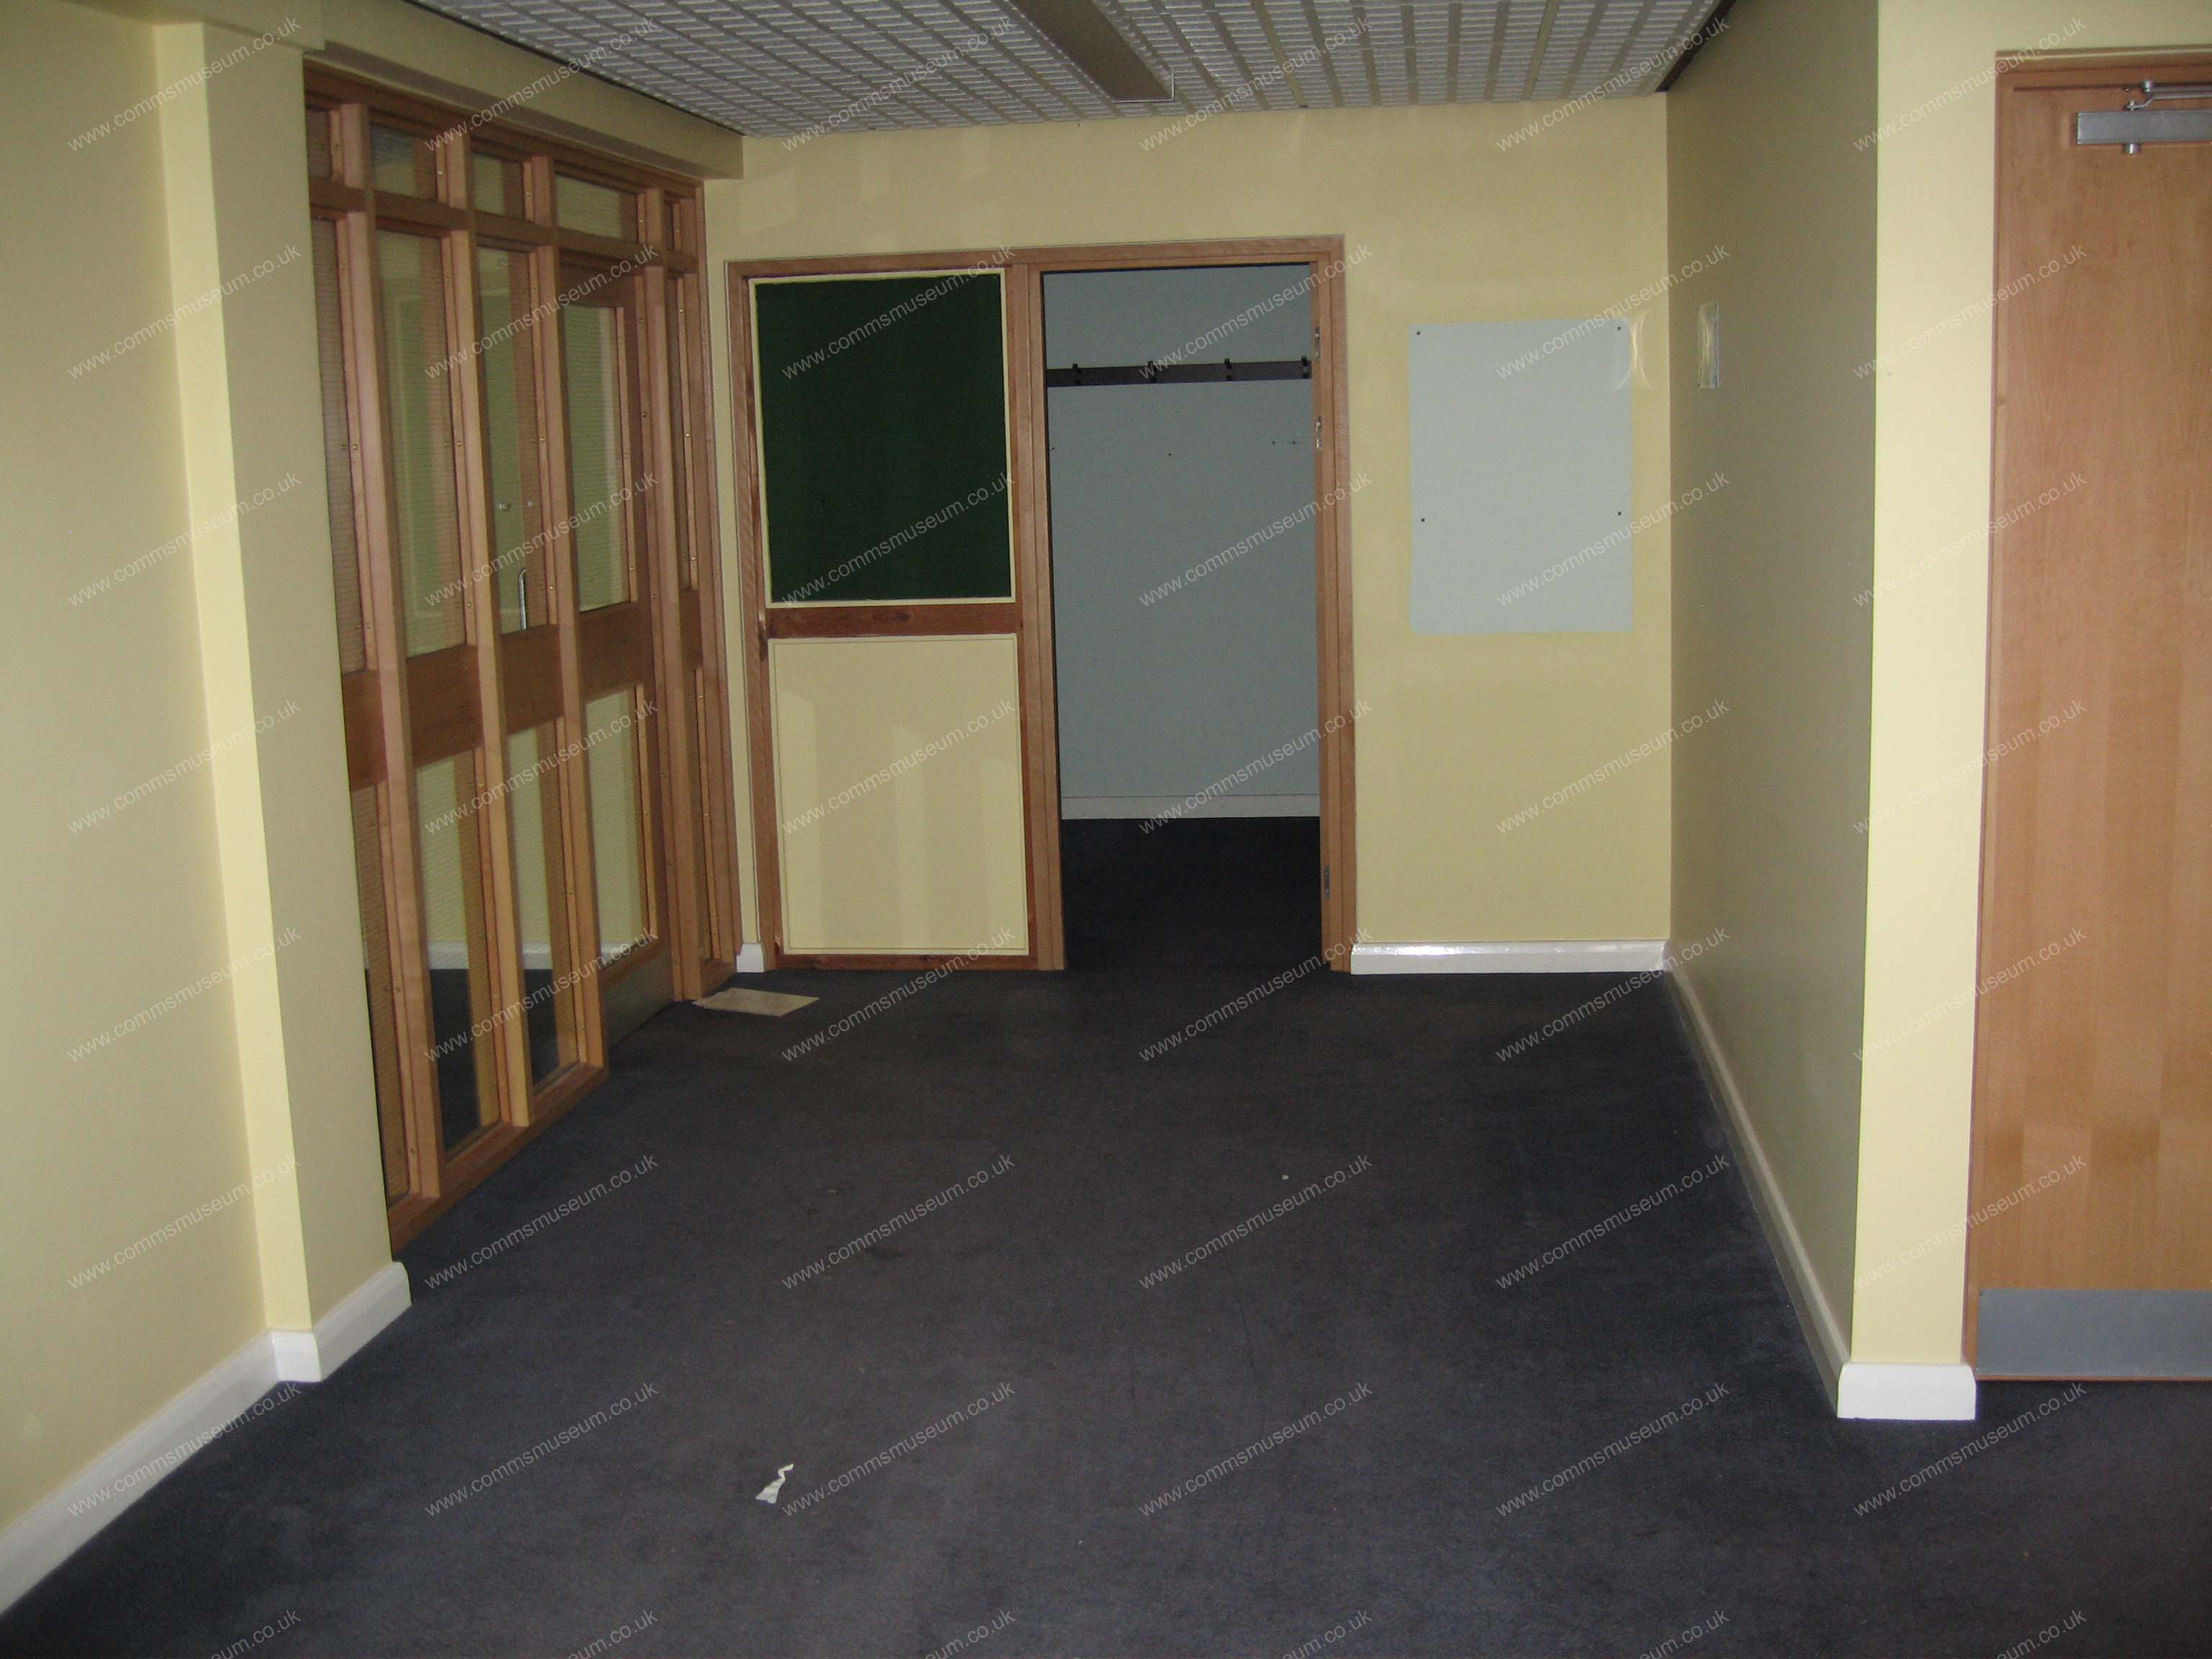
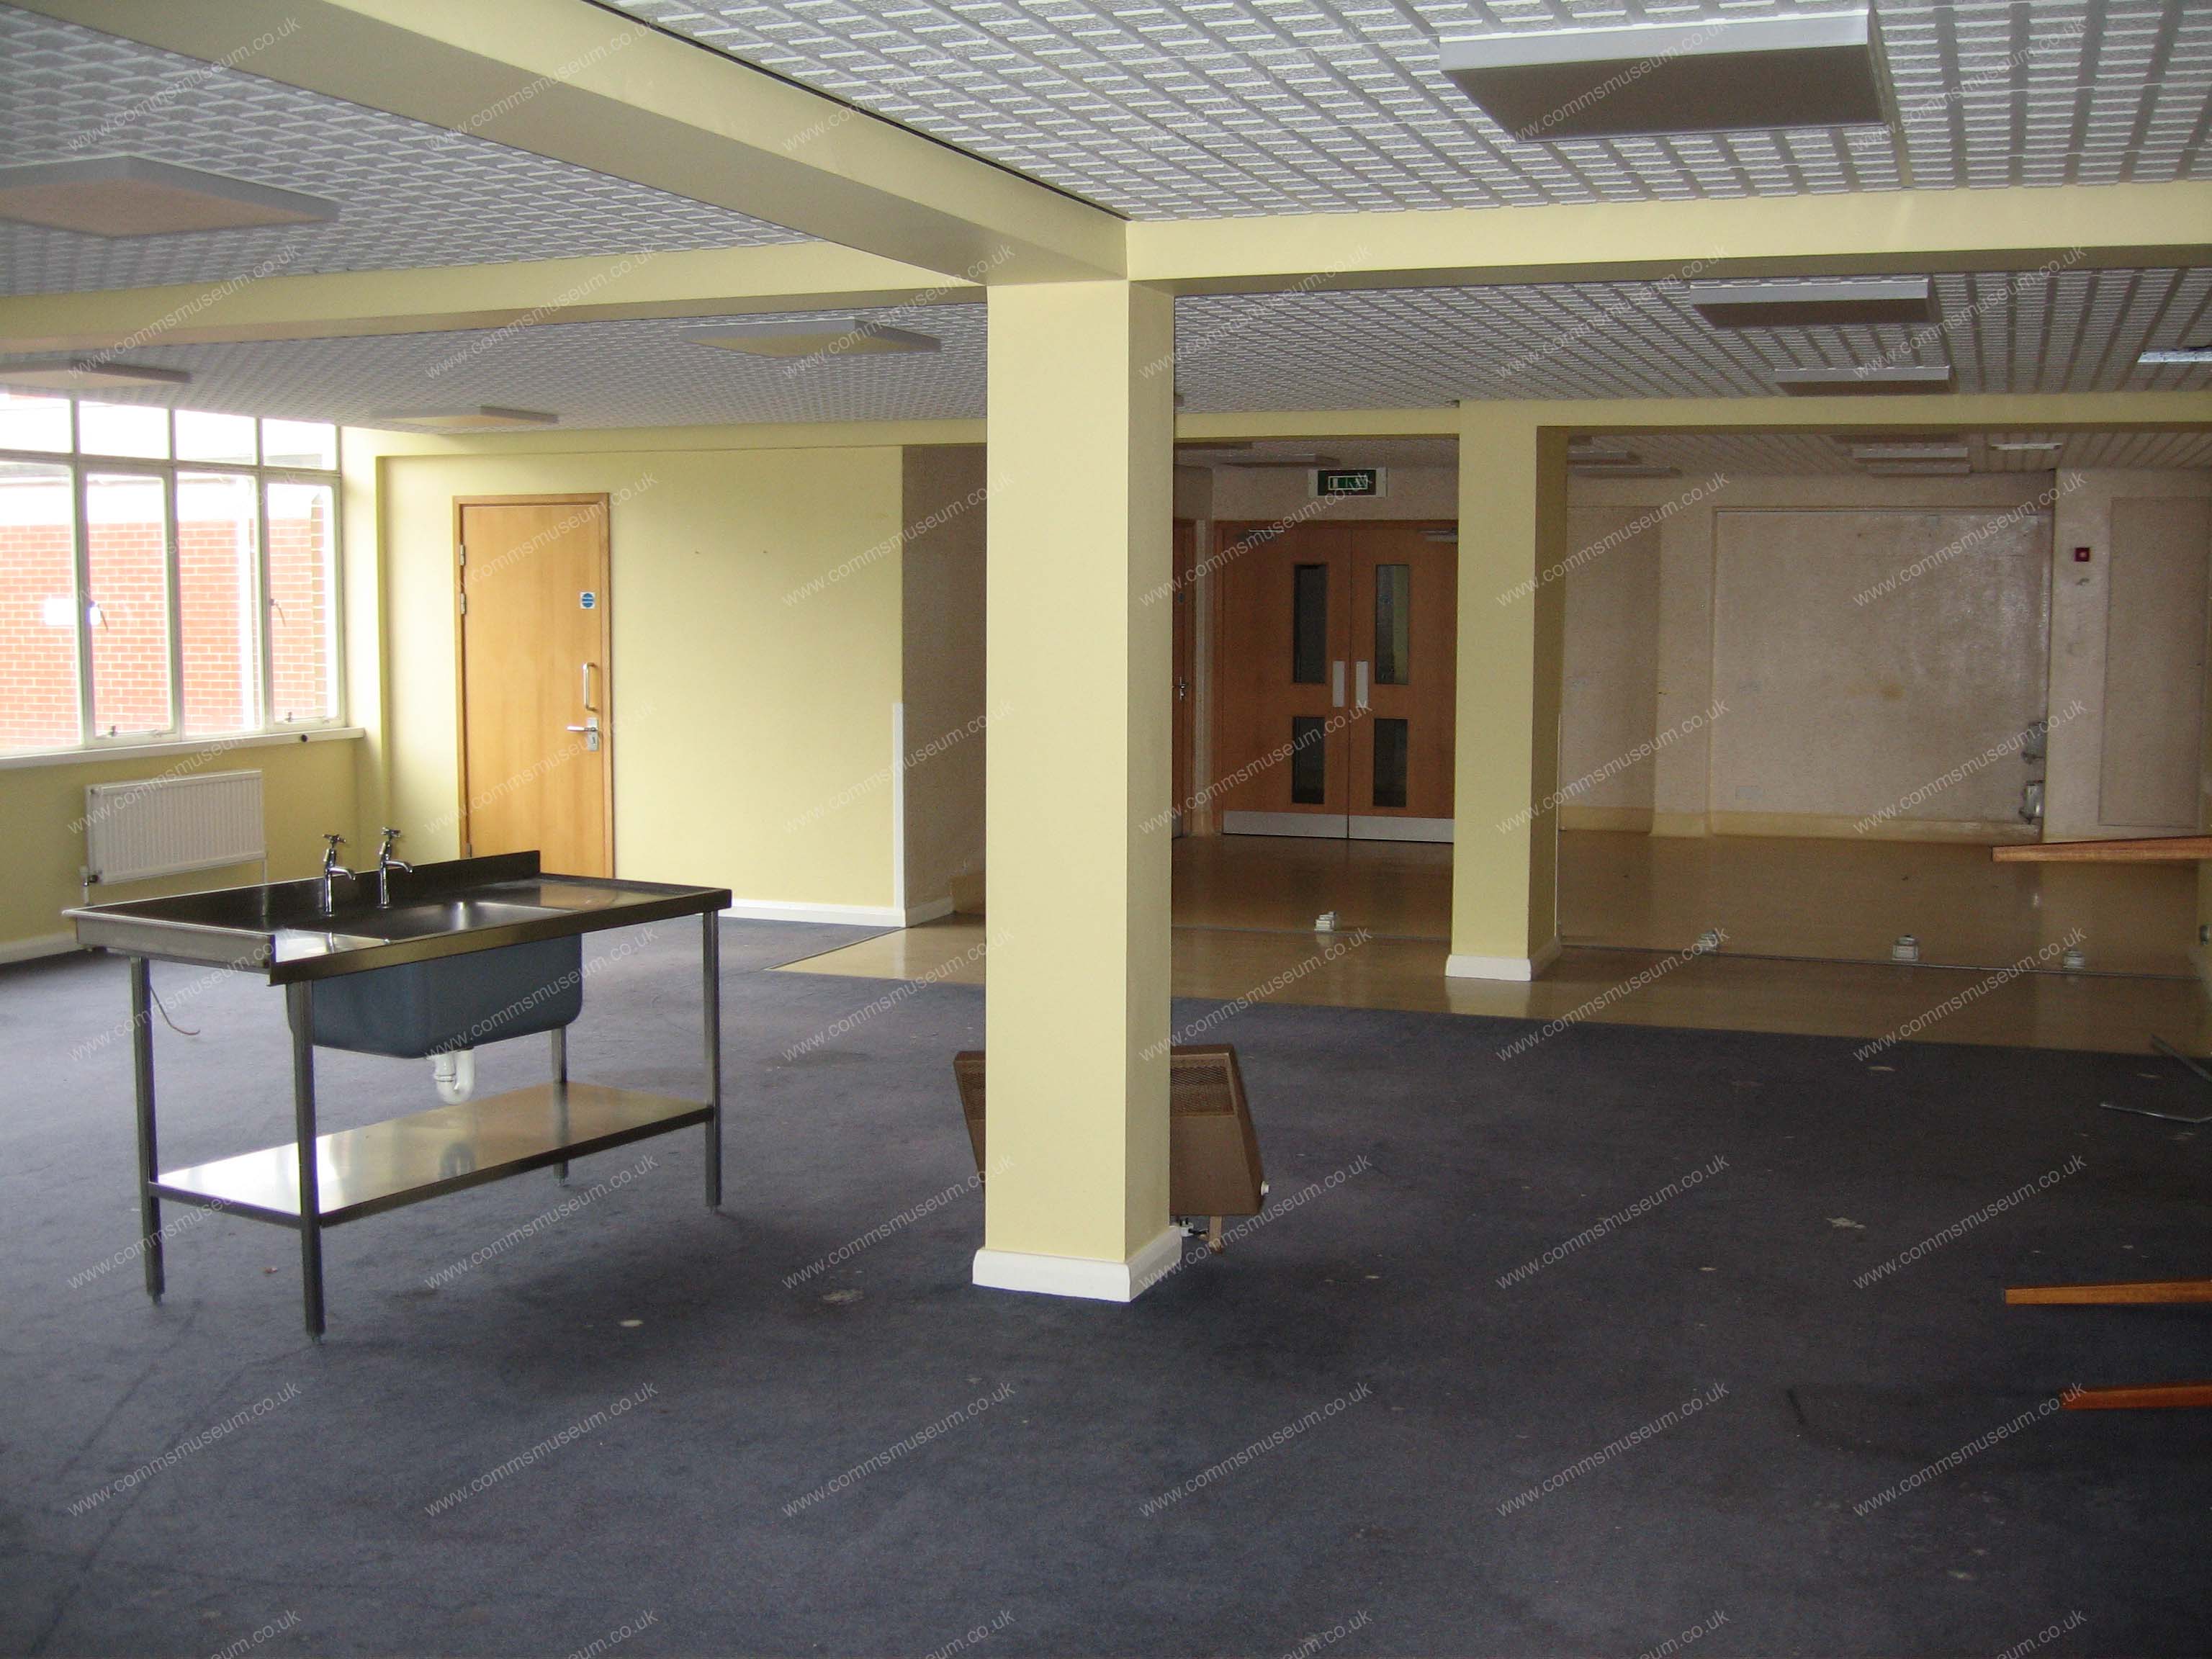
Ashmore Block Office |
|
Ashmore Block Southern Elevation |
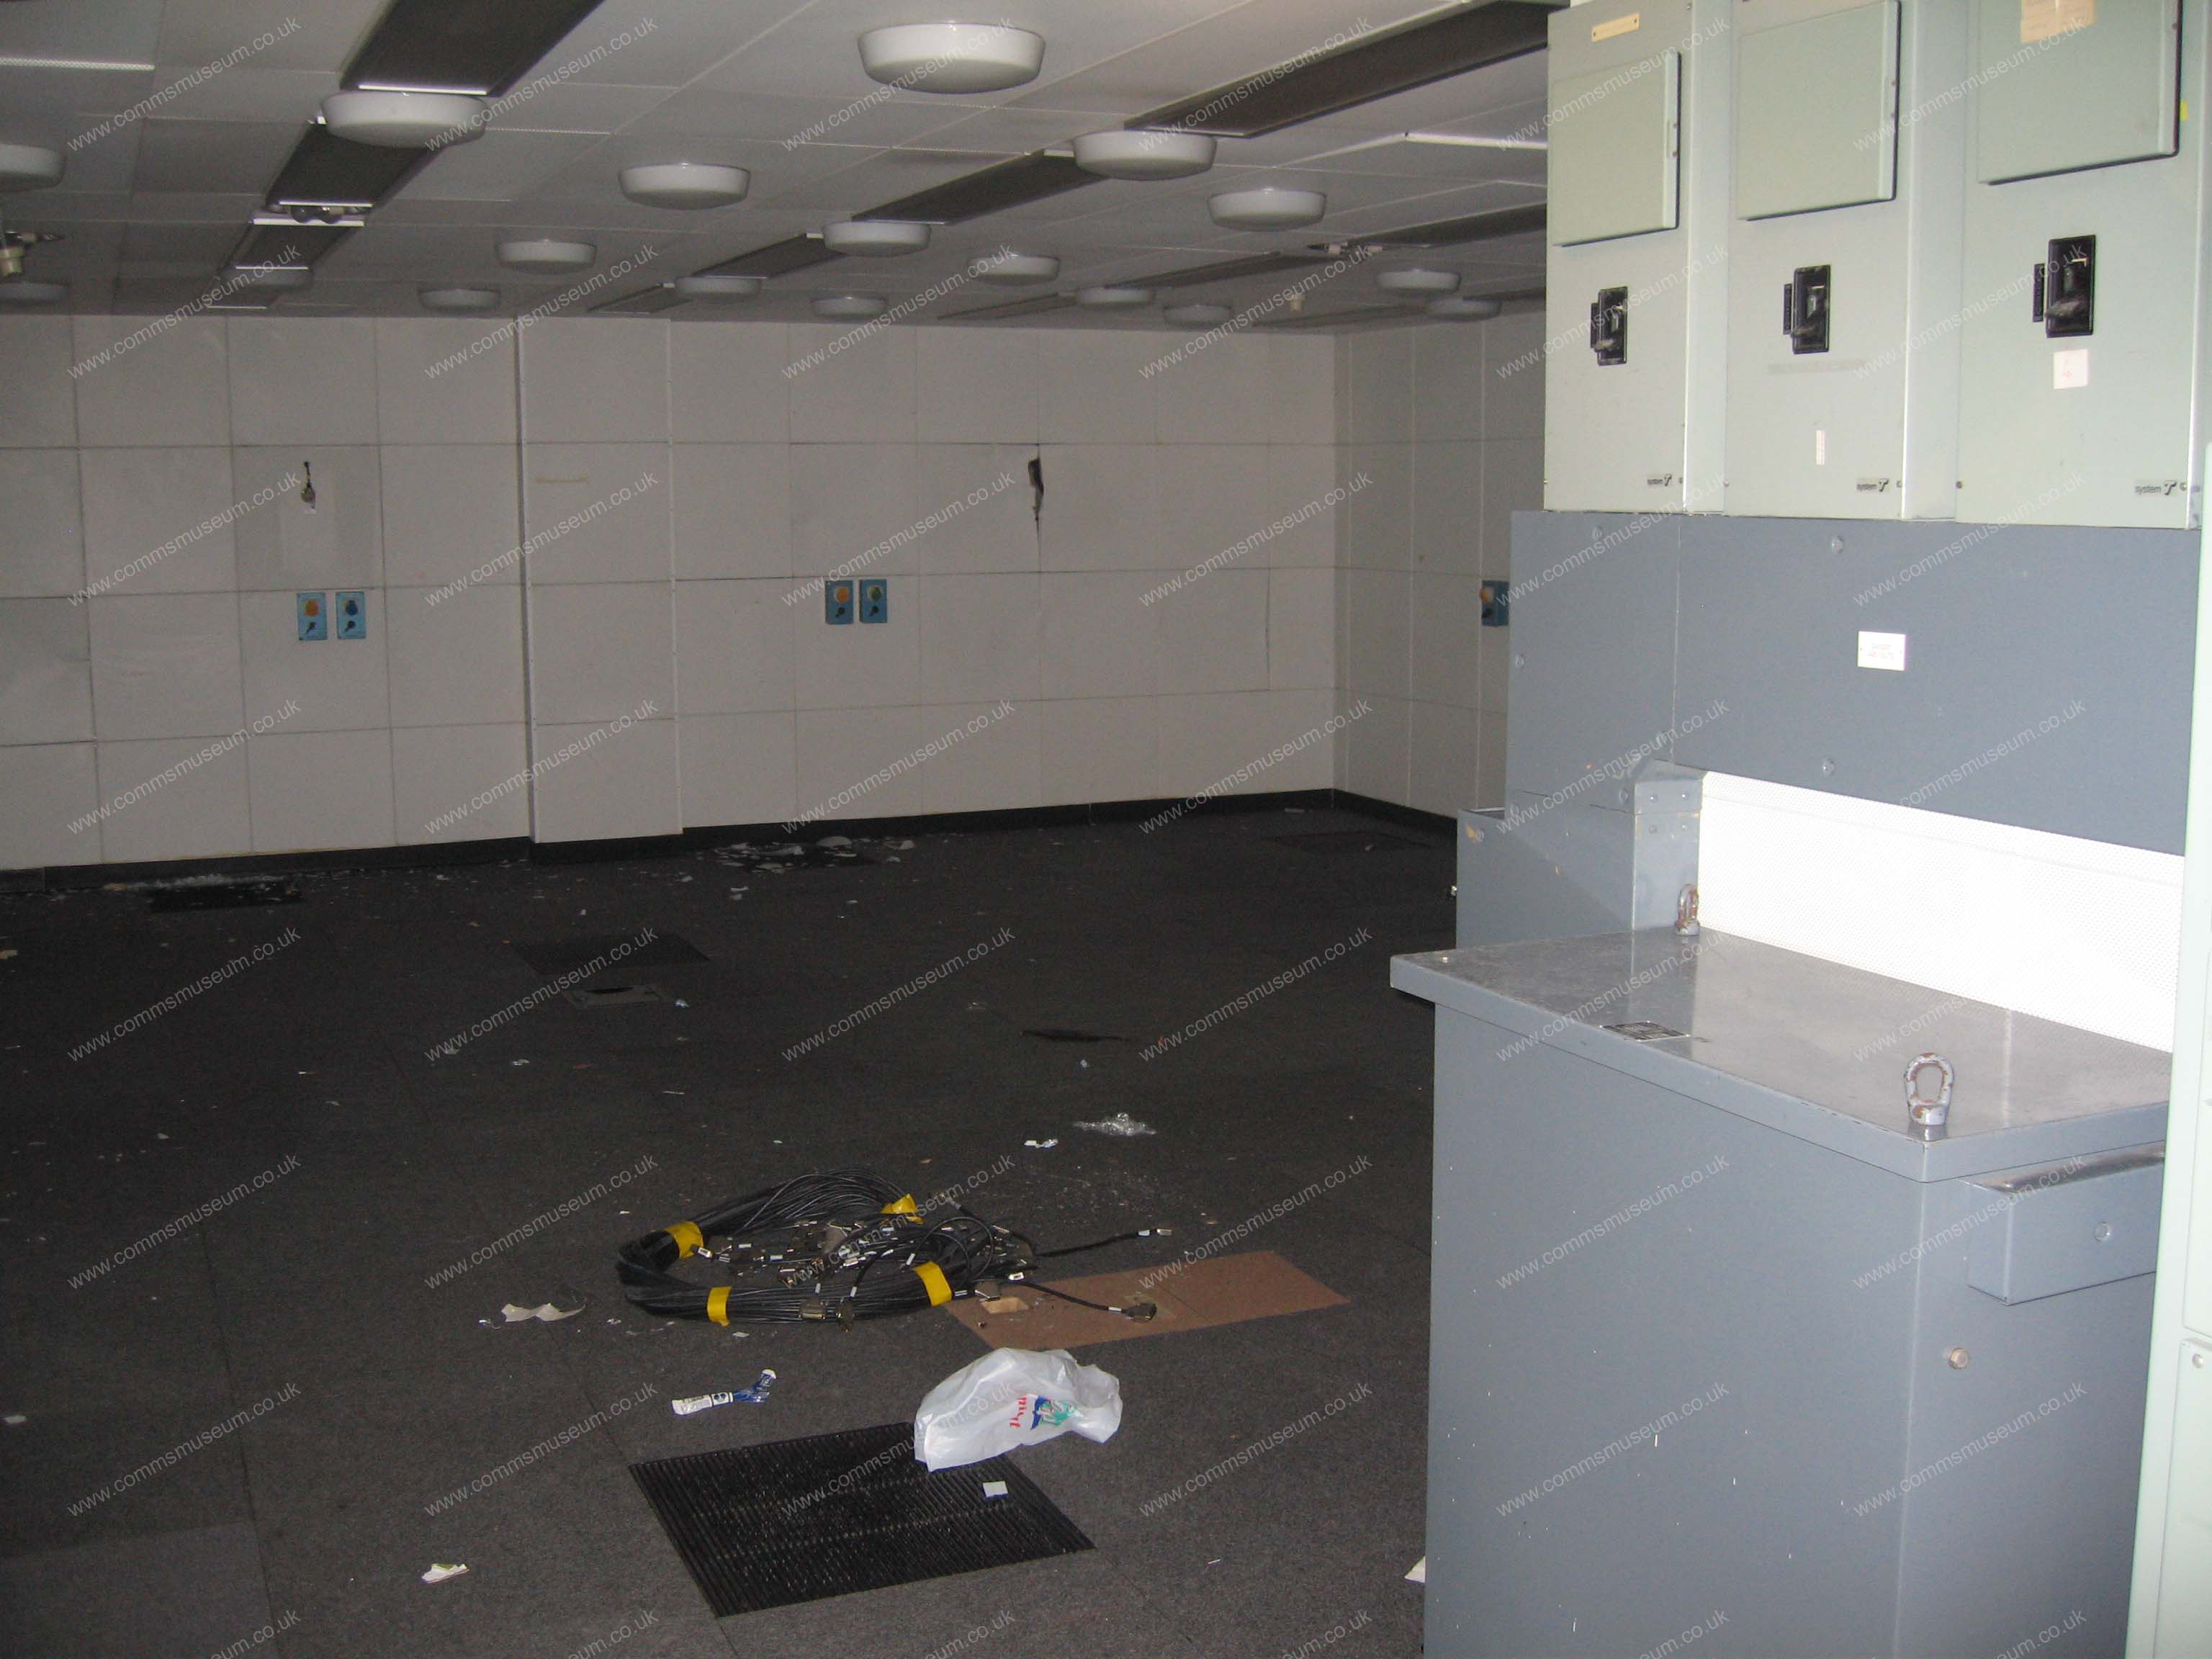
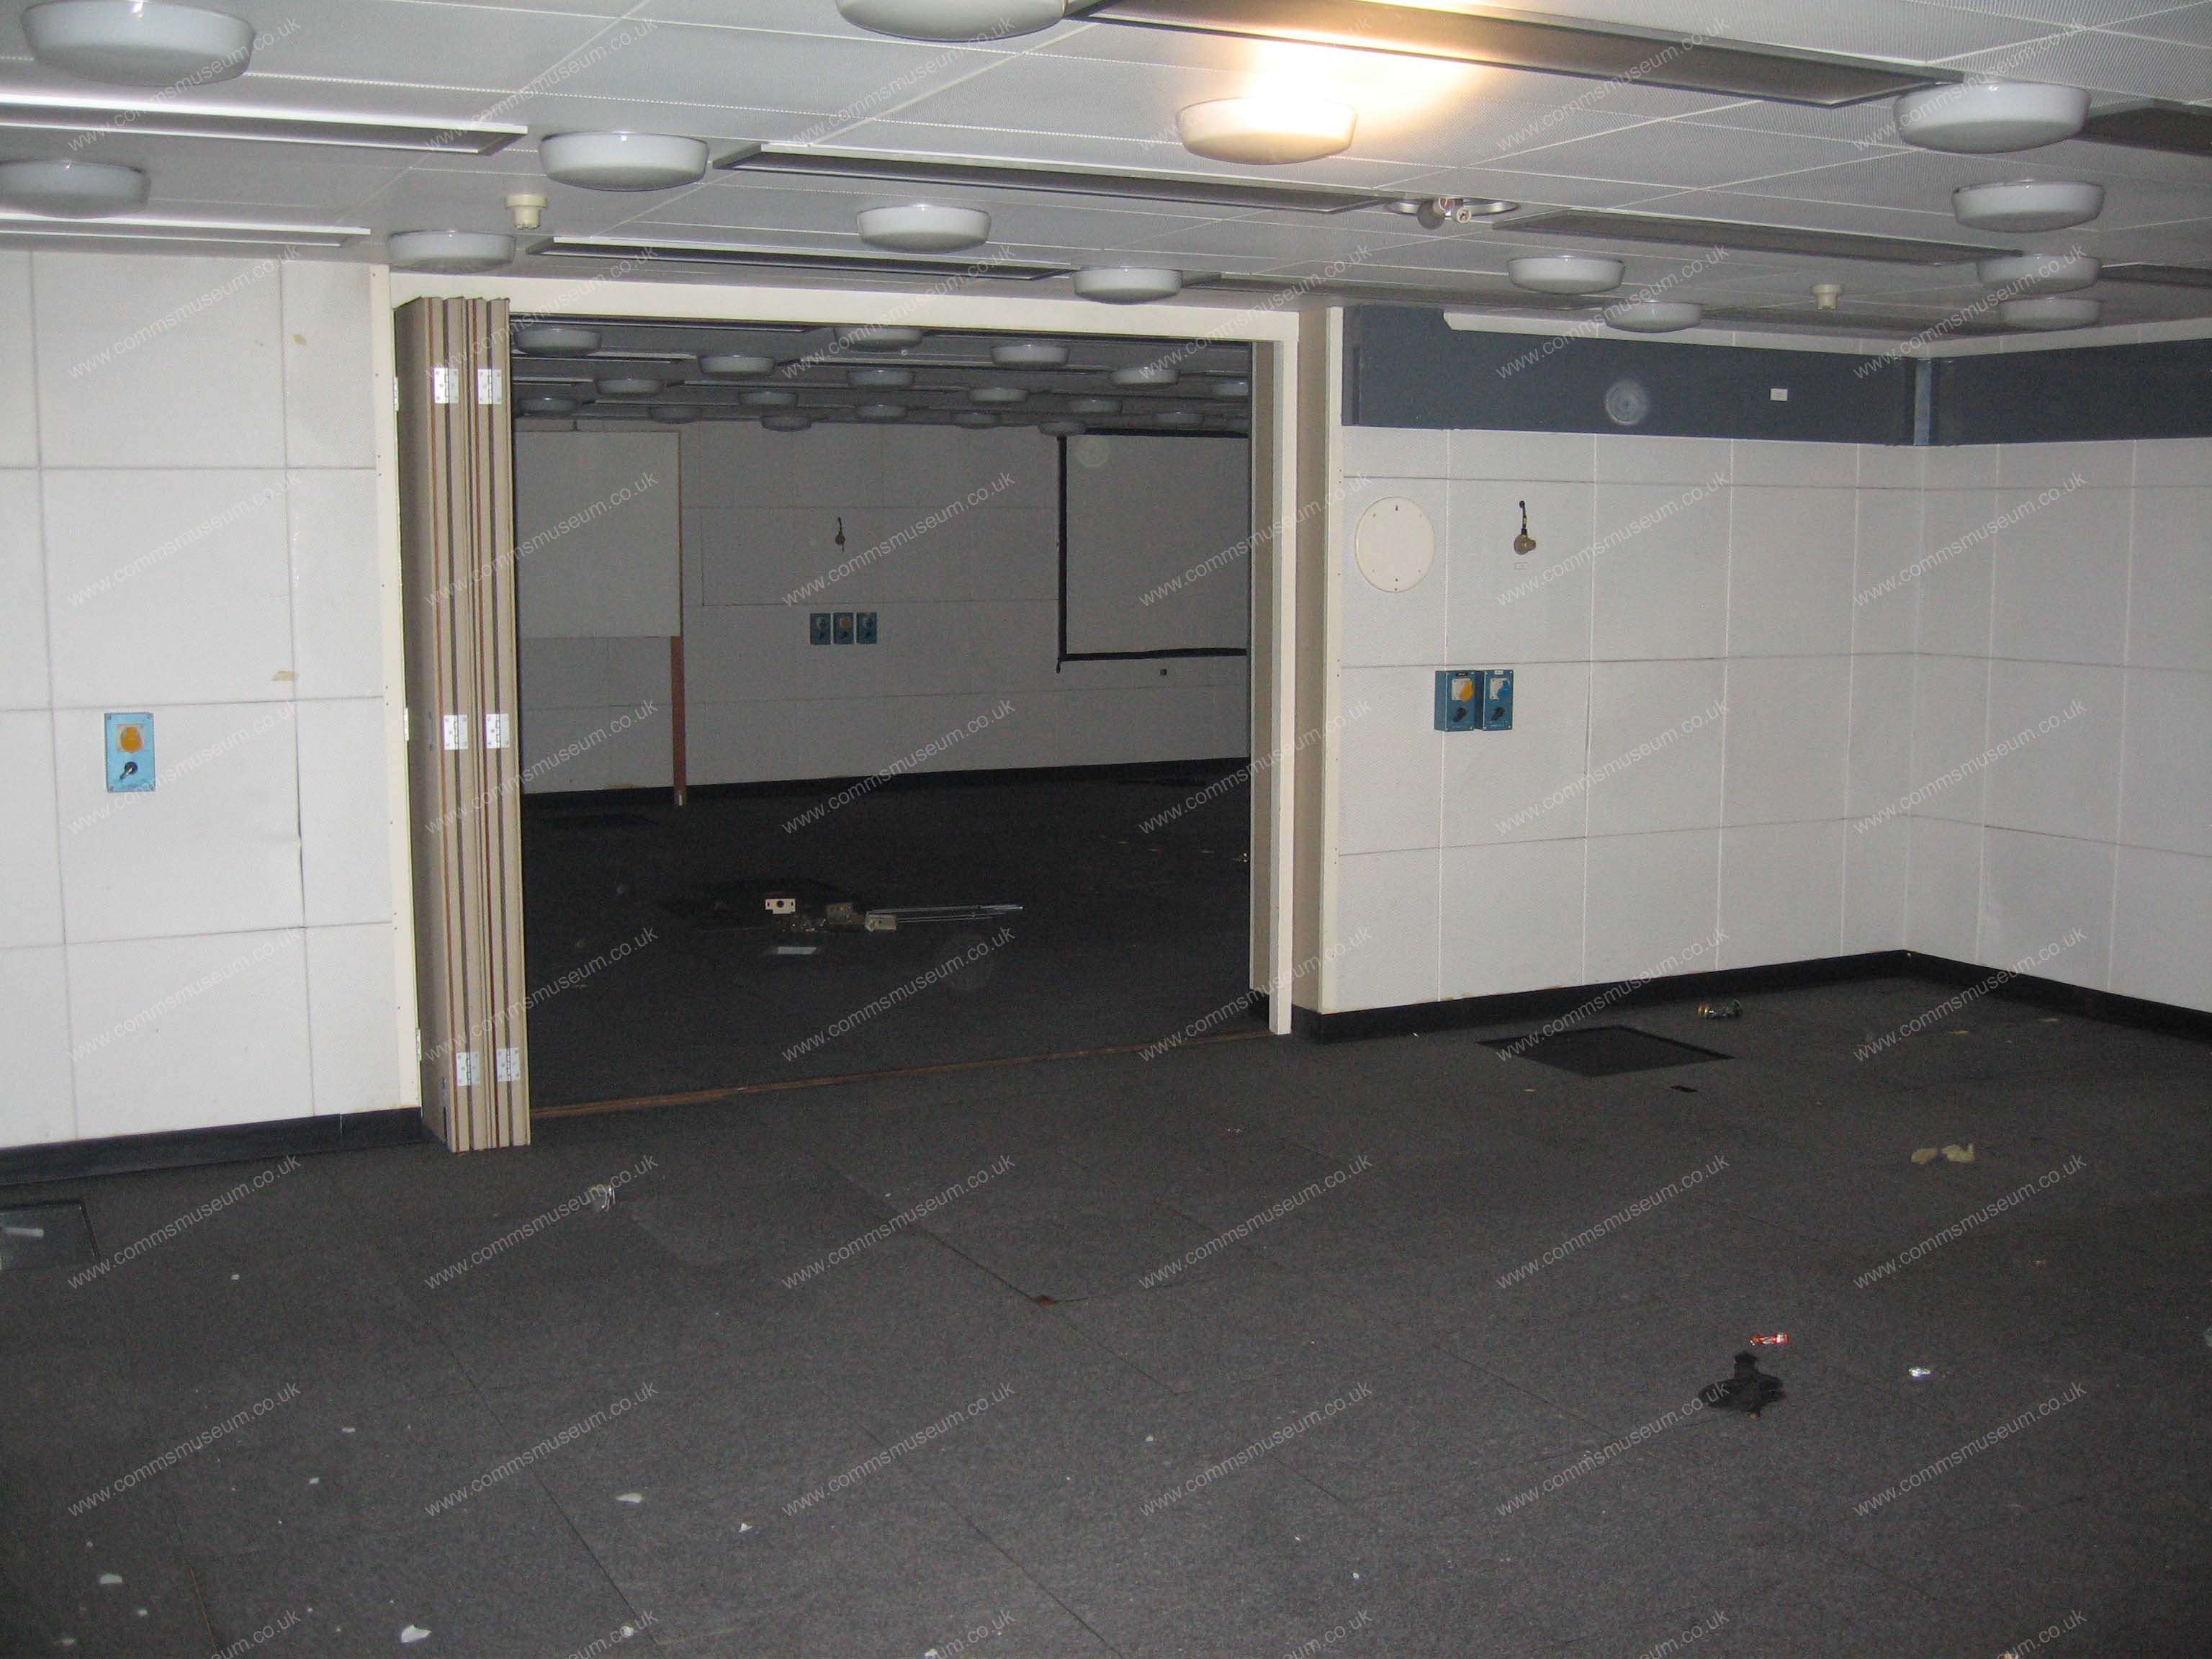
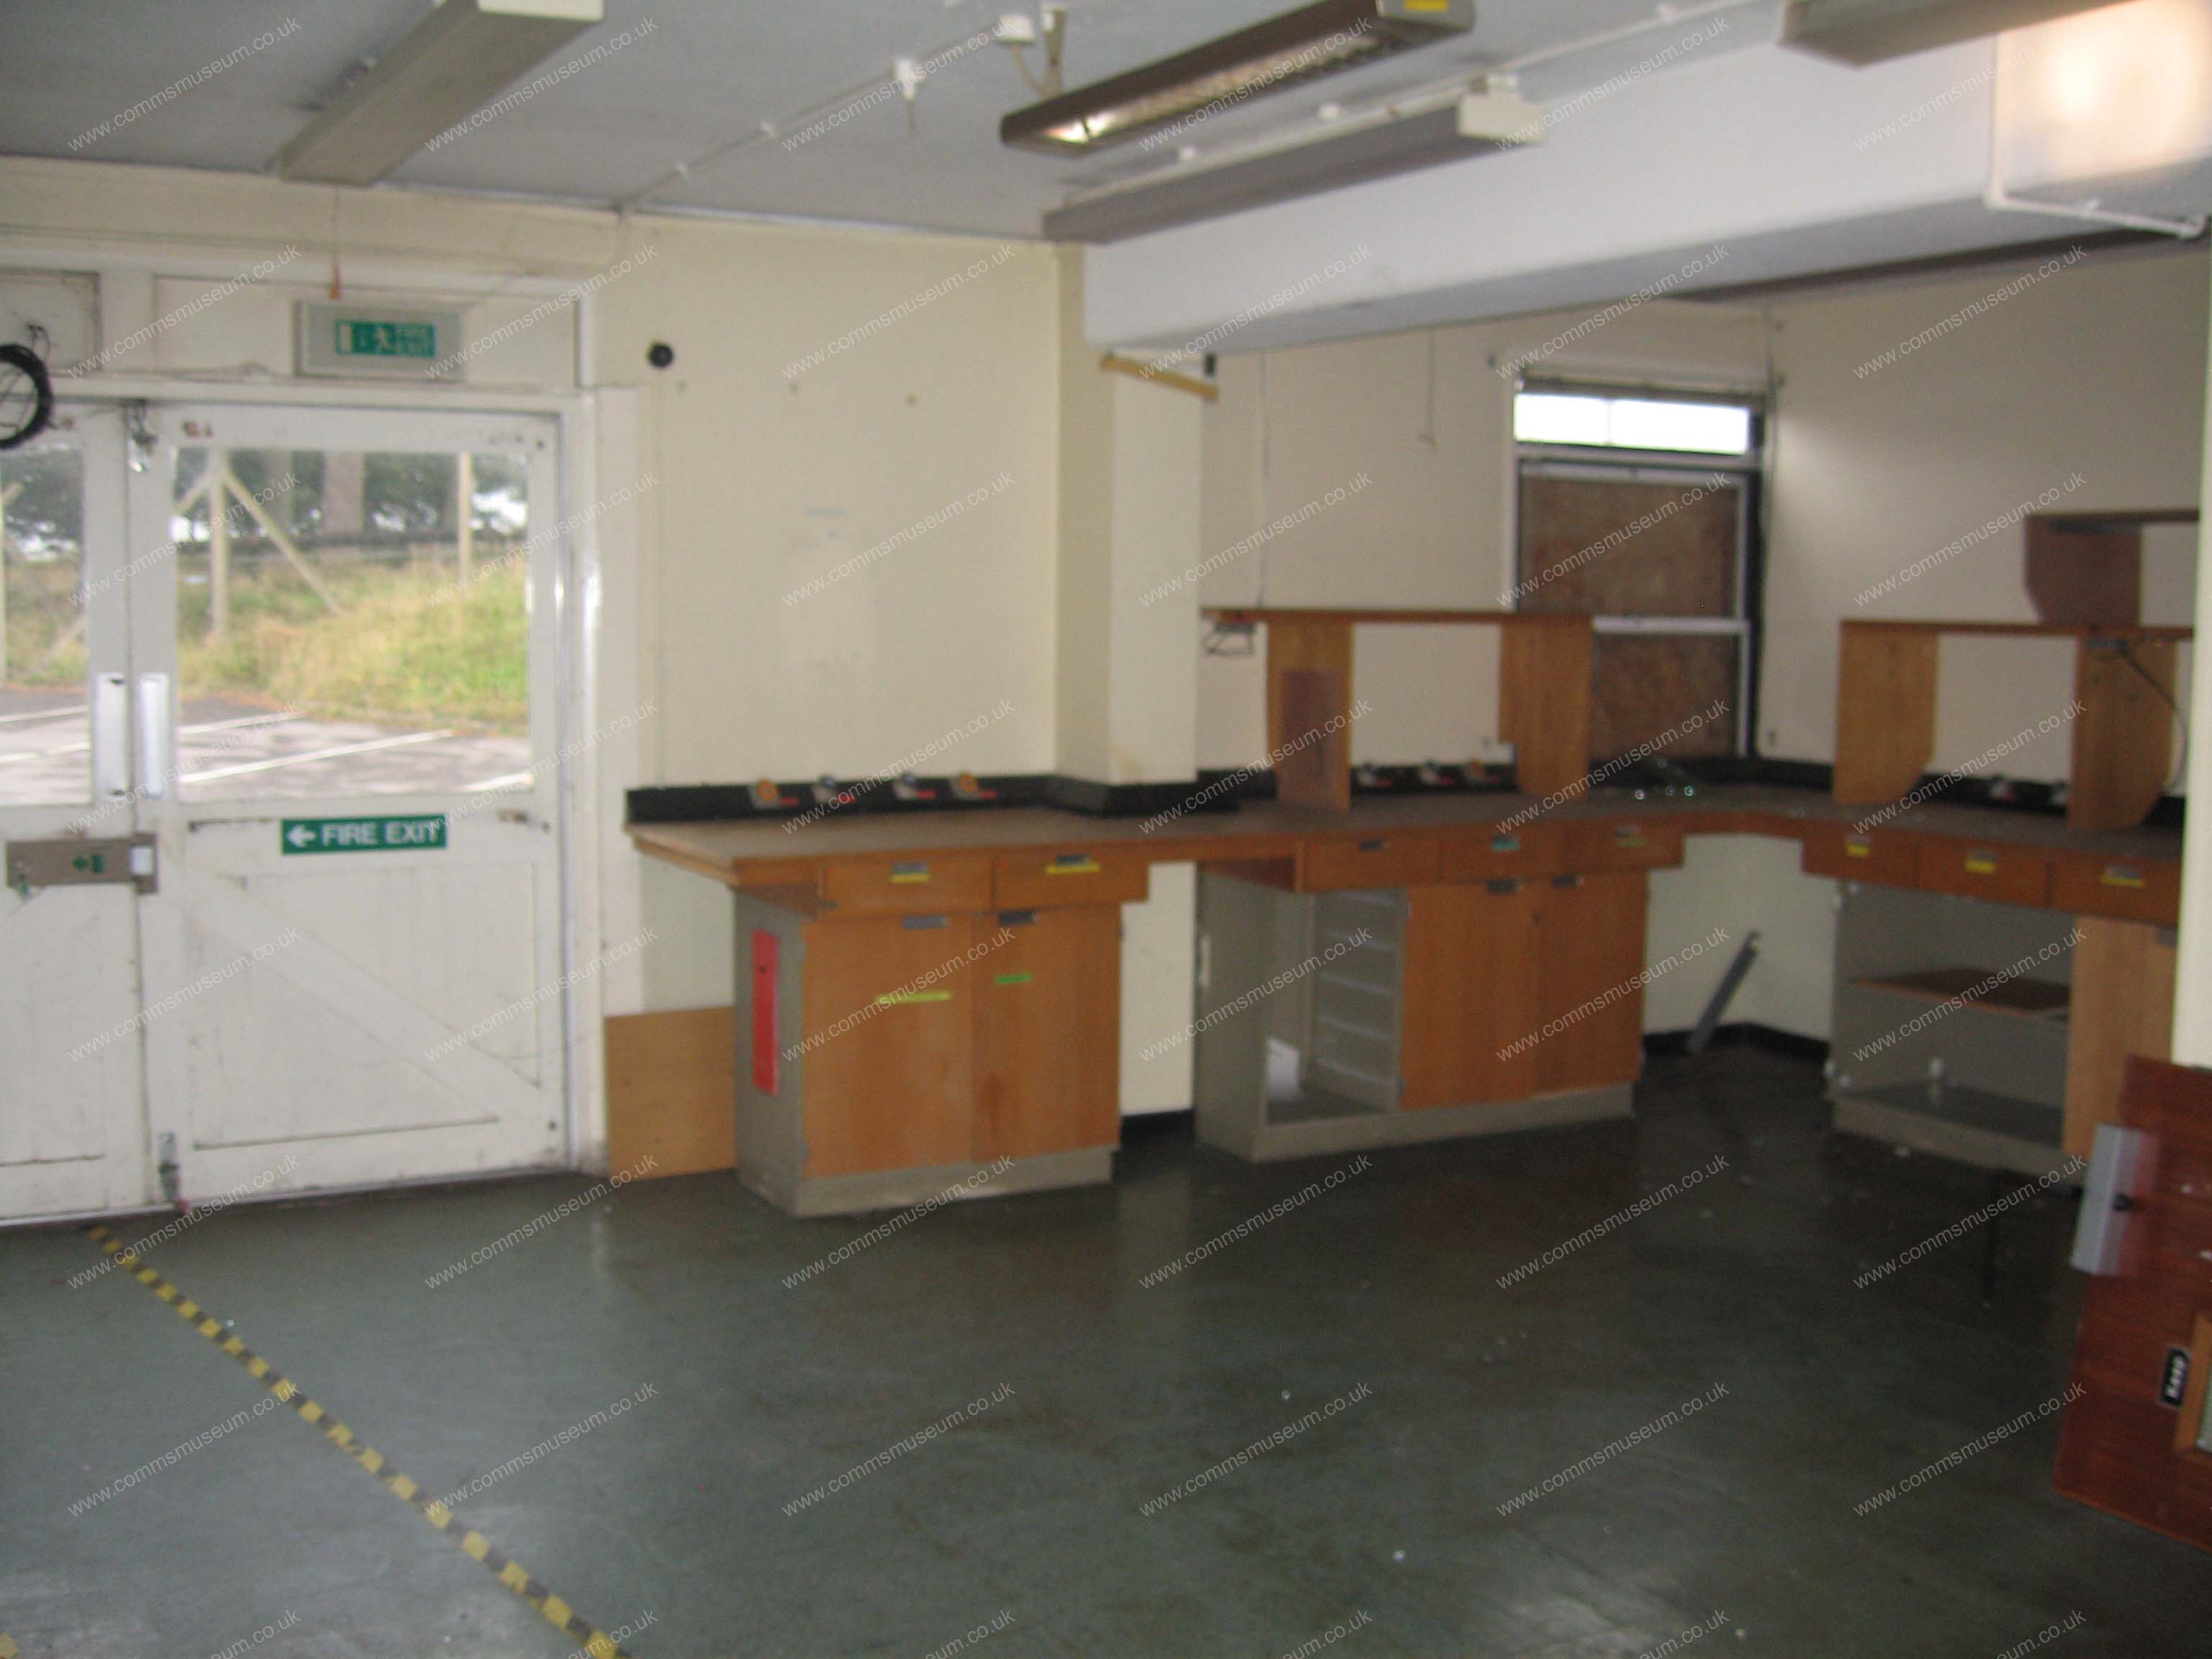
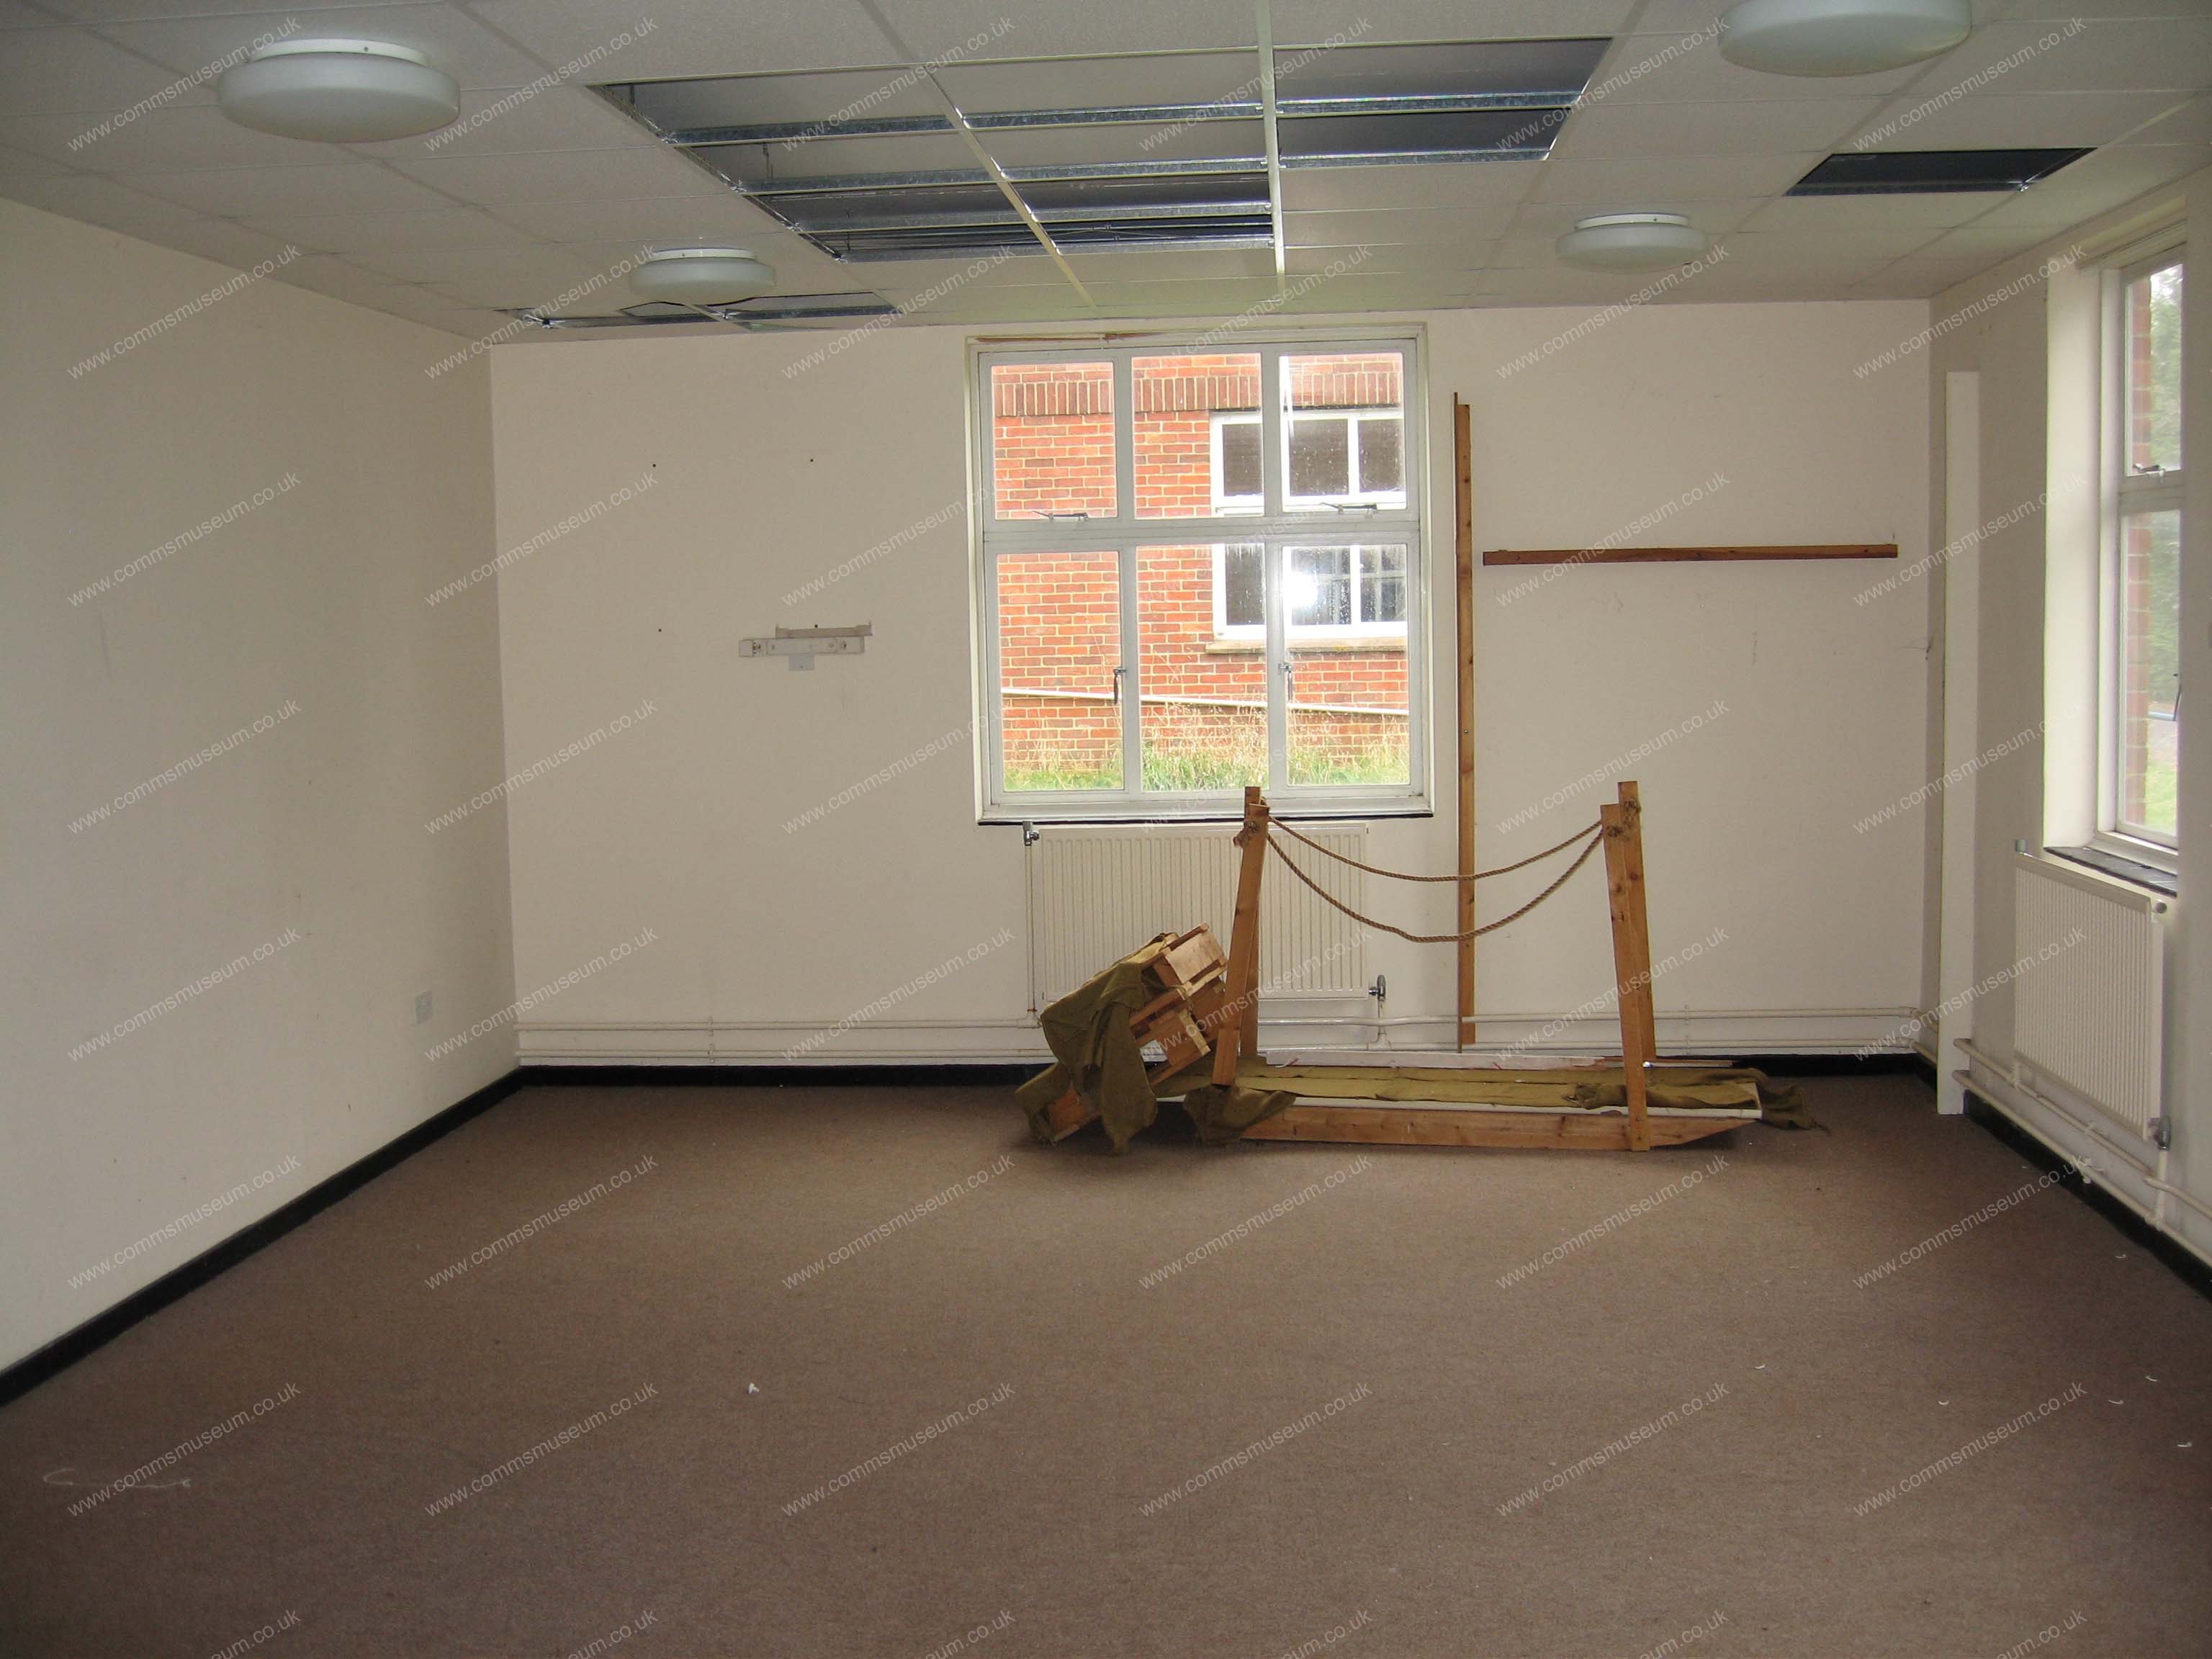
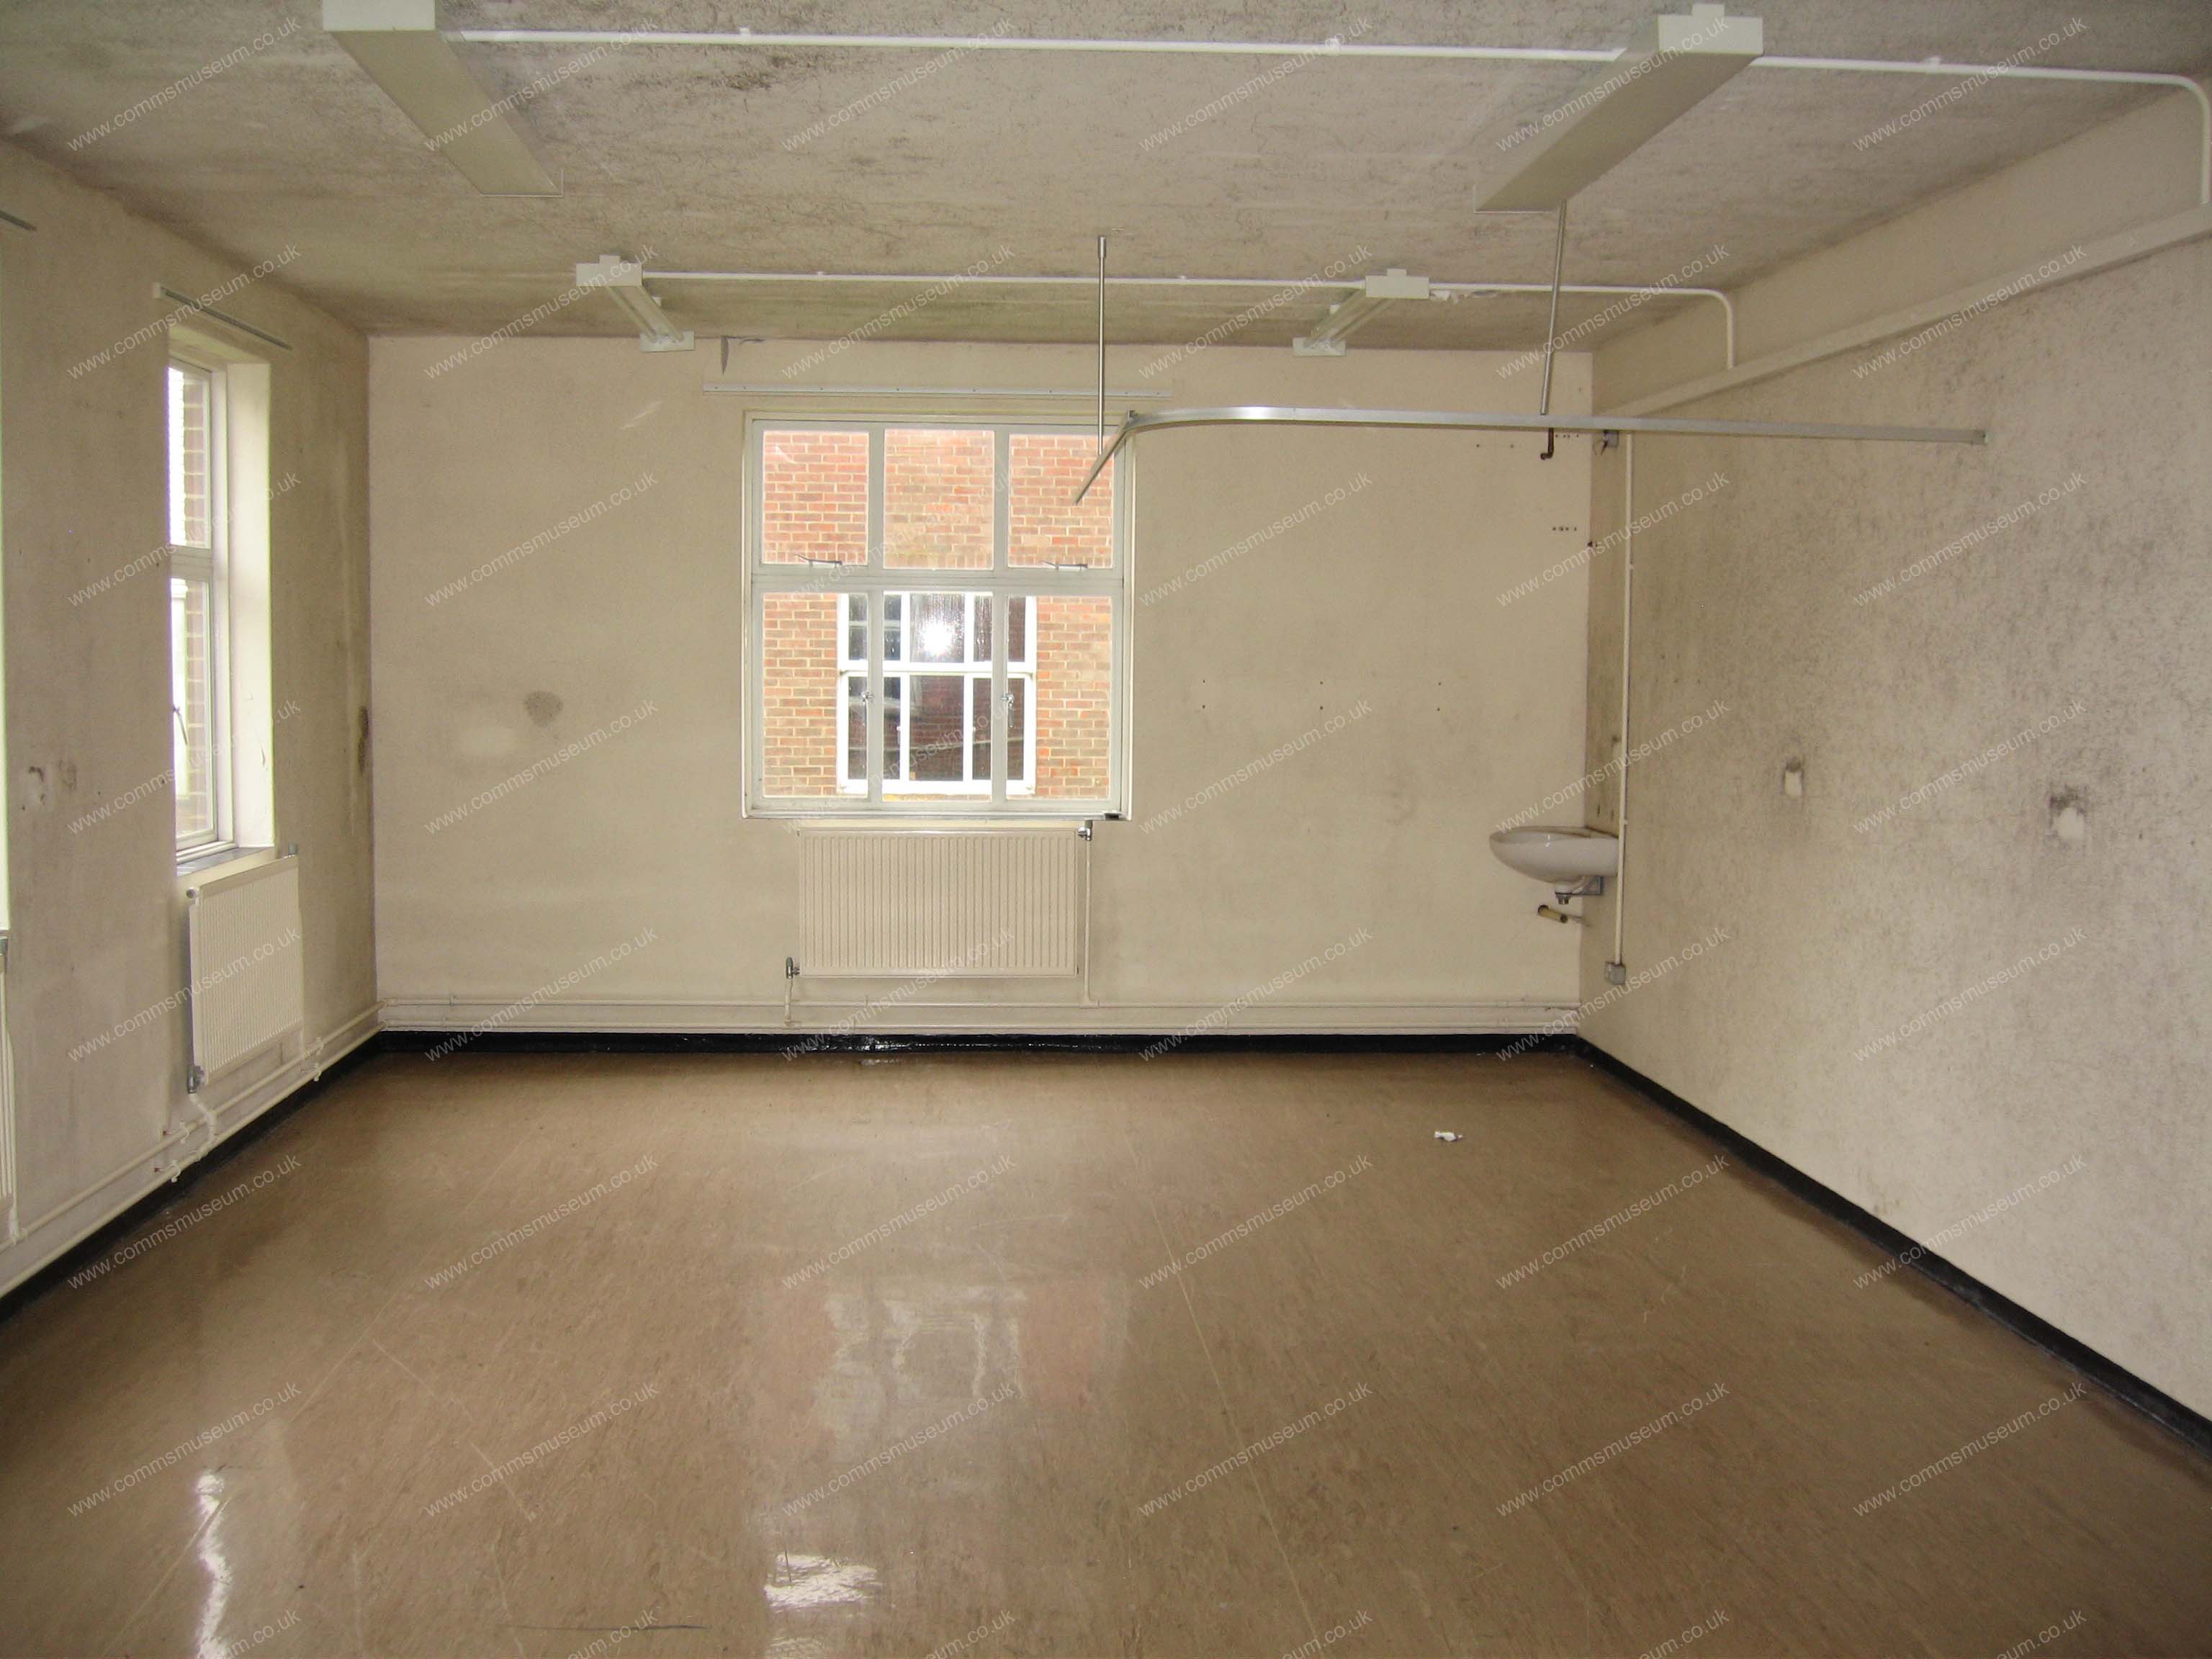
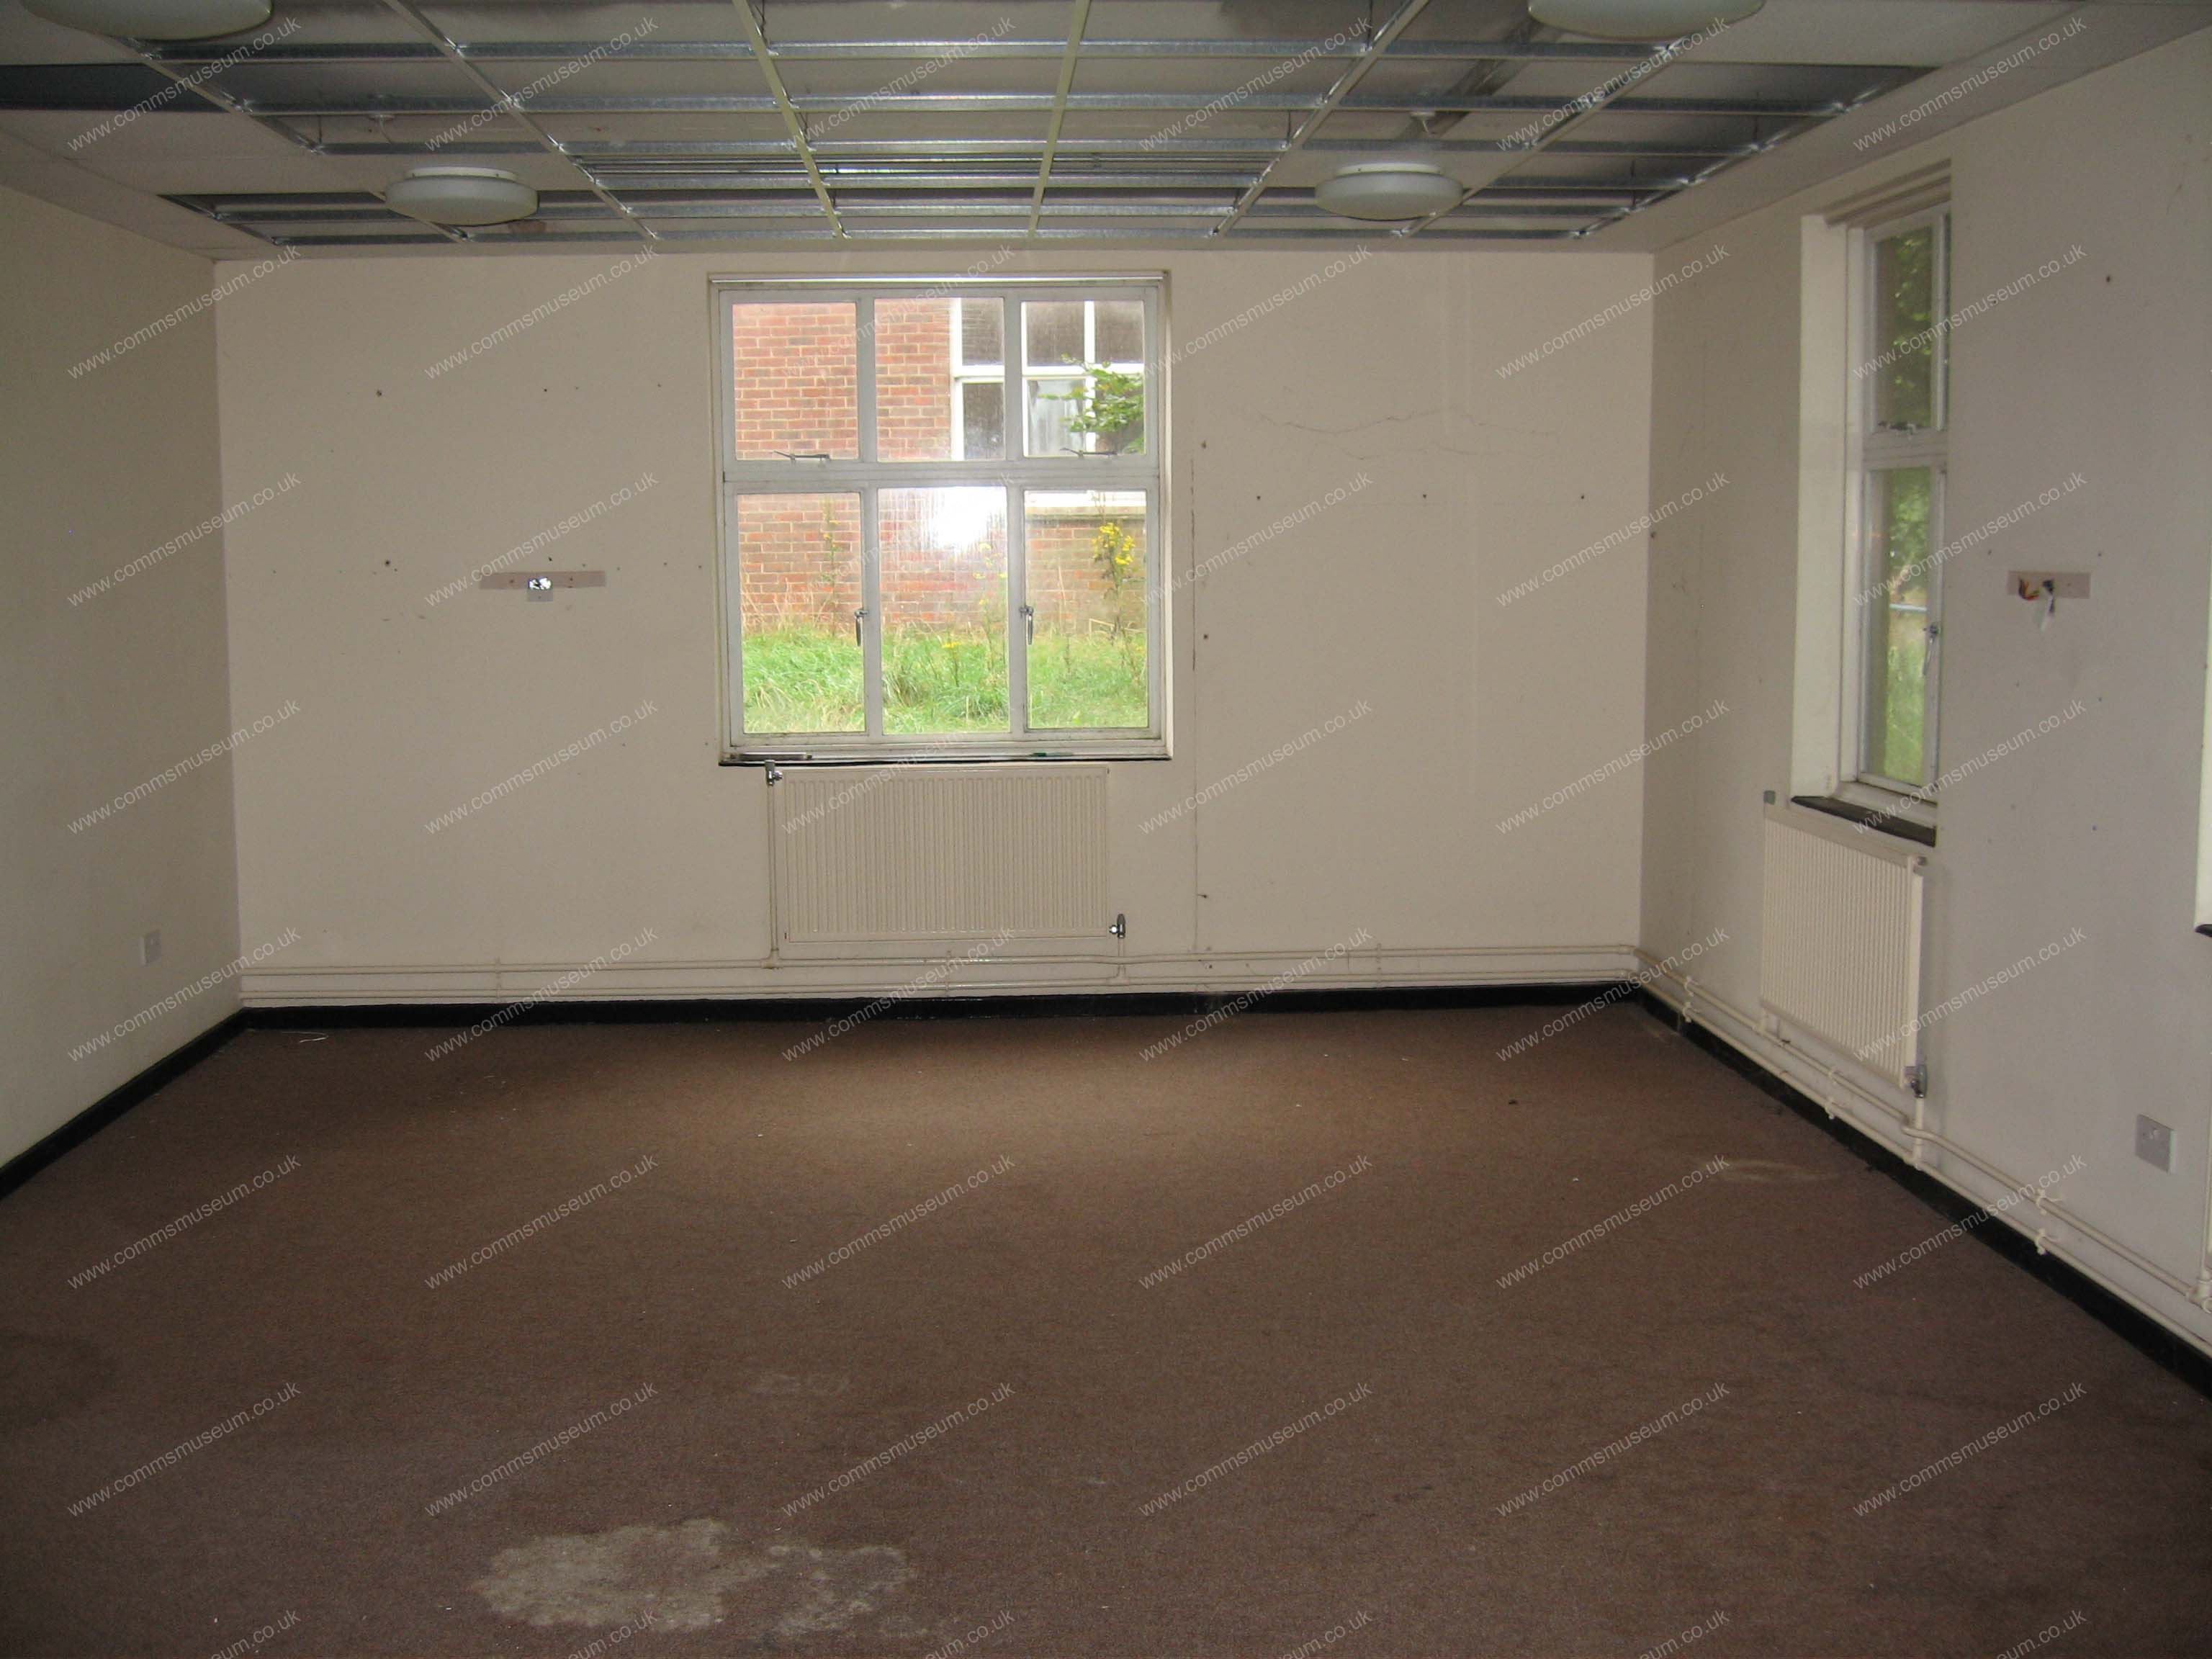
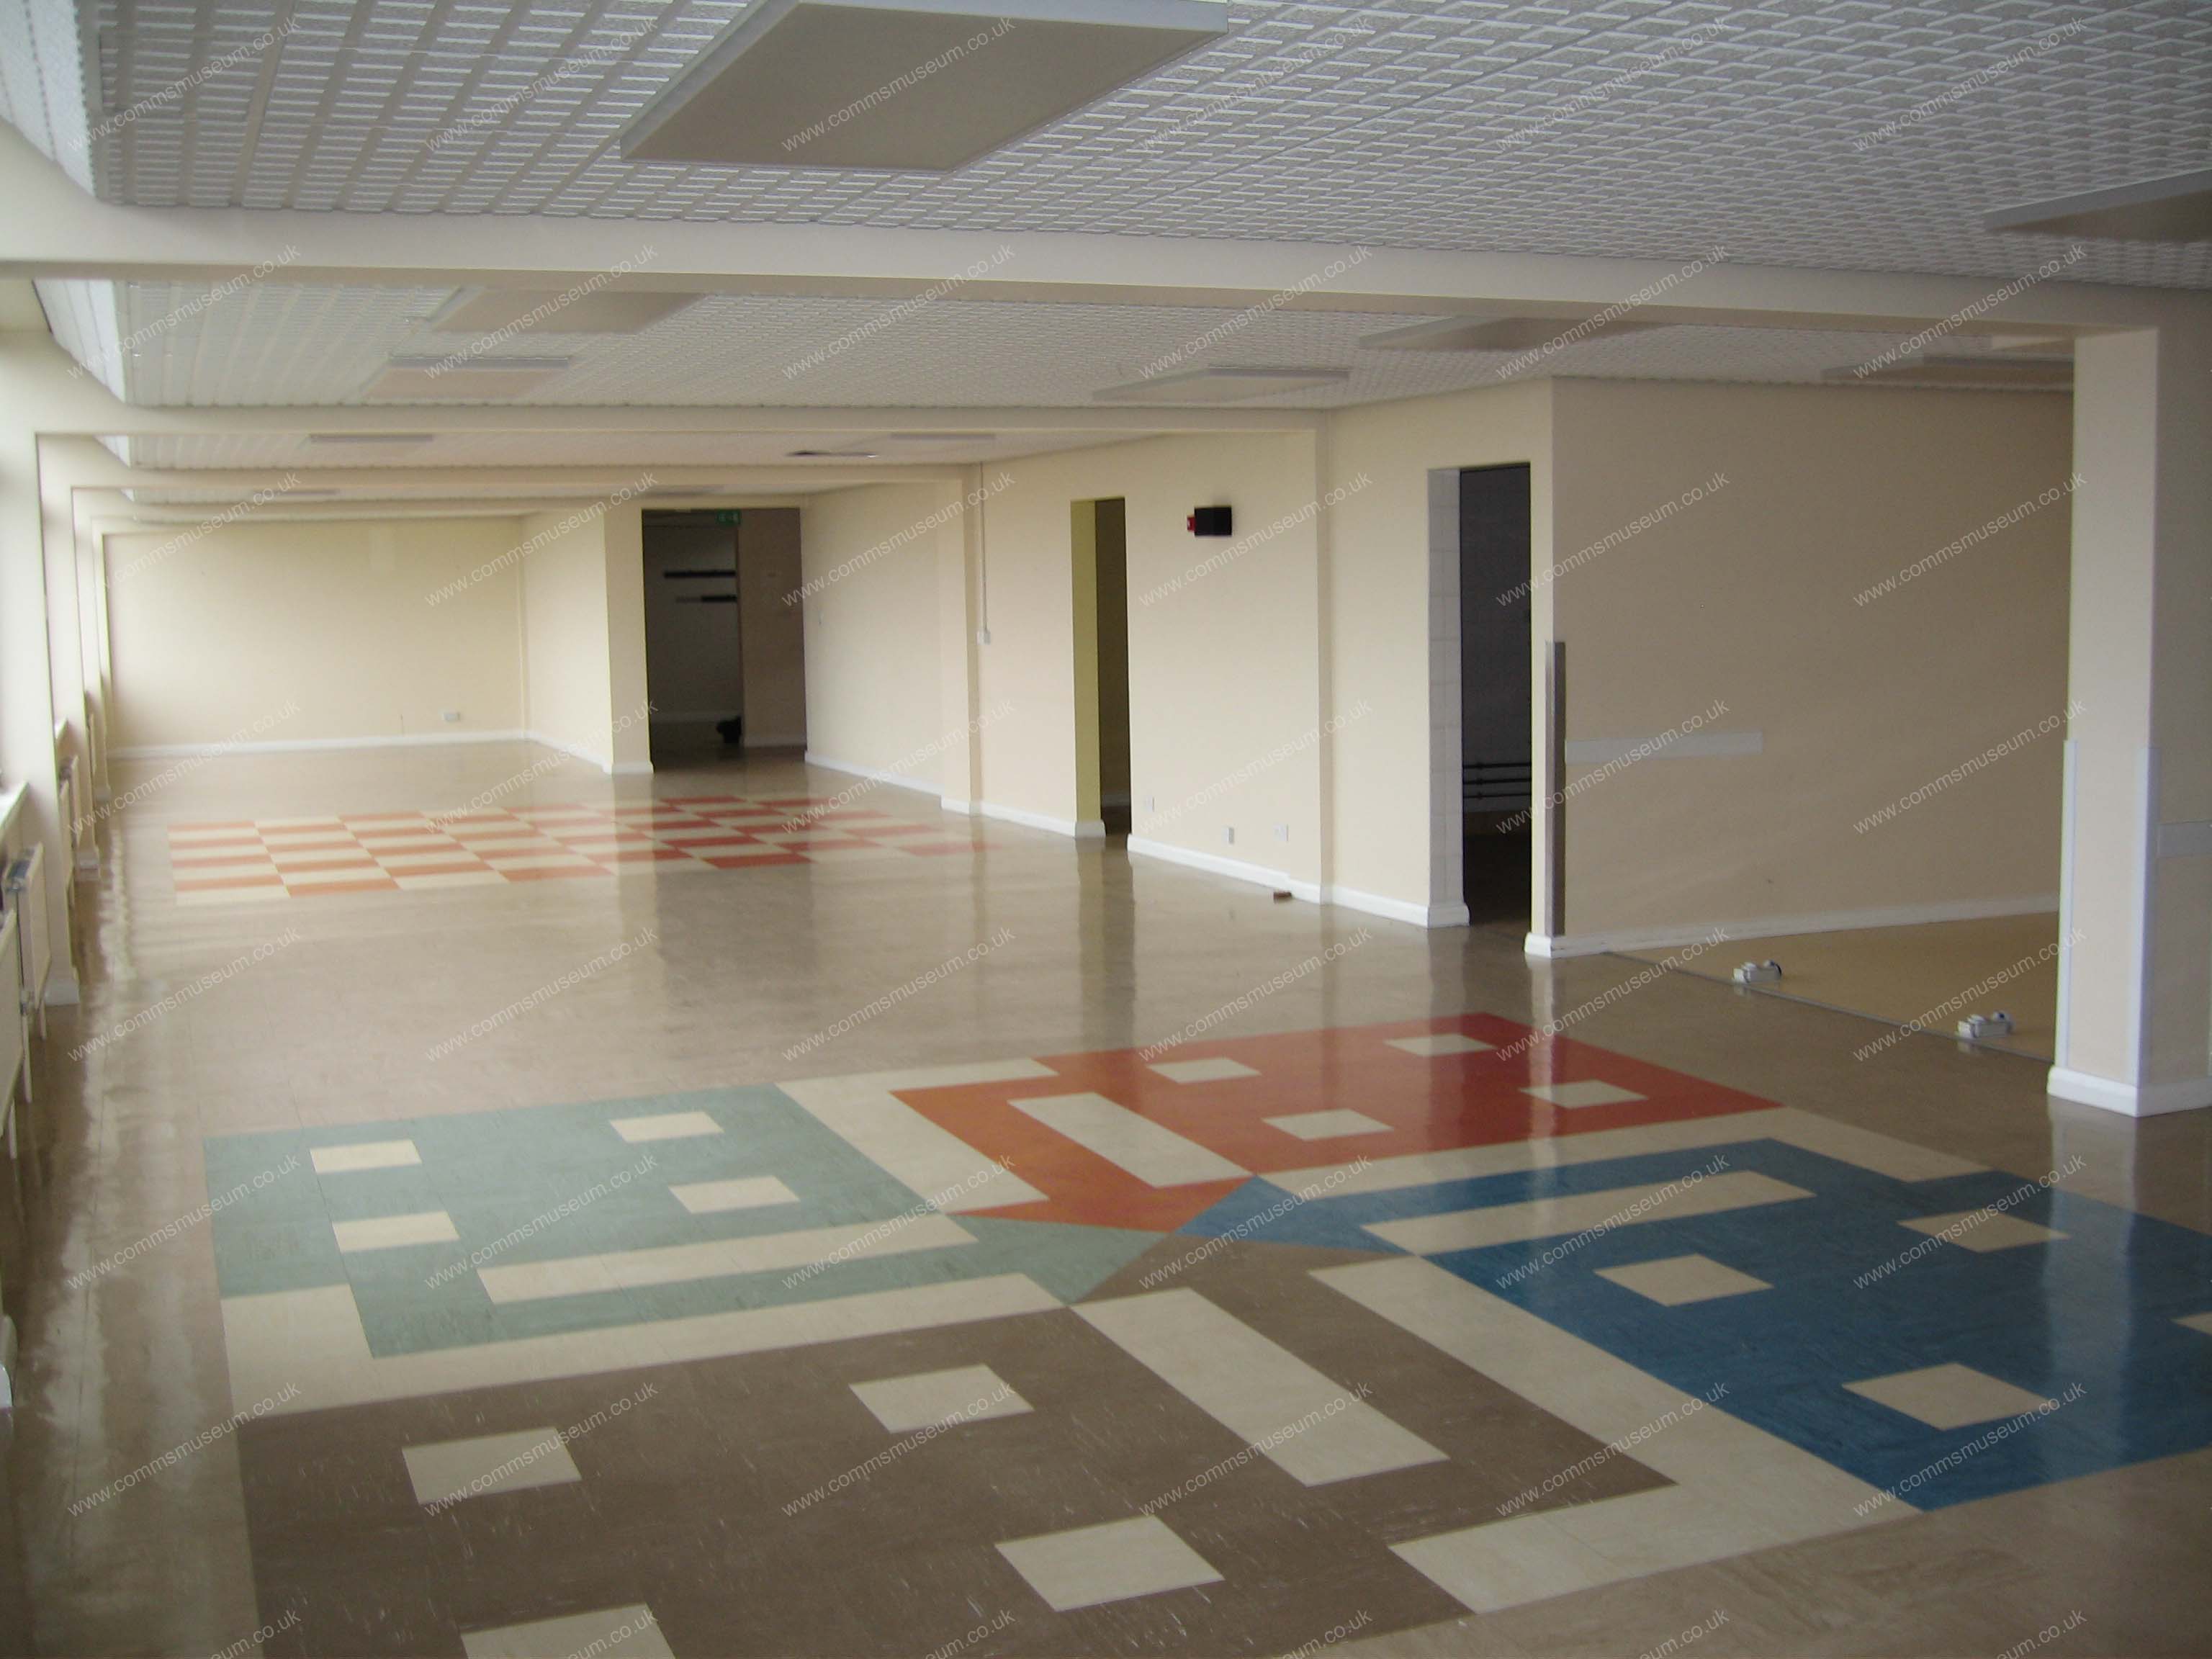
Ashmore Block Testing & Training |
Ashmore Block View from Northern Courtyard |
Blake Block |
|
Blake Block |

Blake Block |
Blake Block |
Blake Block |
|
Blake Block |
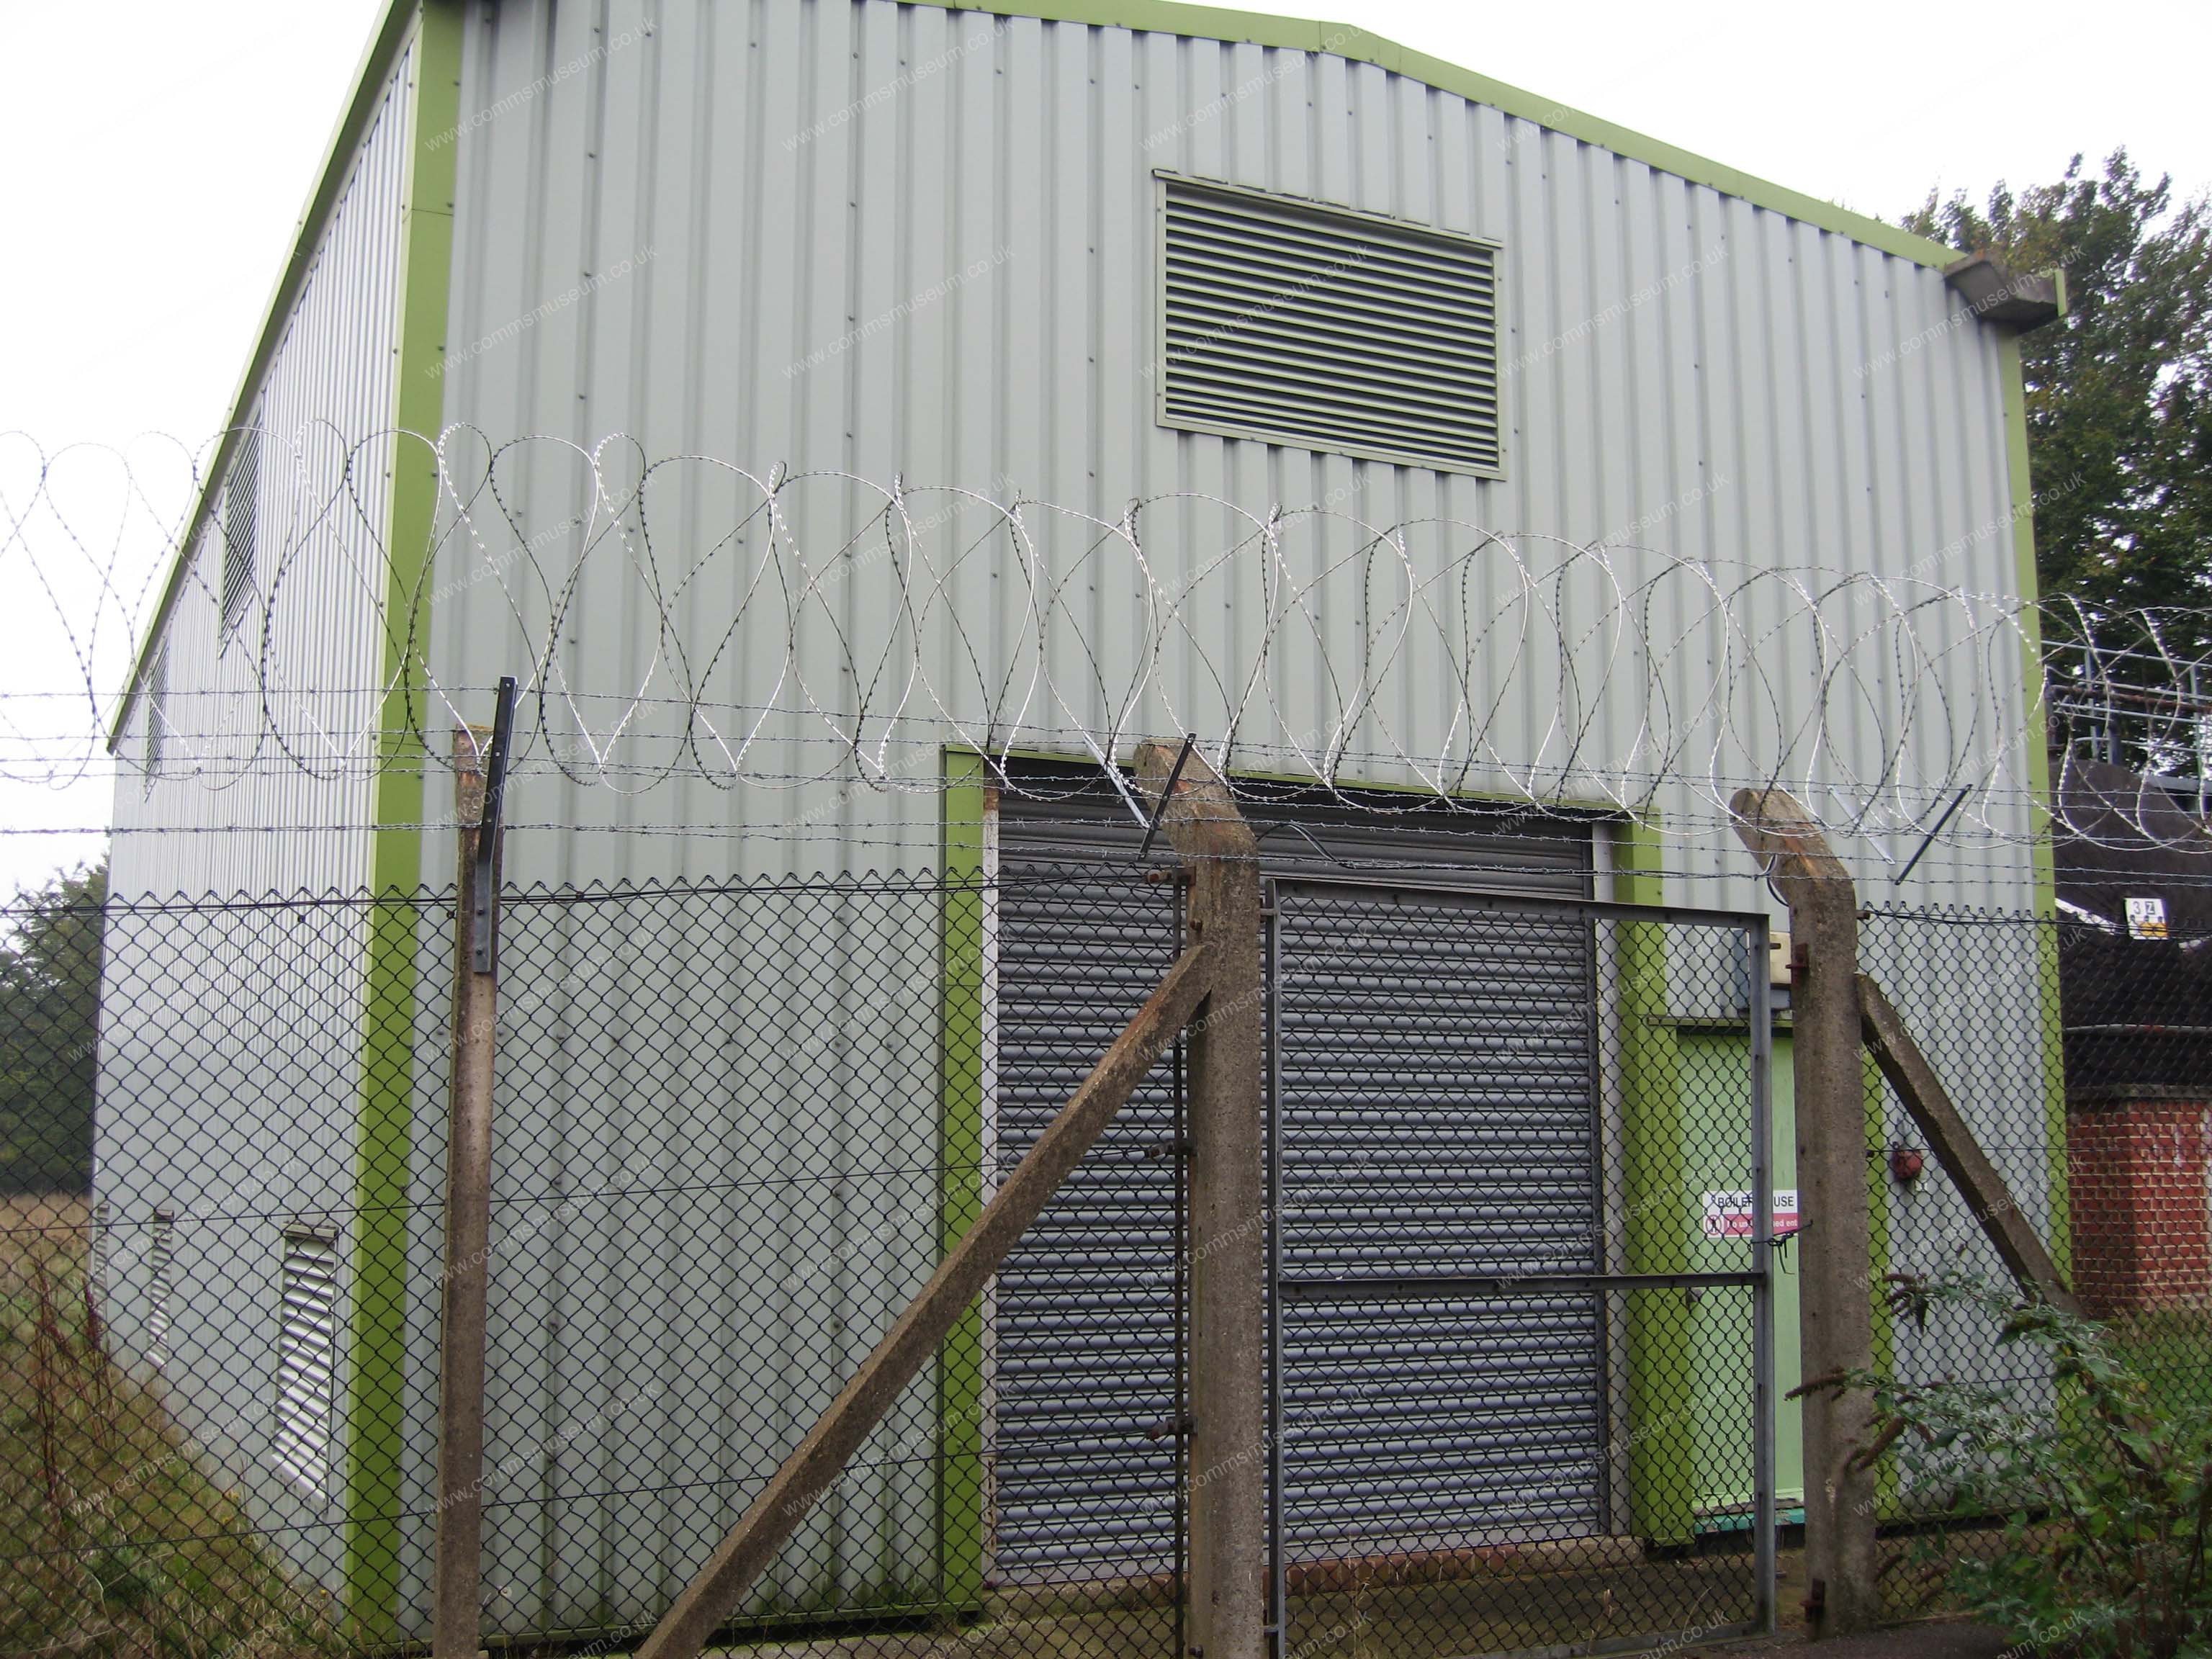
Boiler House |
Boiler House |
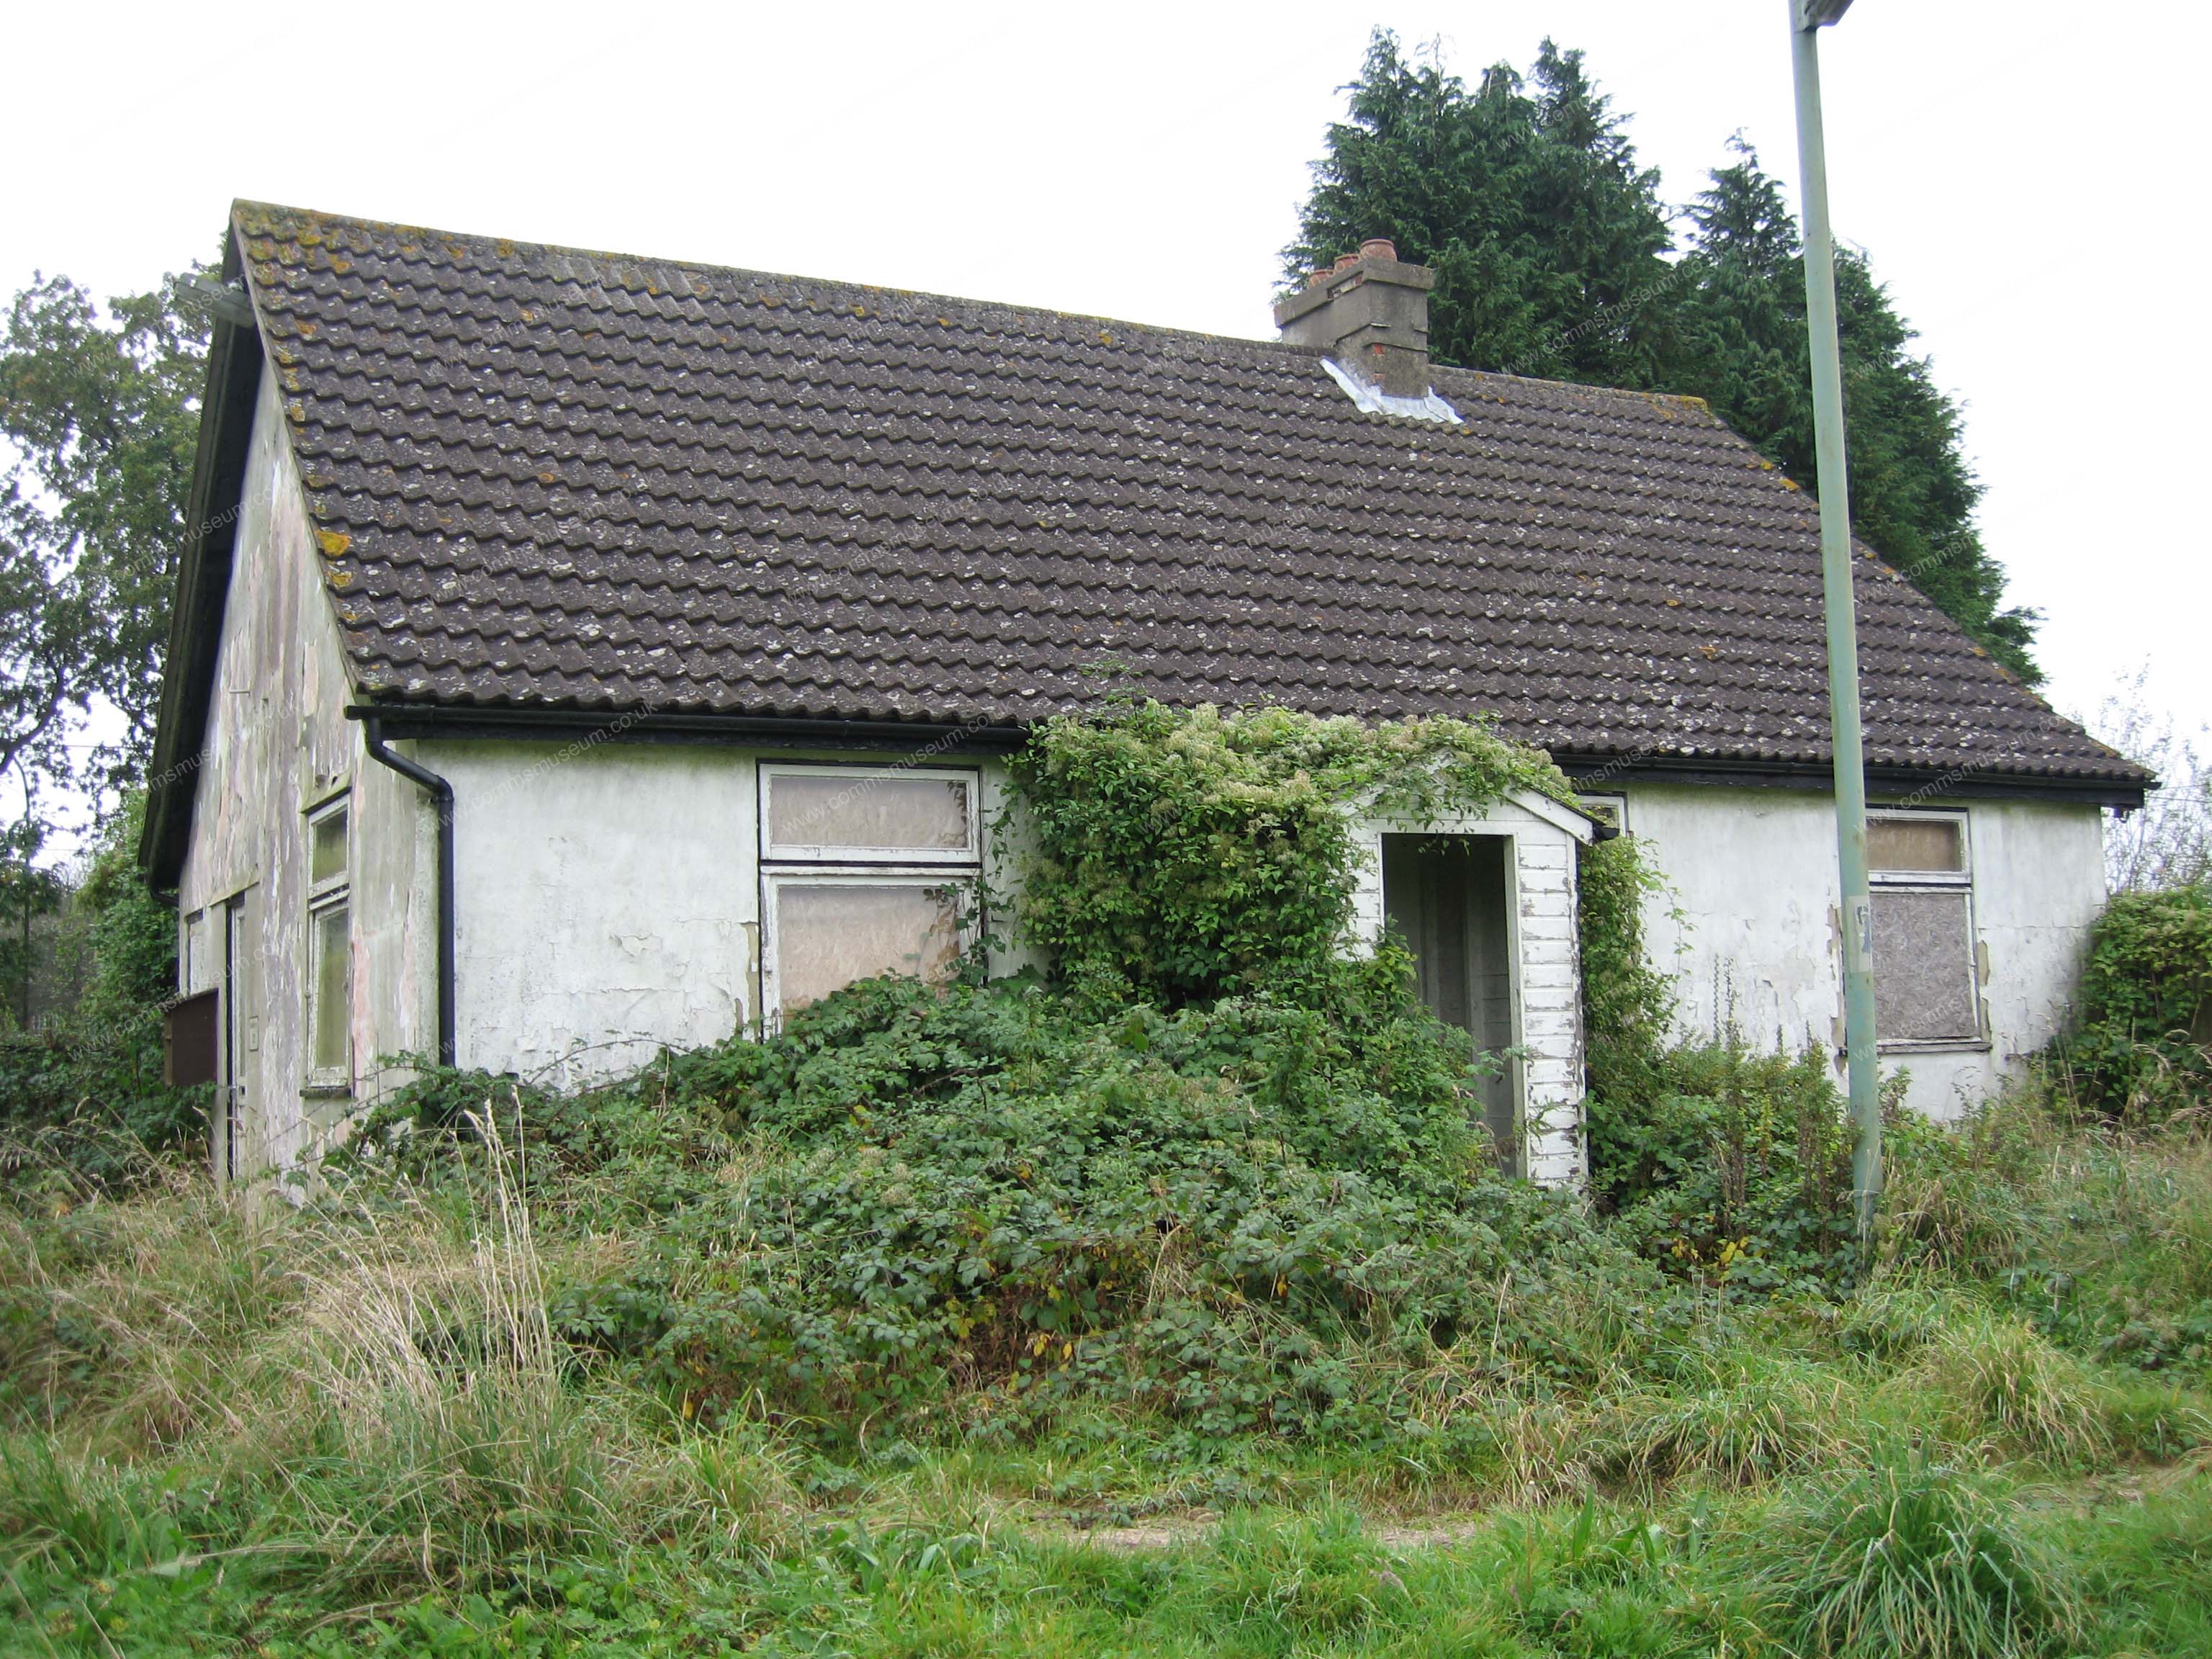
Bungalow |
|
Cunningham Block |
Cunningham Block |
Cunningham Block |

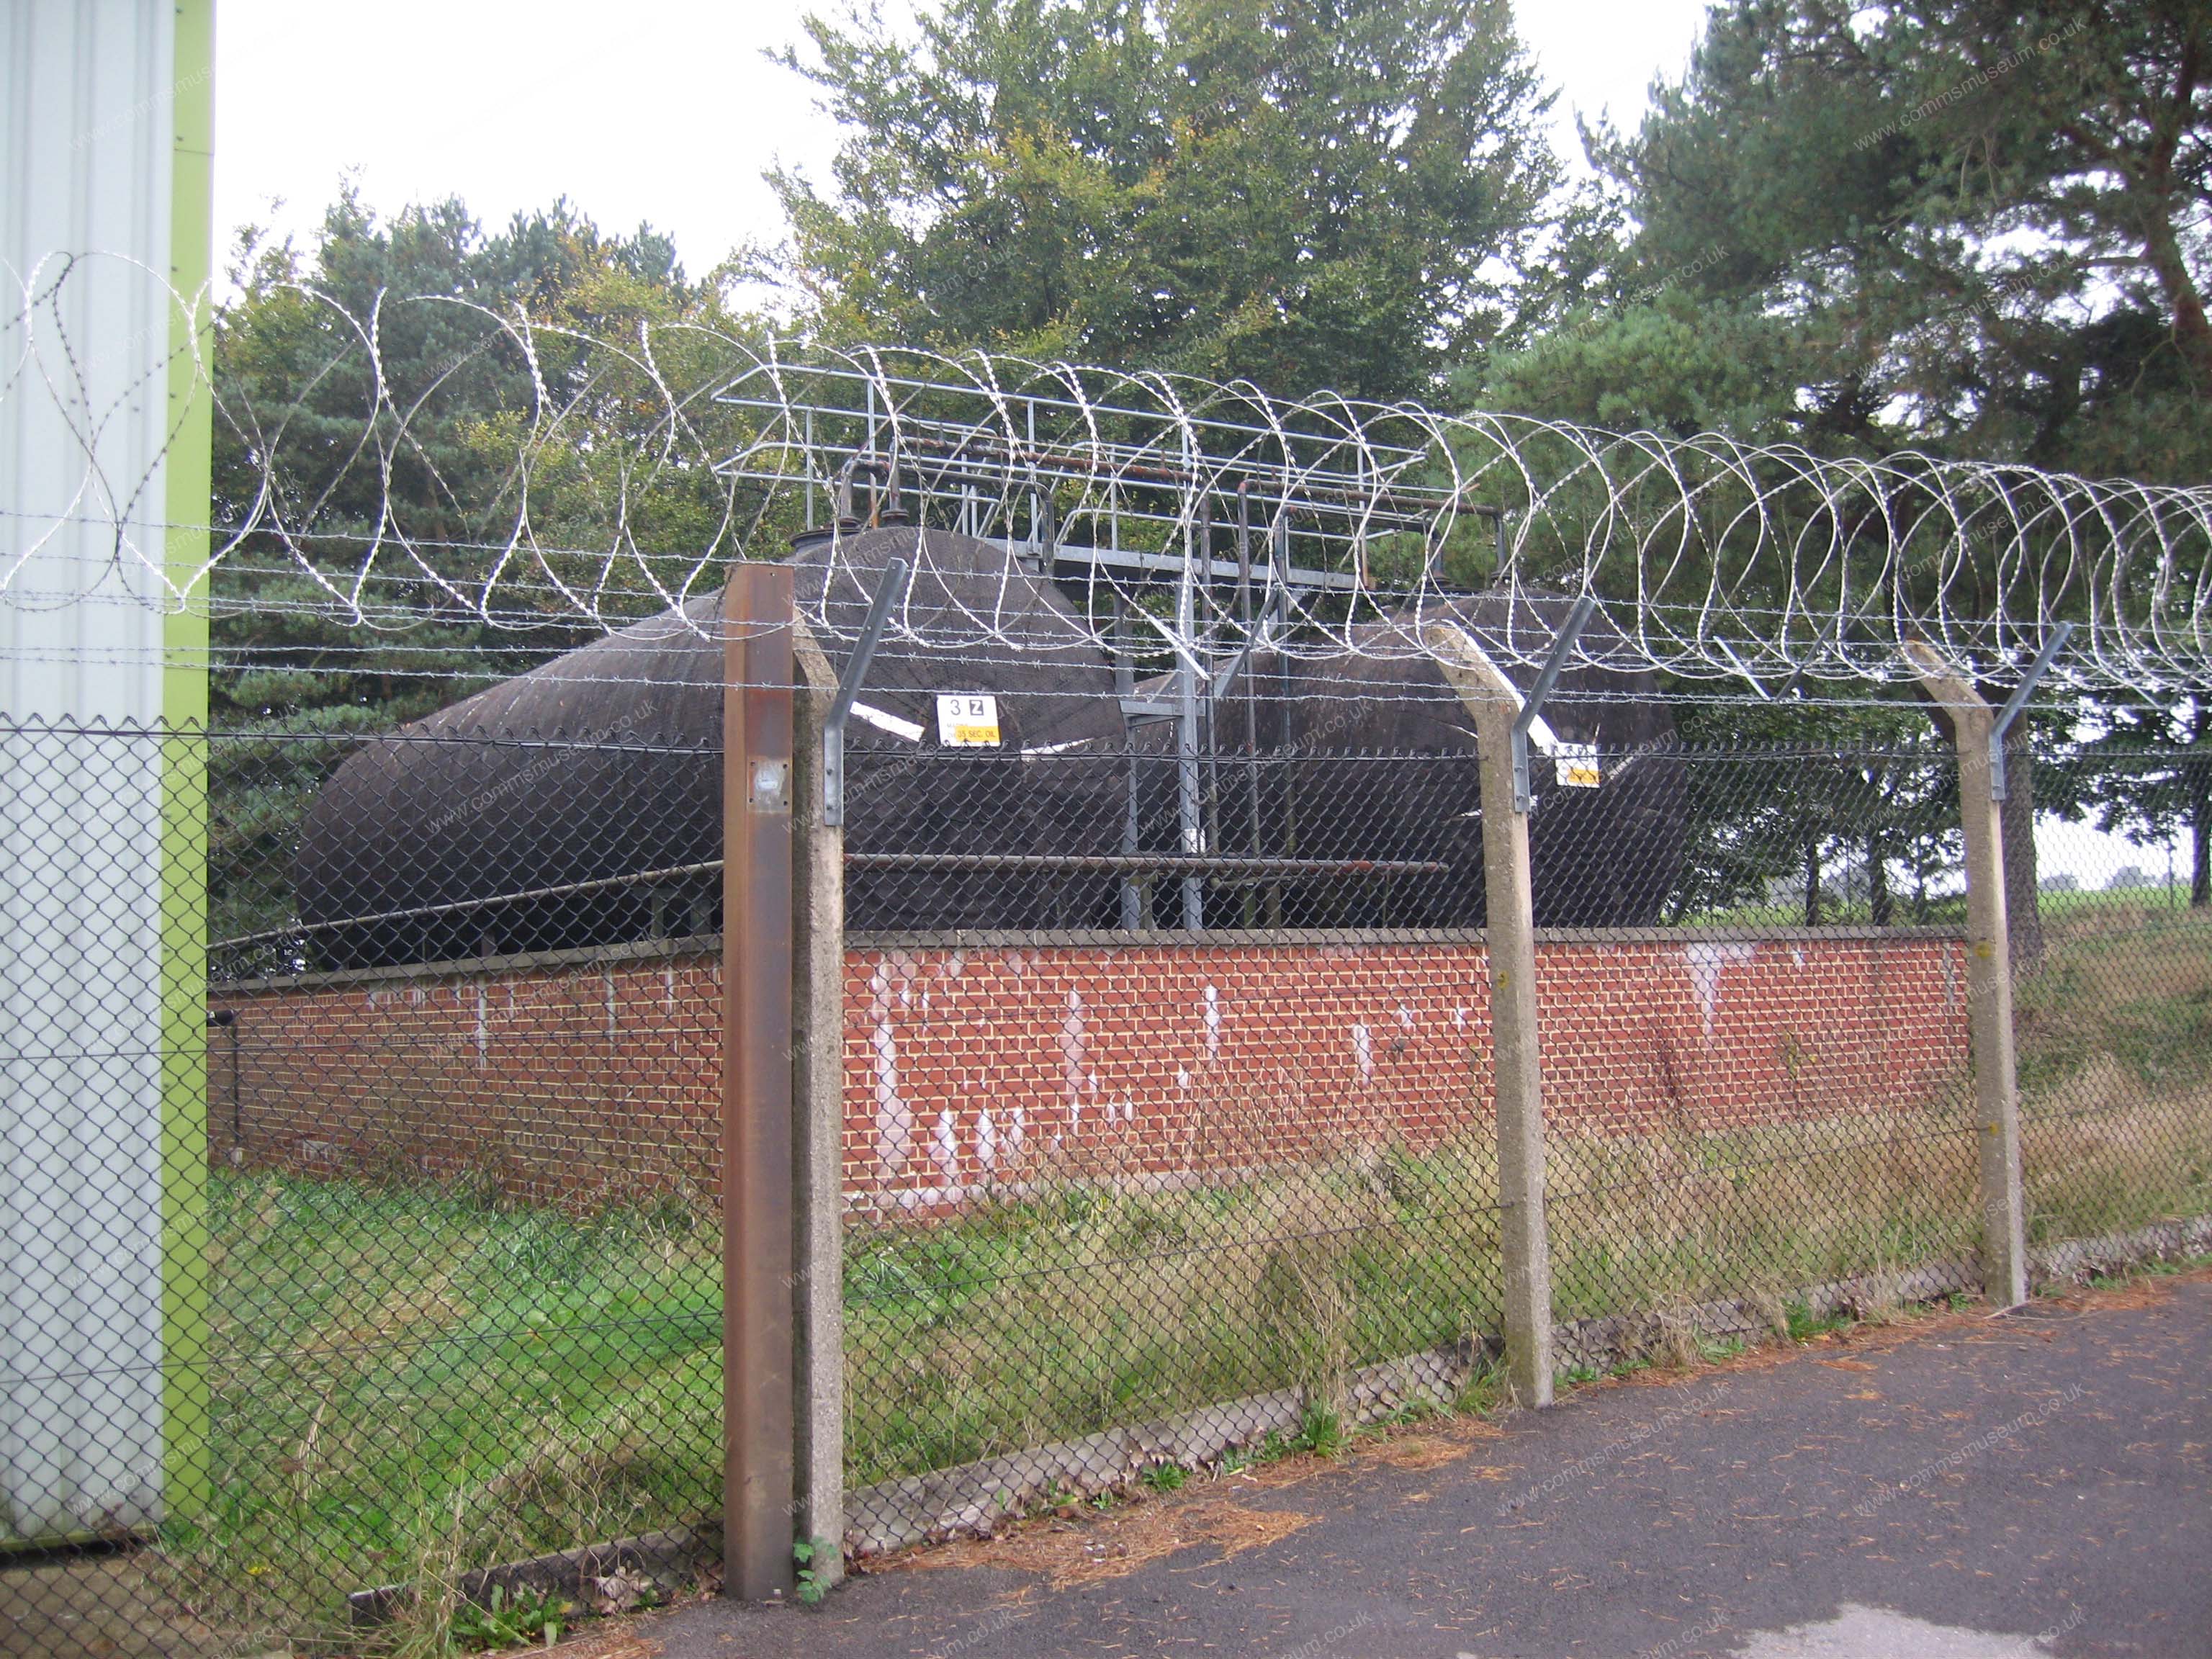
Generator |
|
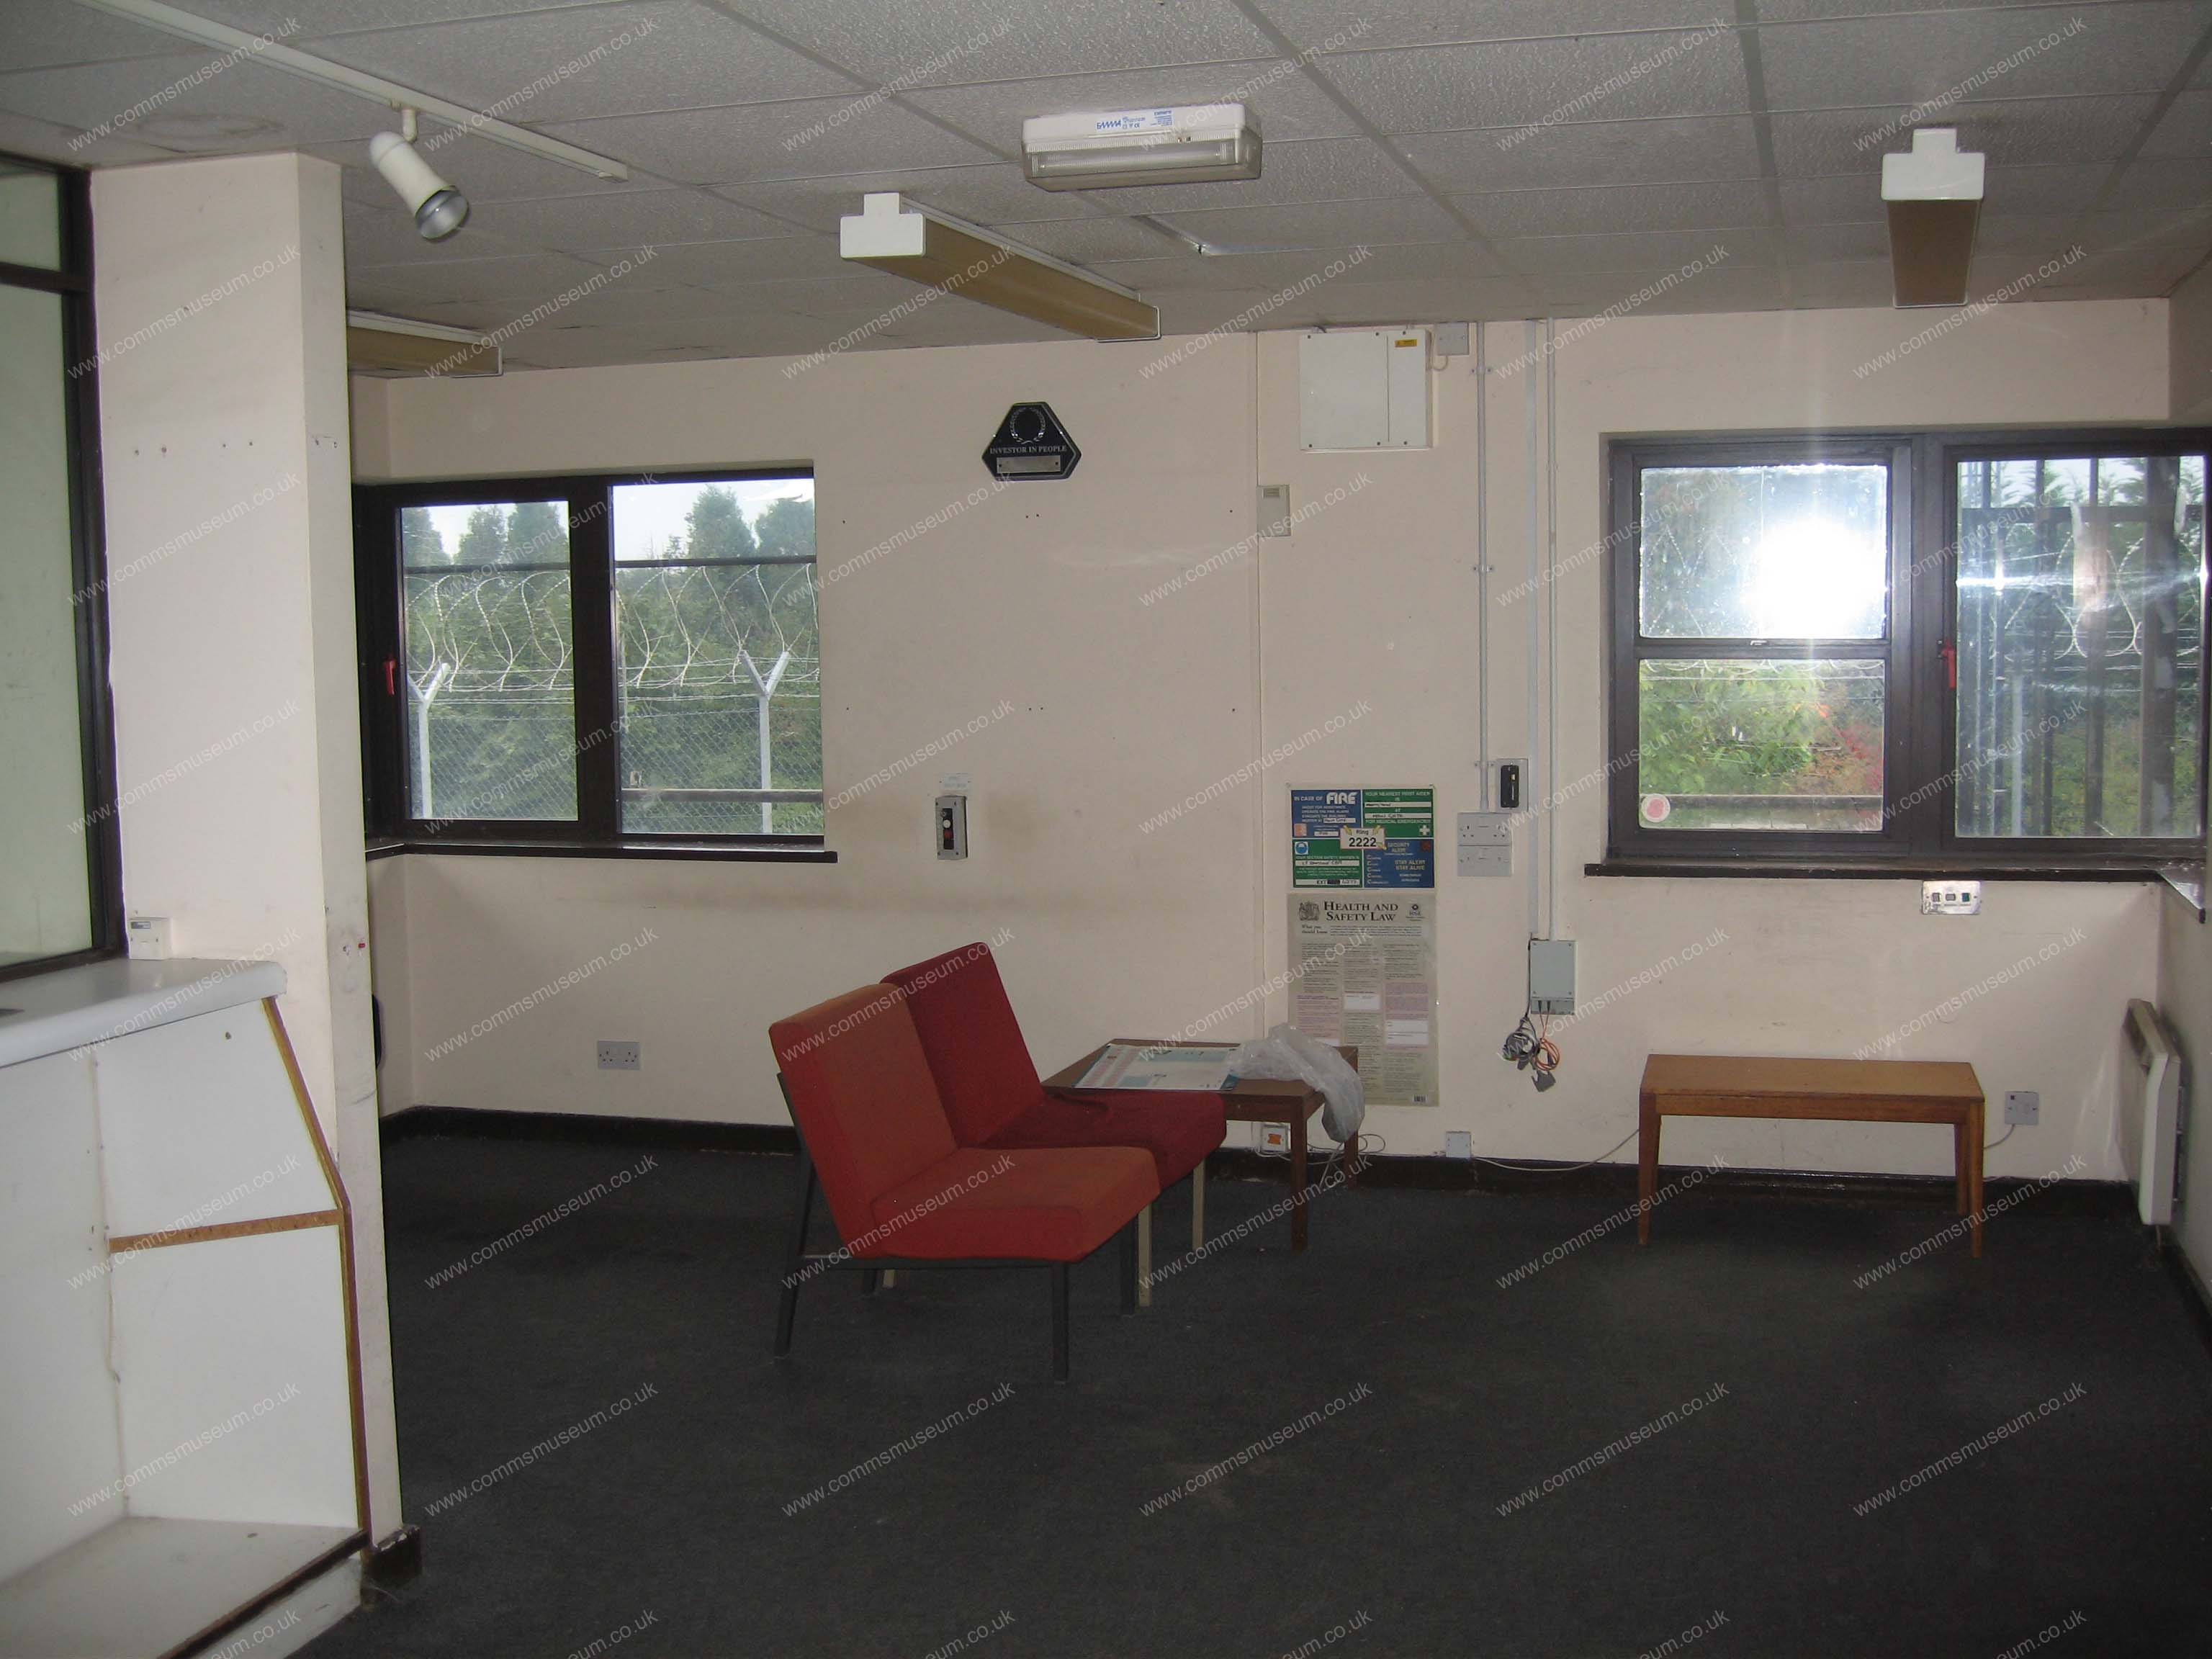
Guard House Entrance Area |
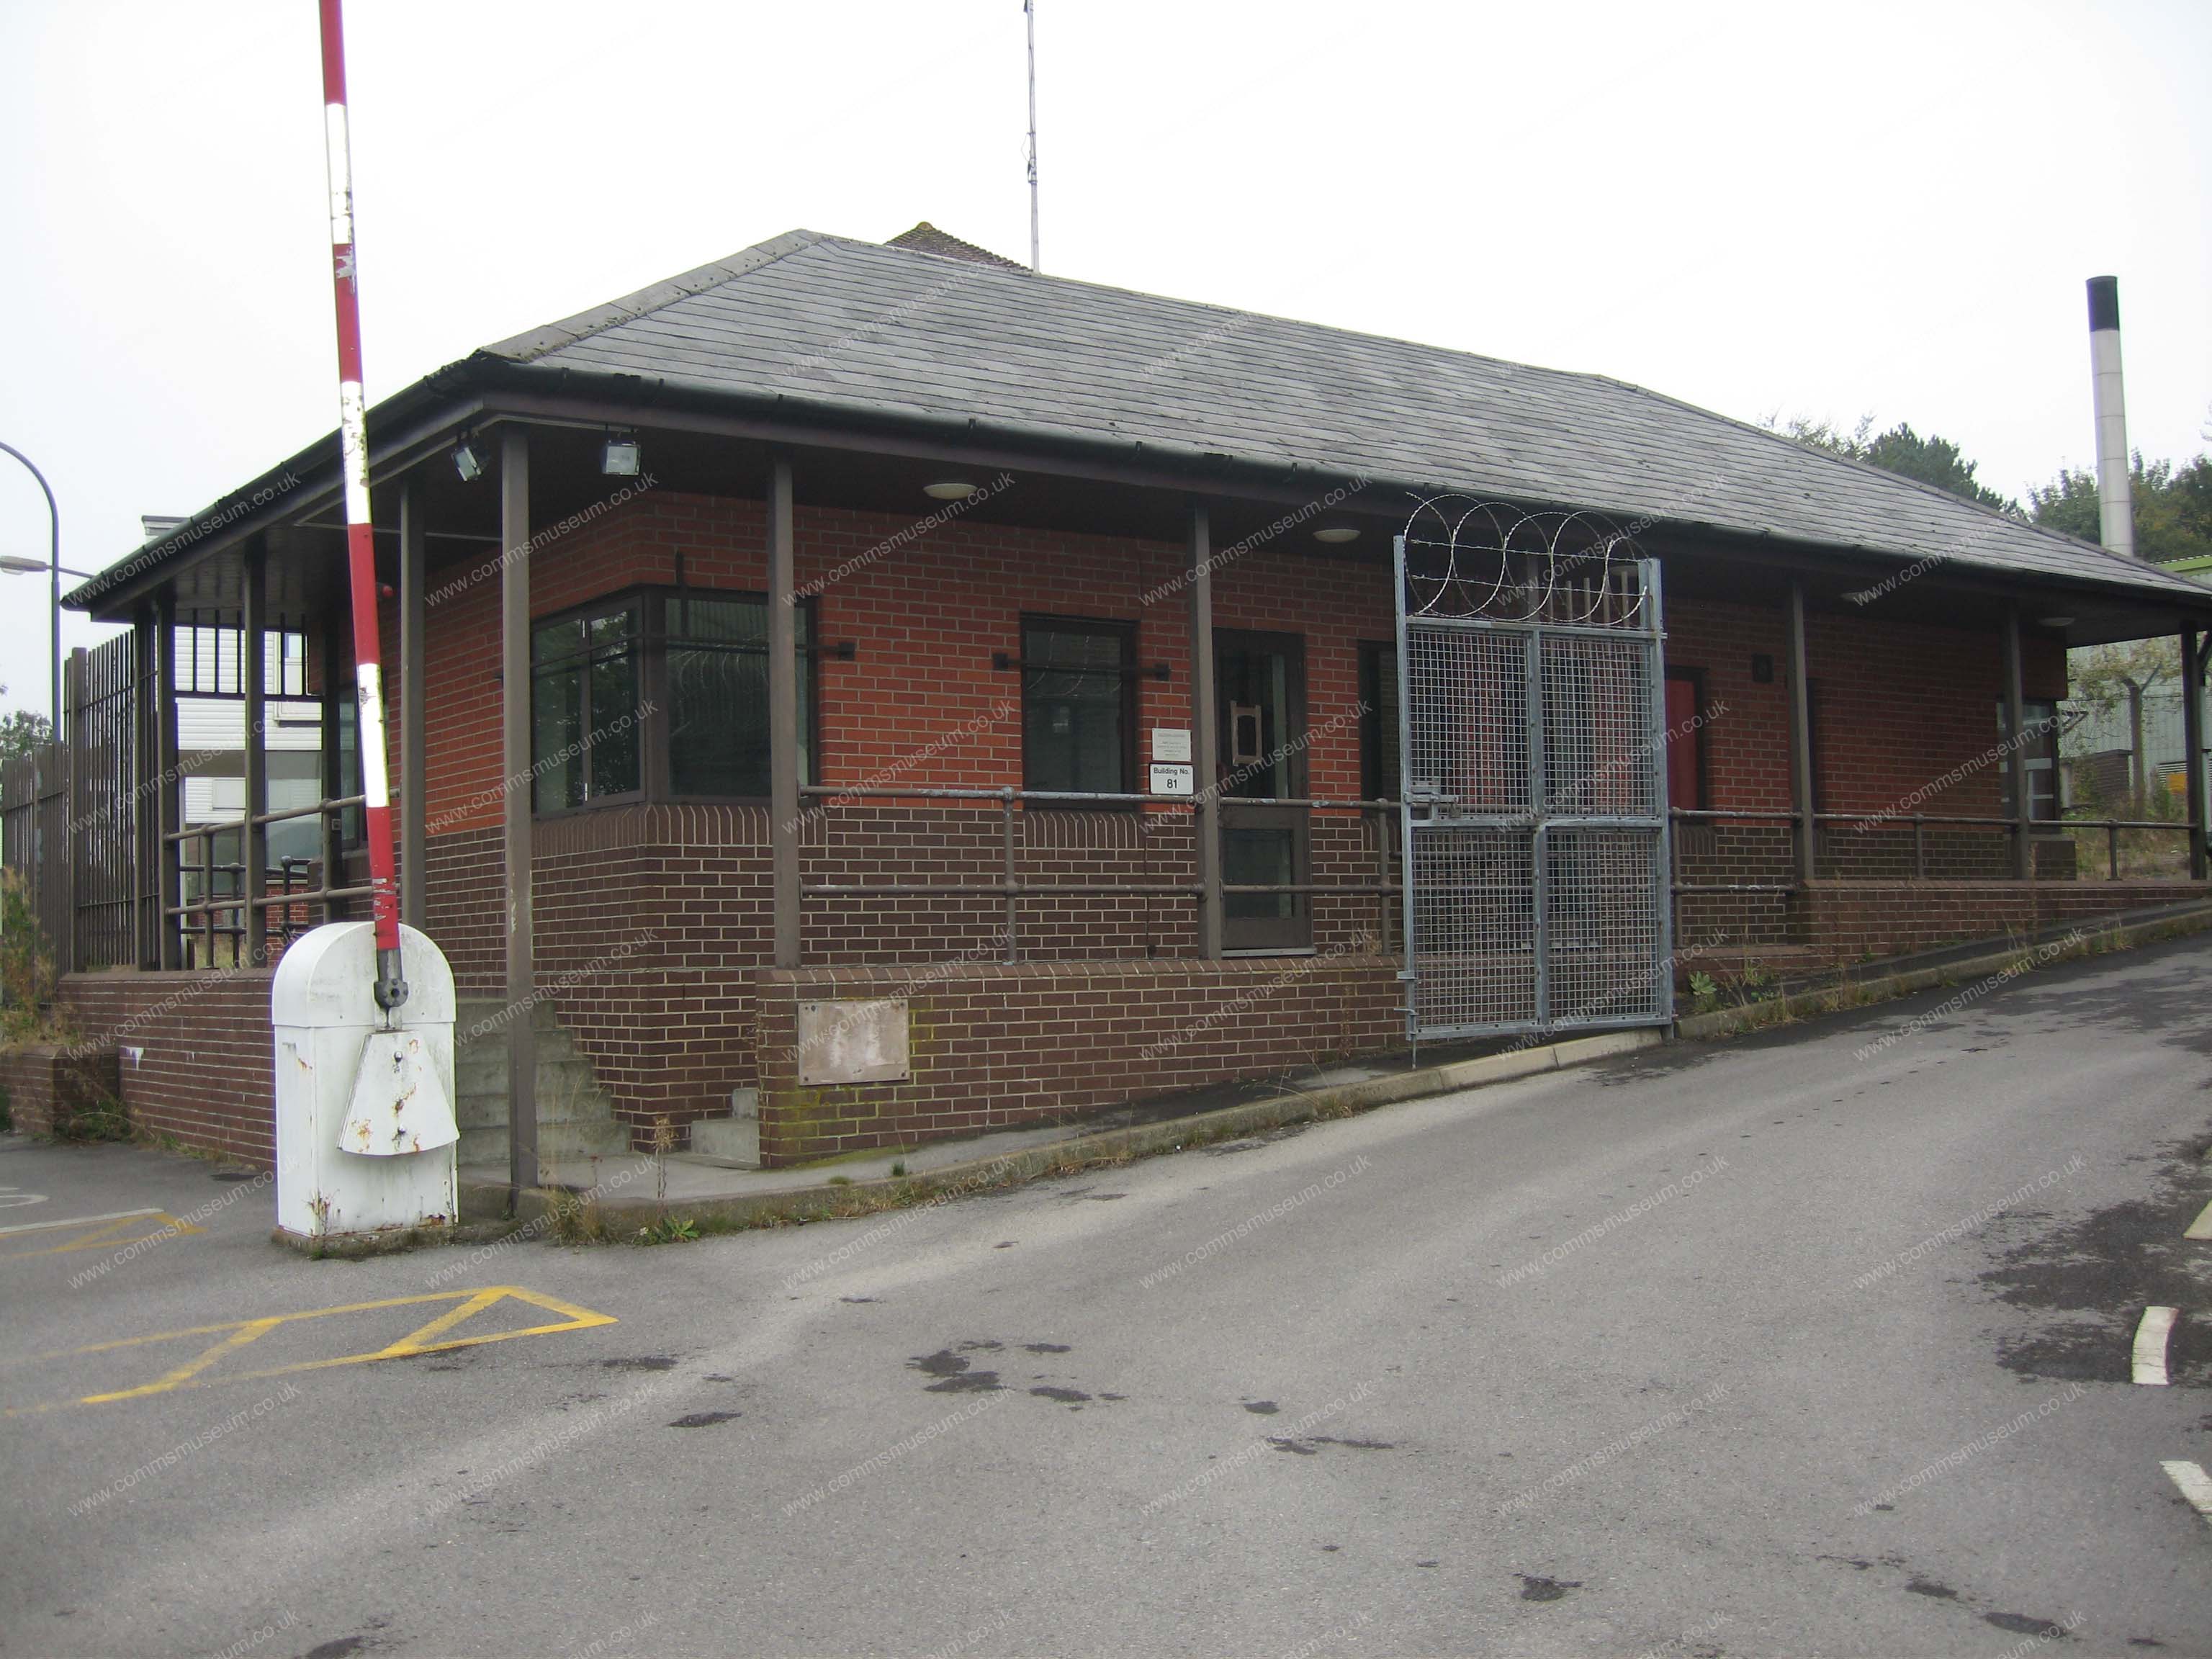
Guard House Exterior from gate |
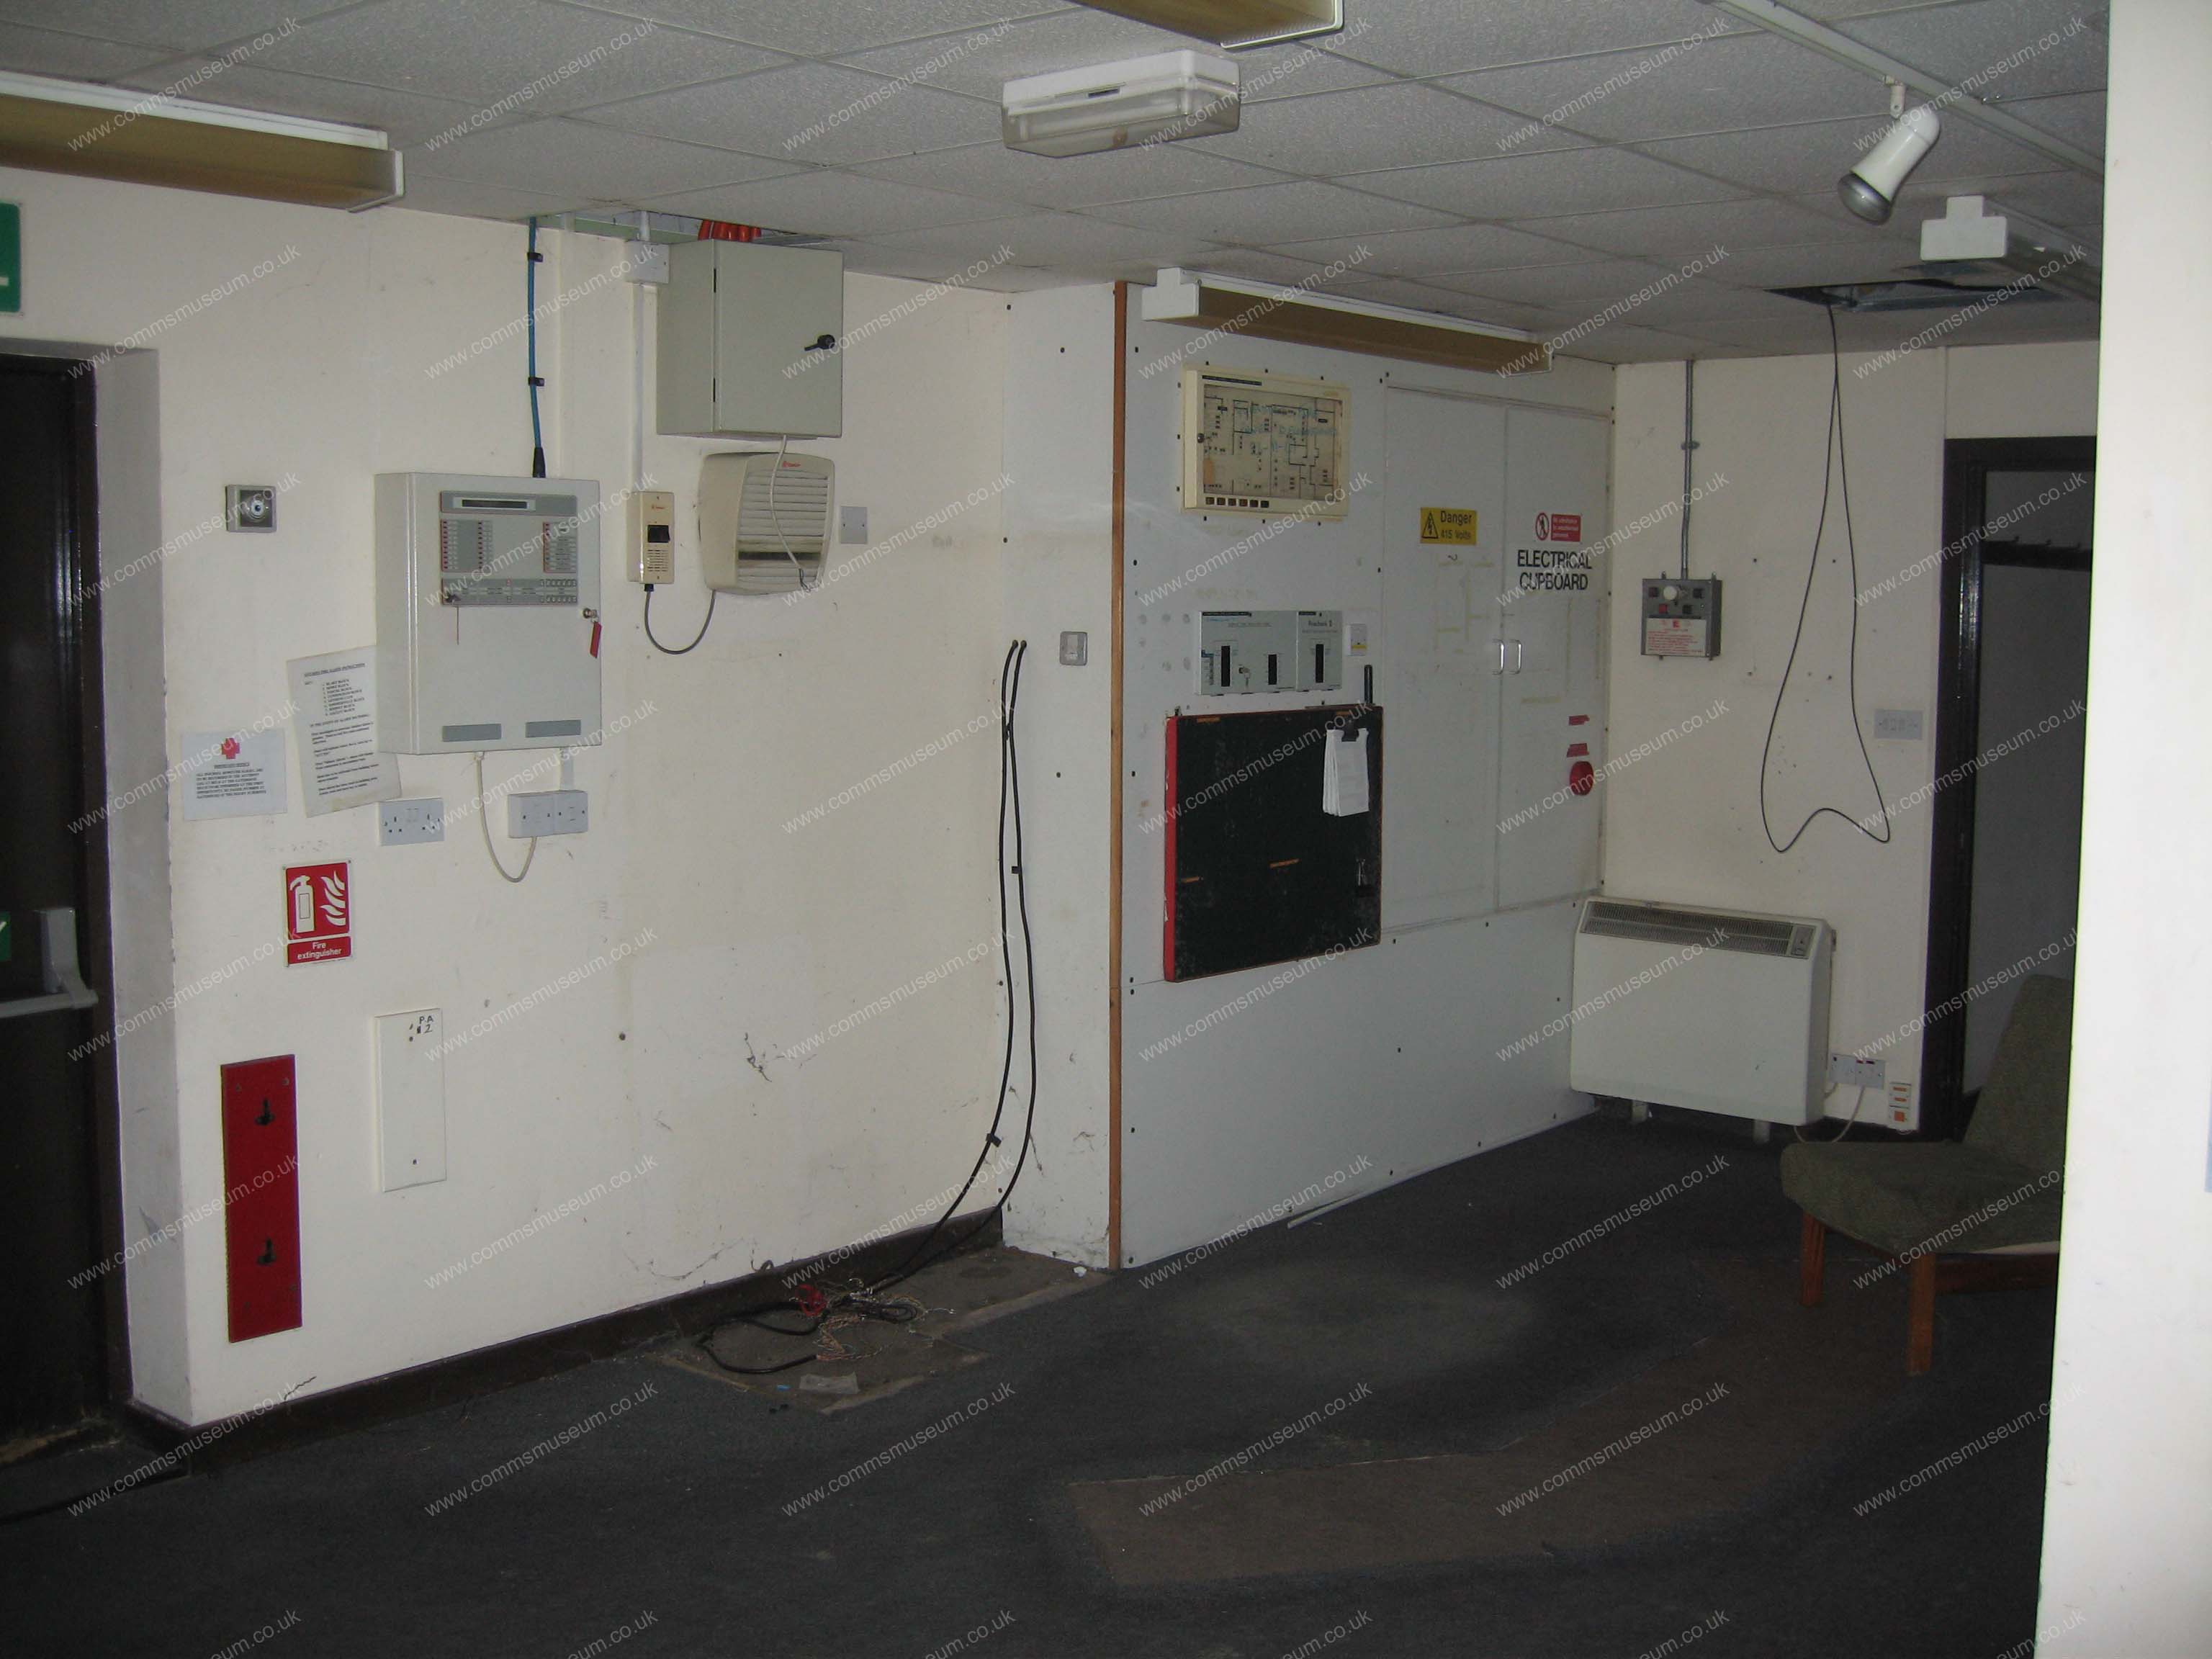
Guard House Guard Room |
Guard House Guard Room |
|
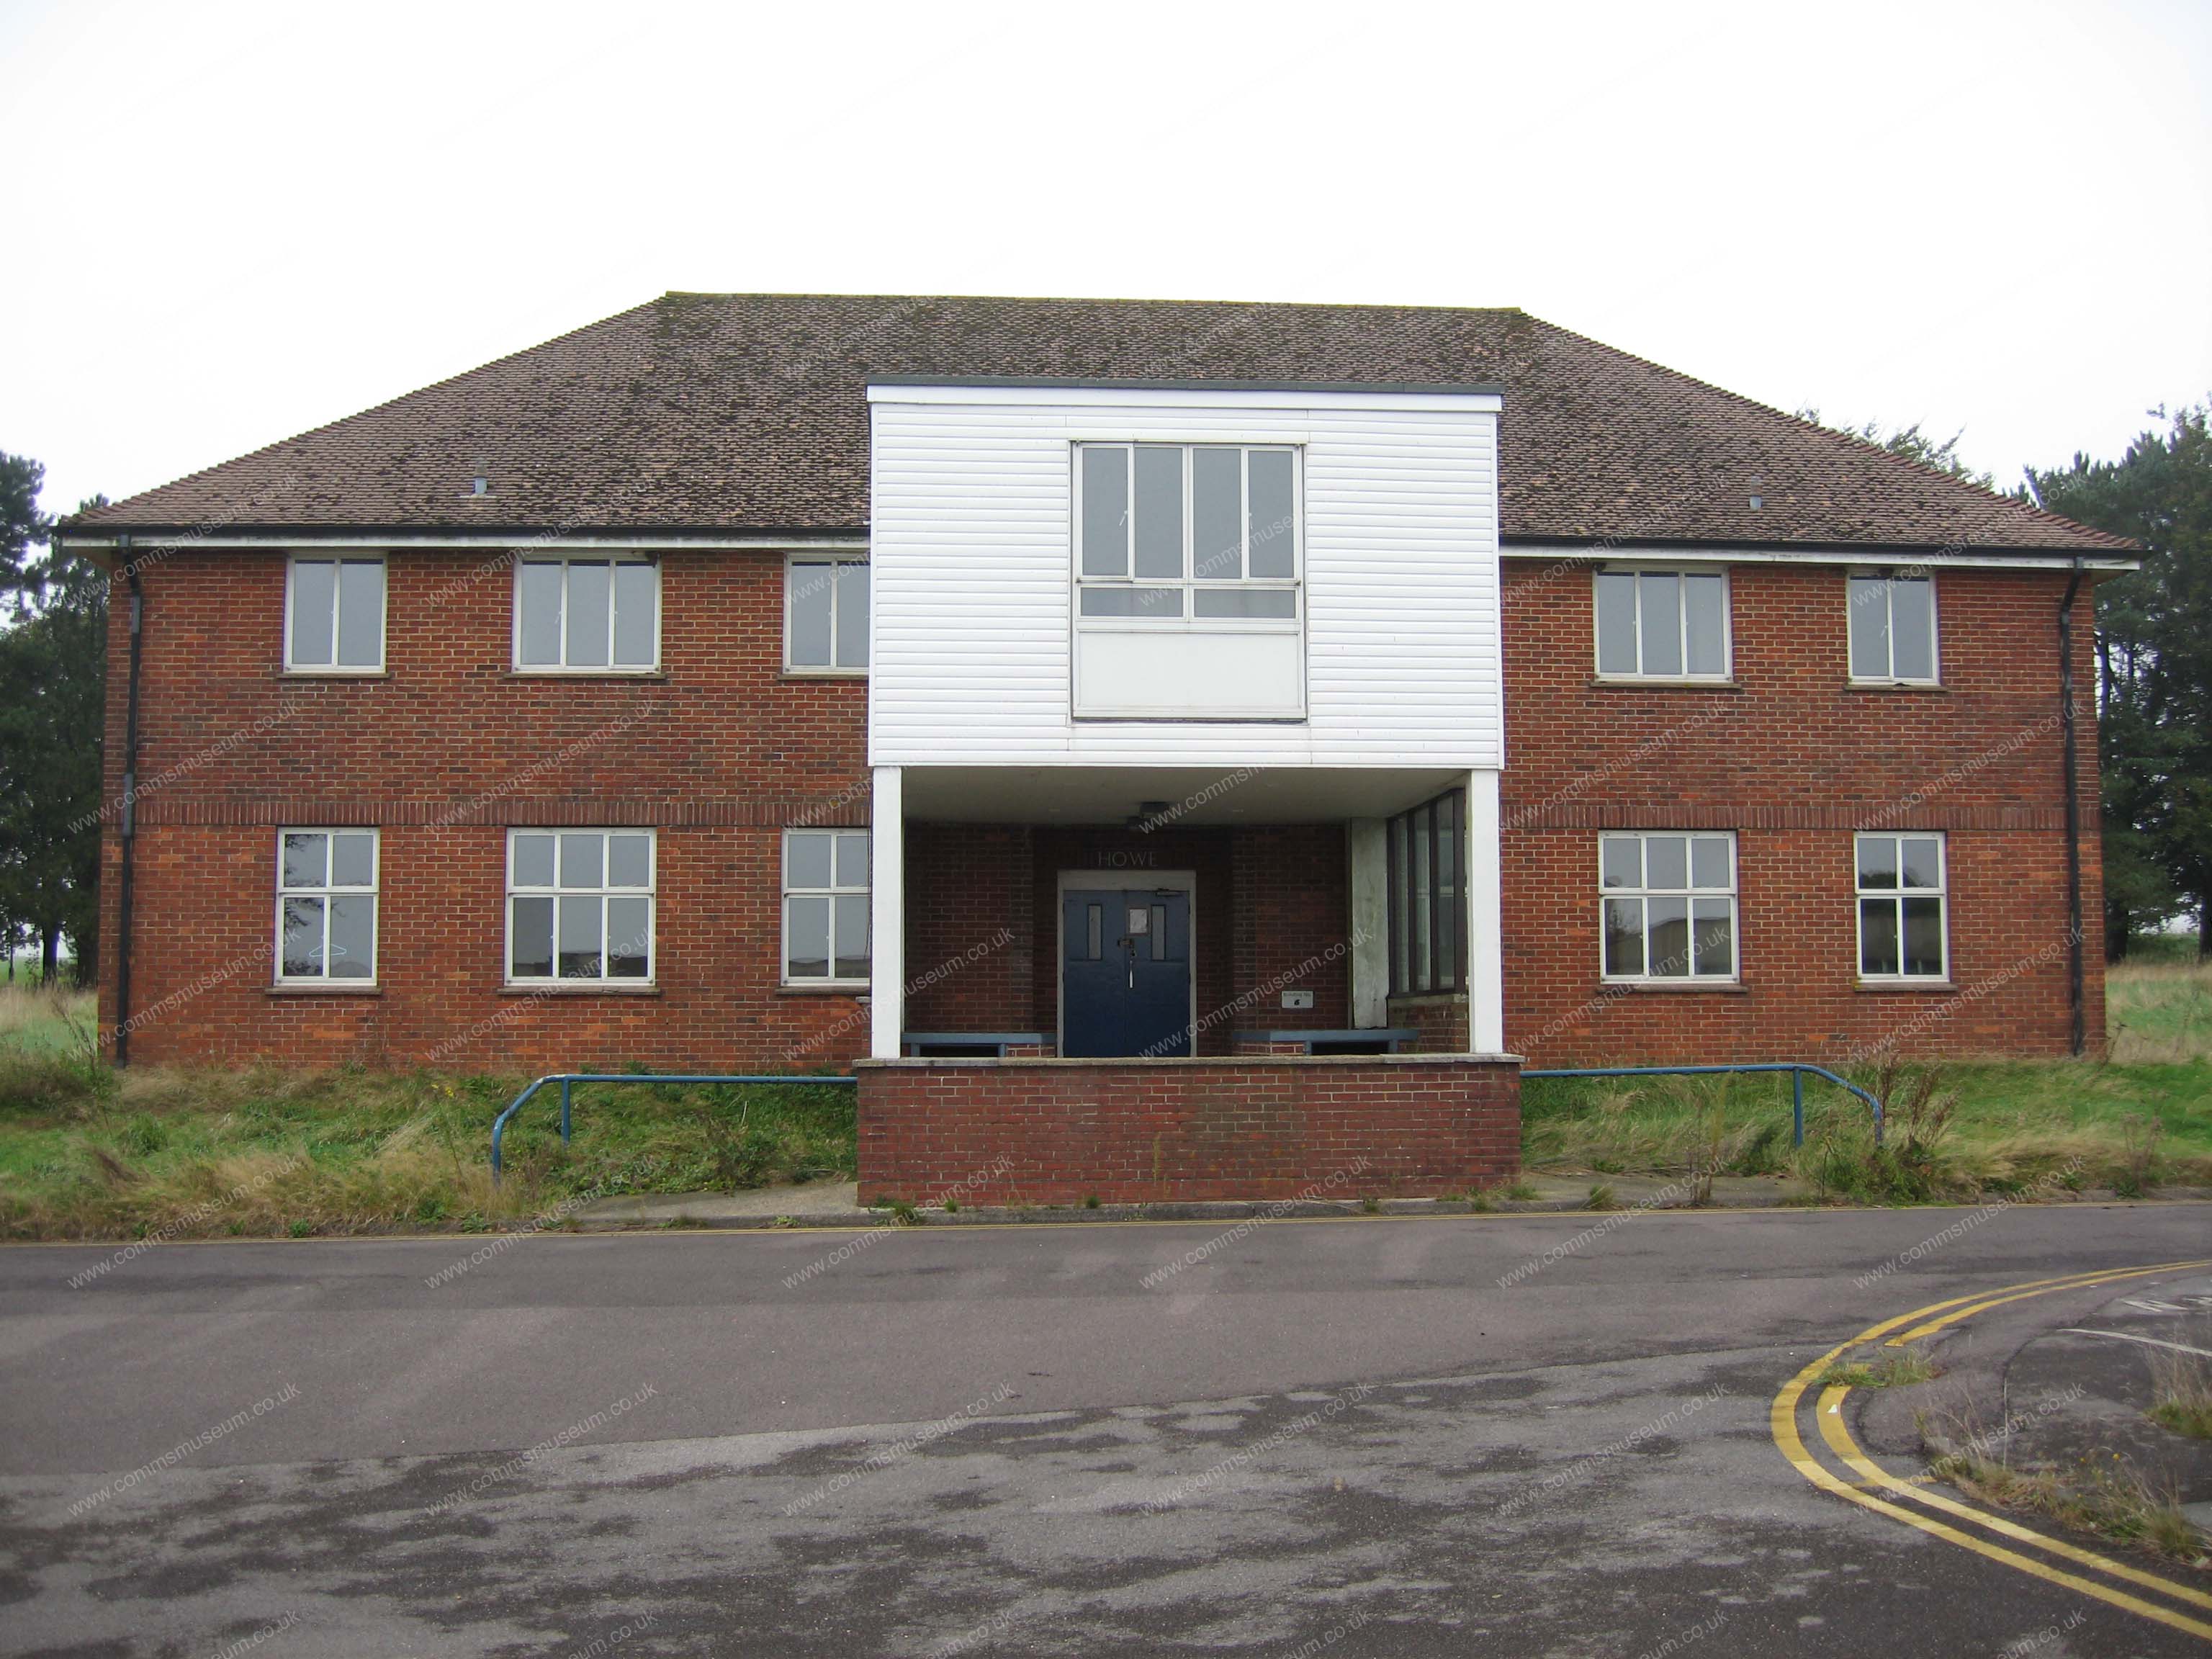
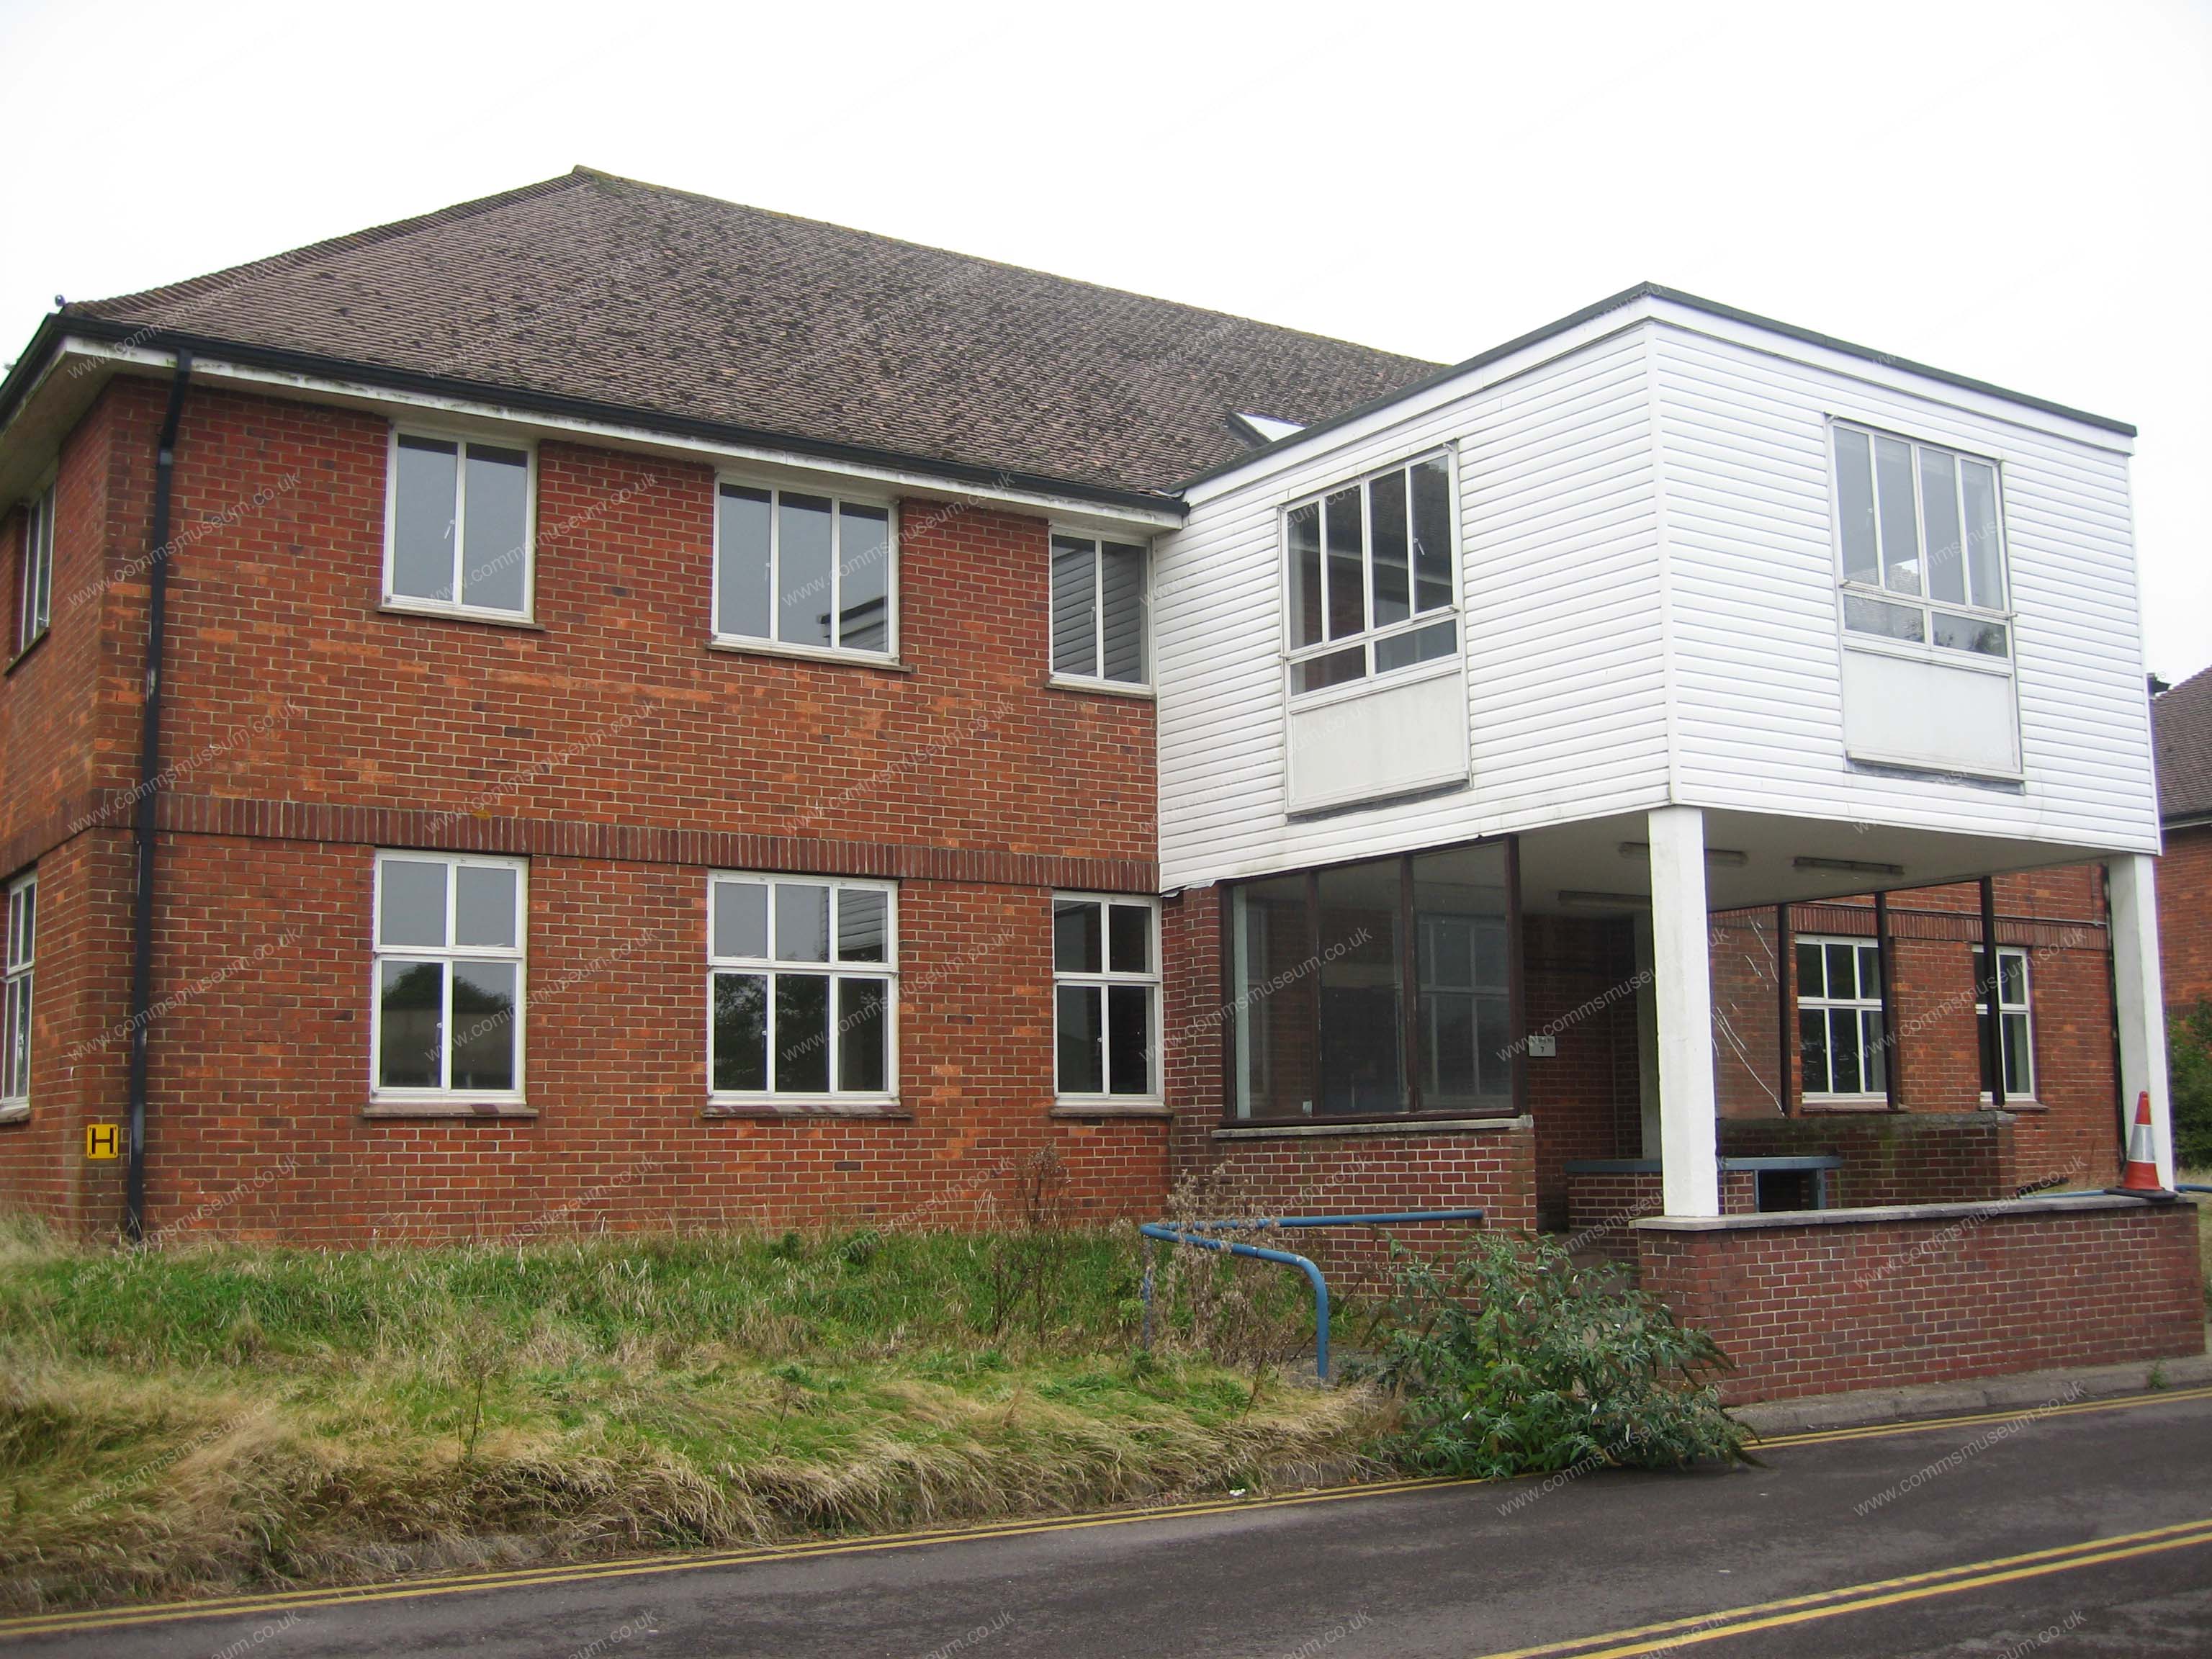
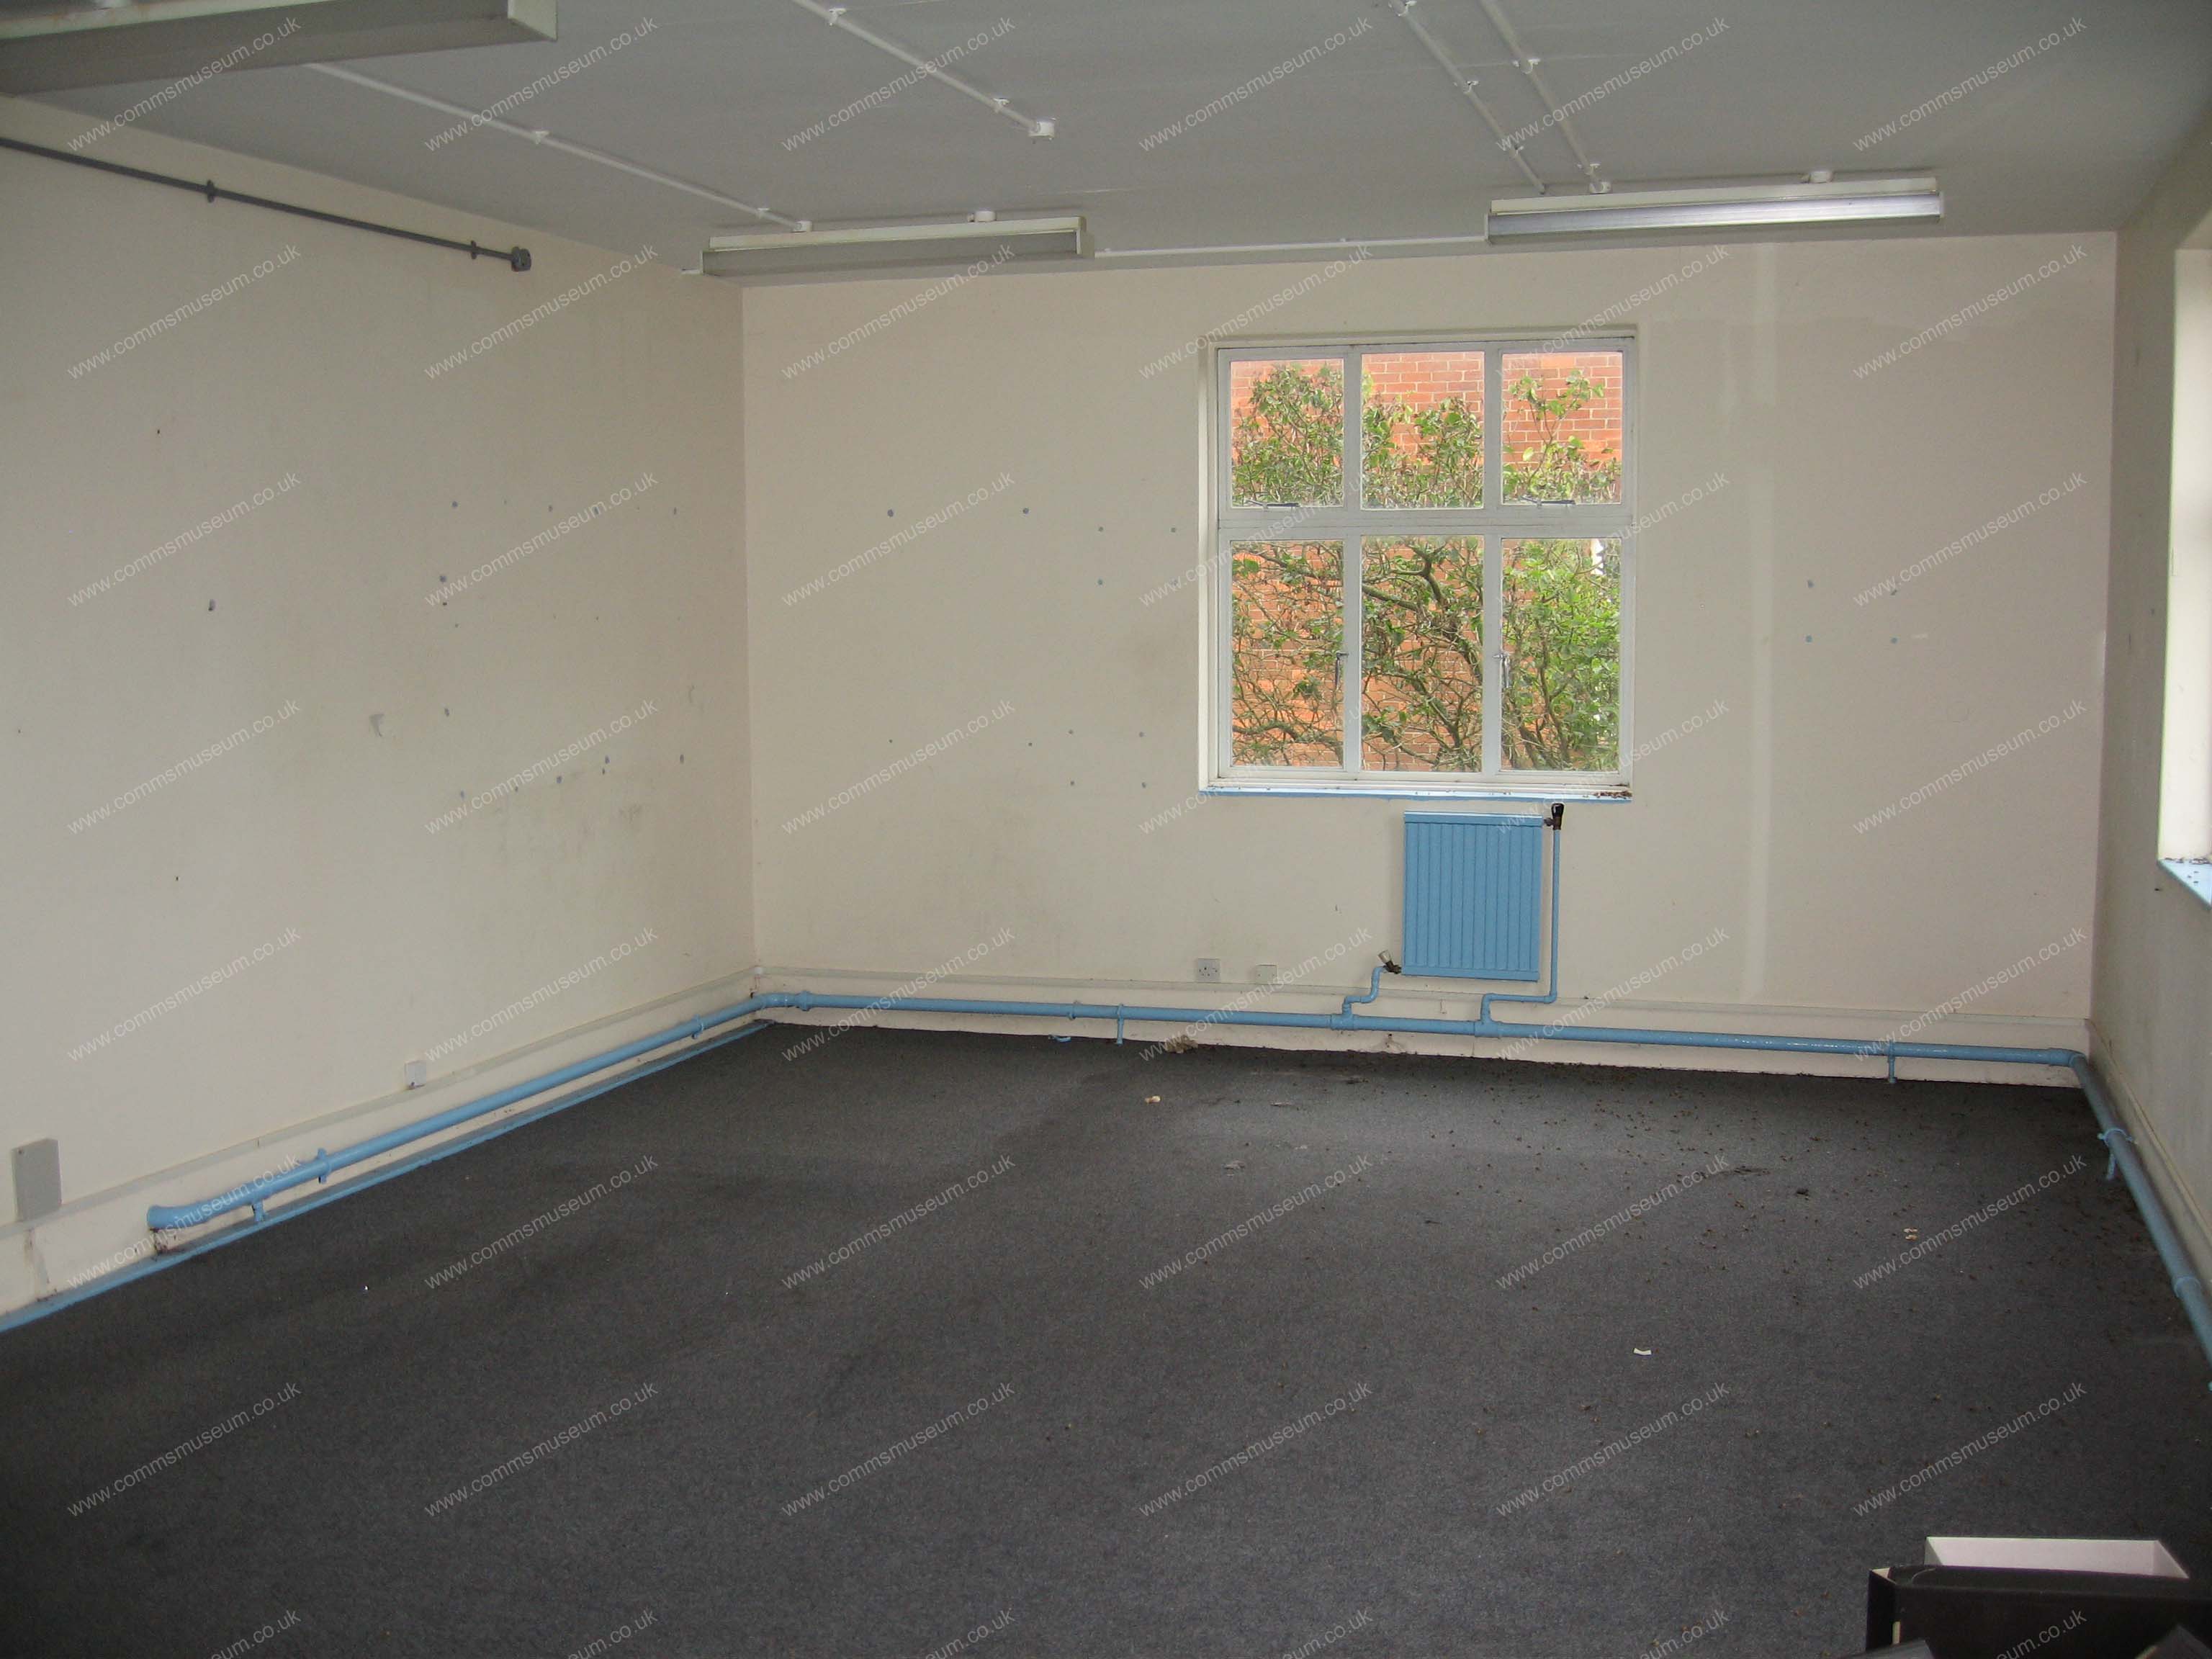
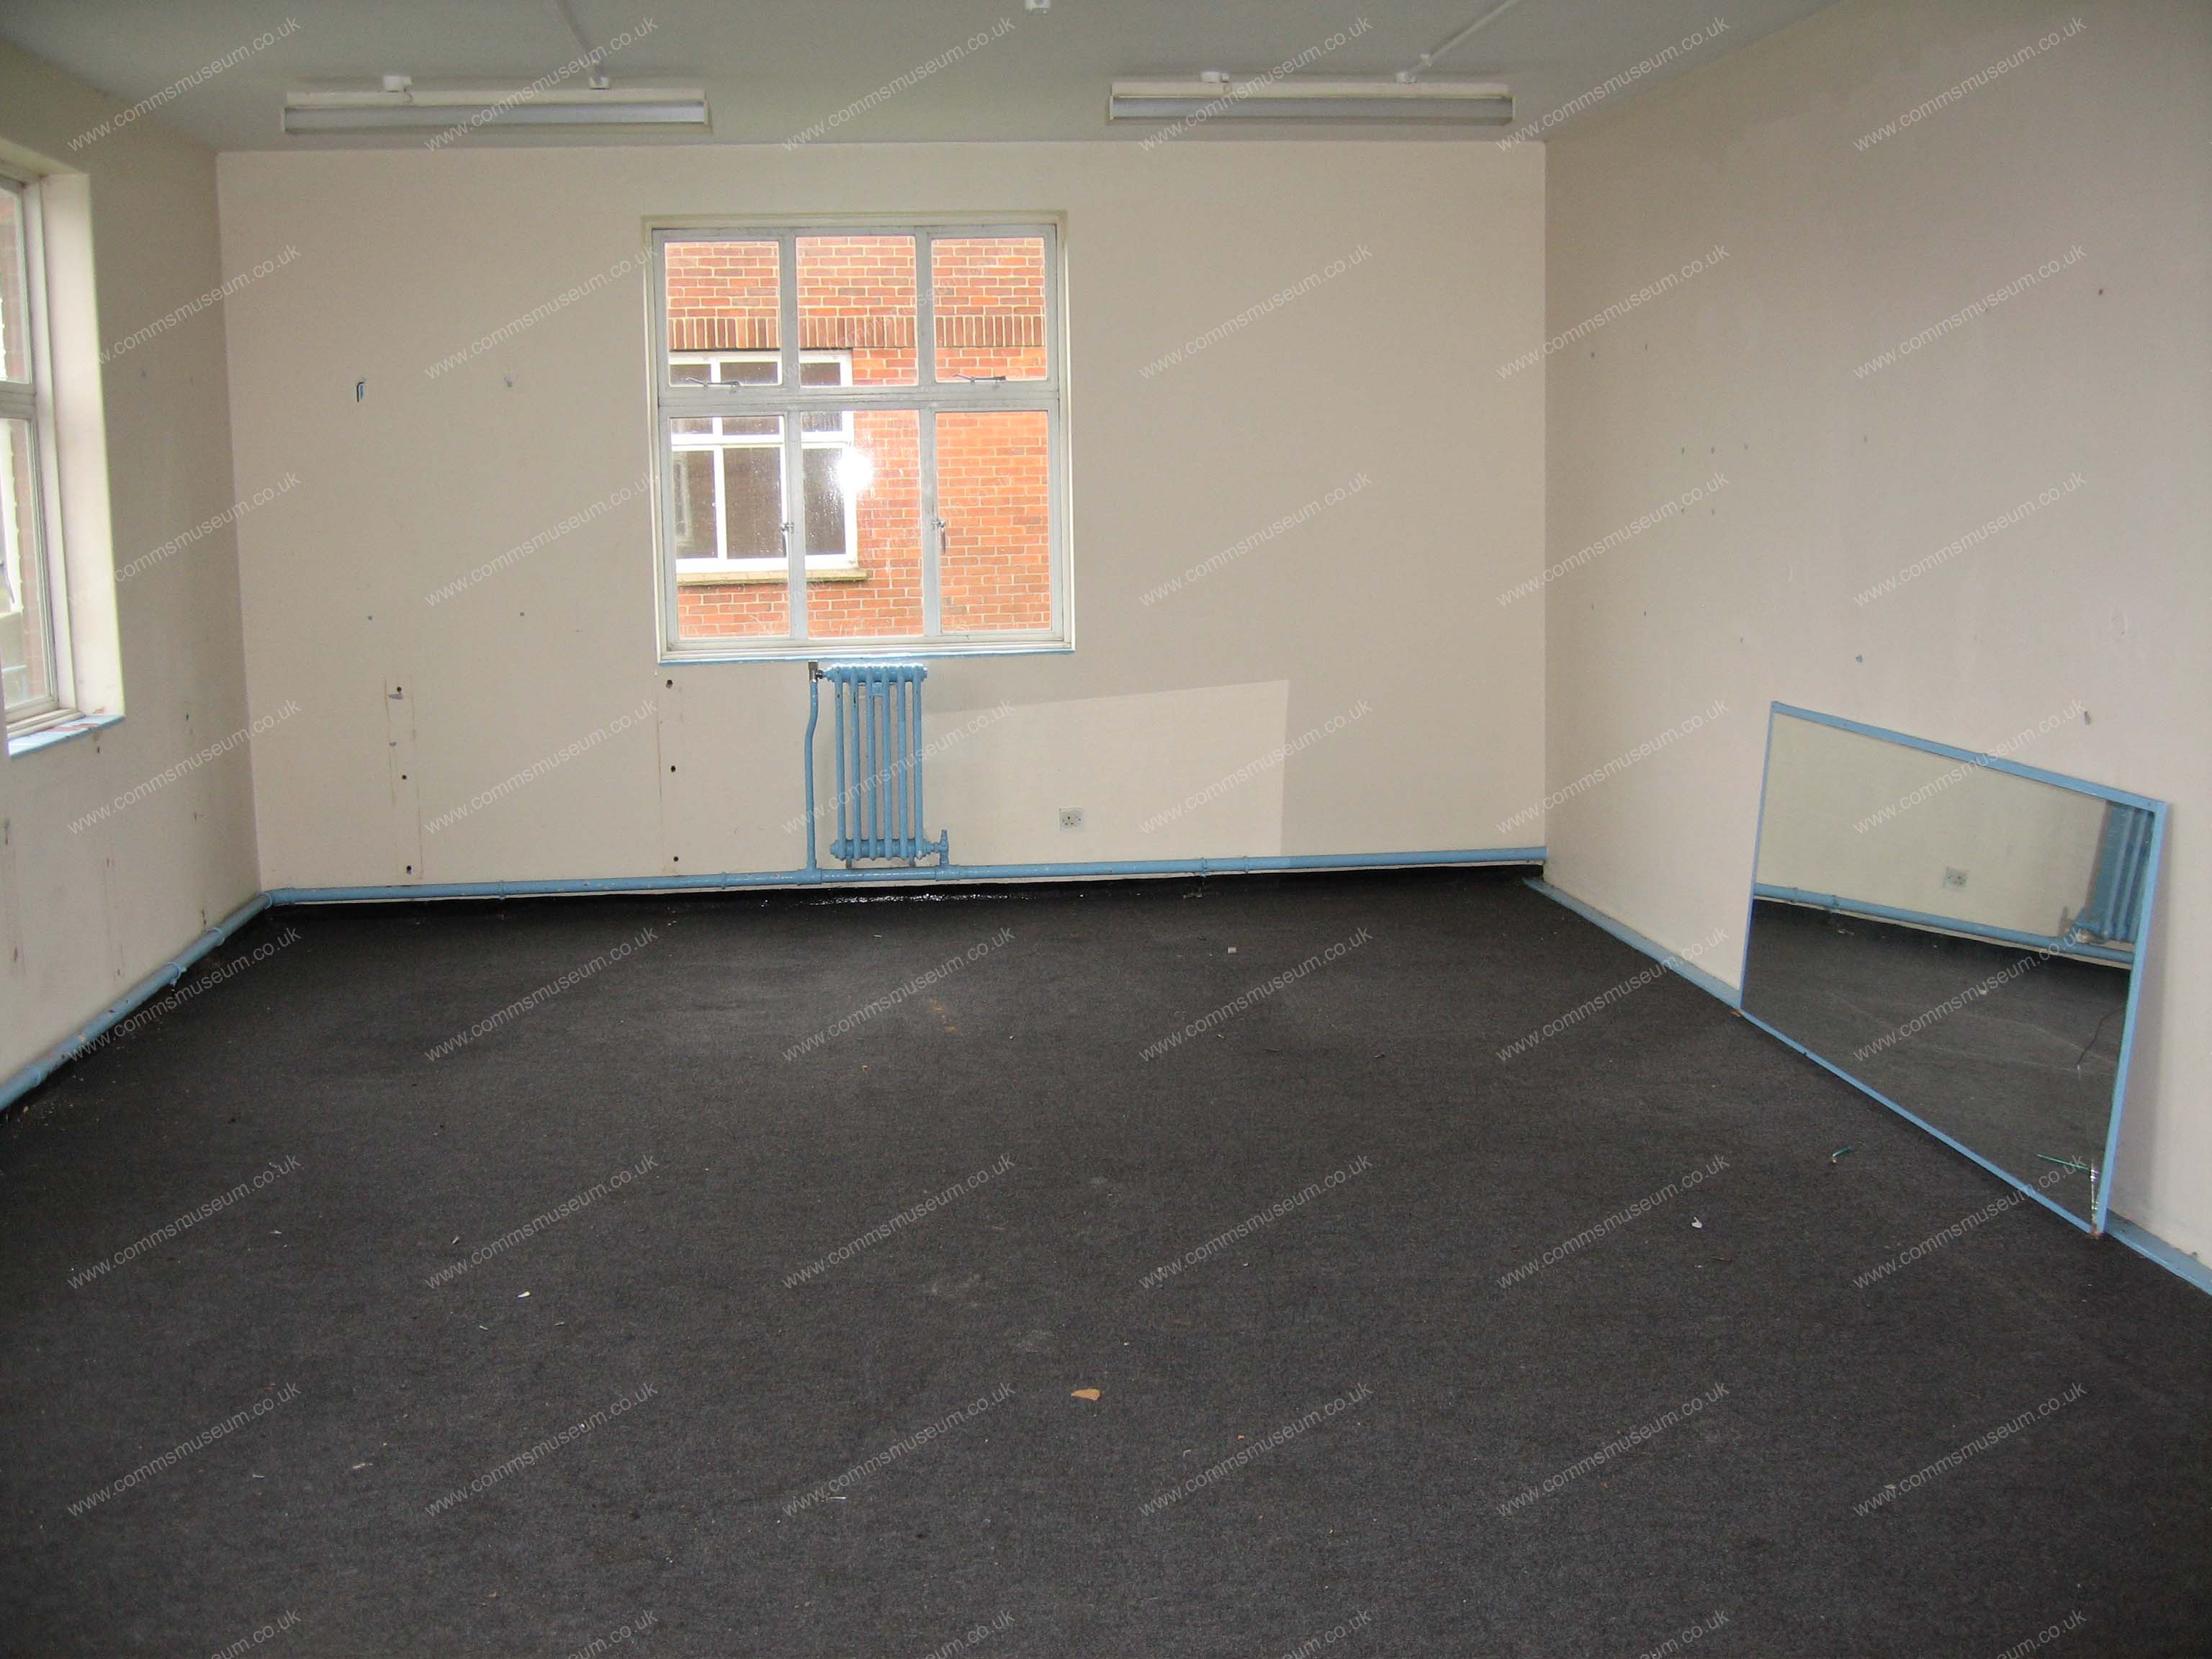
Howe Block |

Howe Block |
Howe Block |

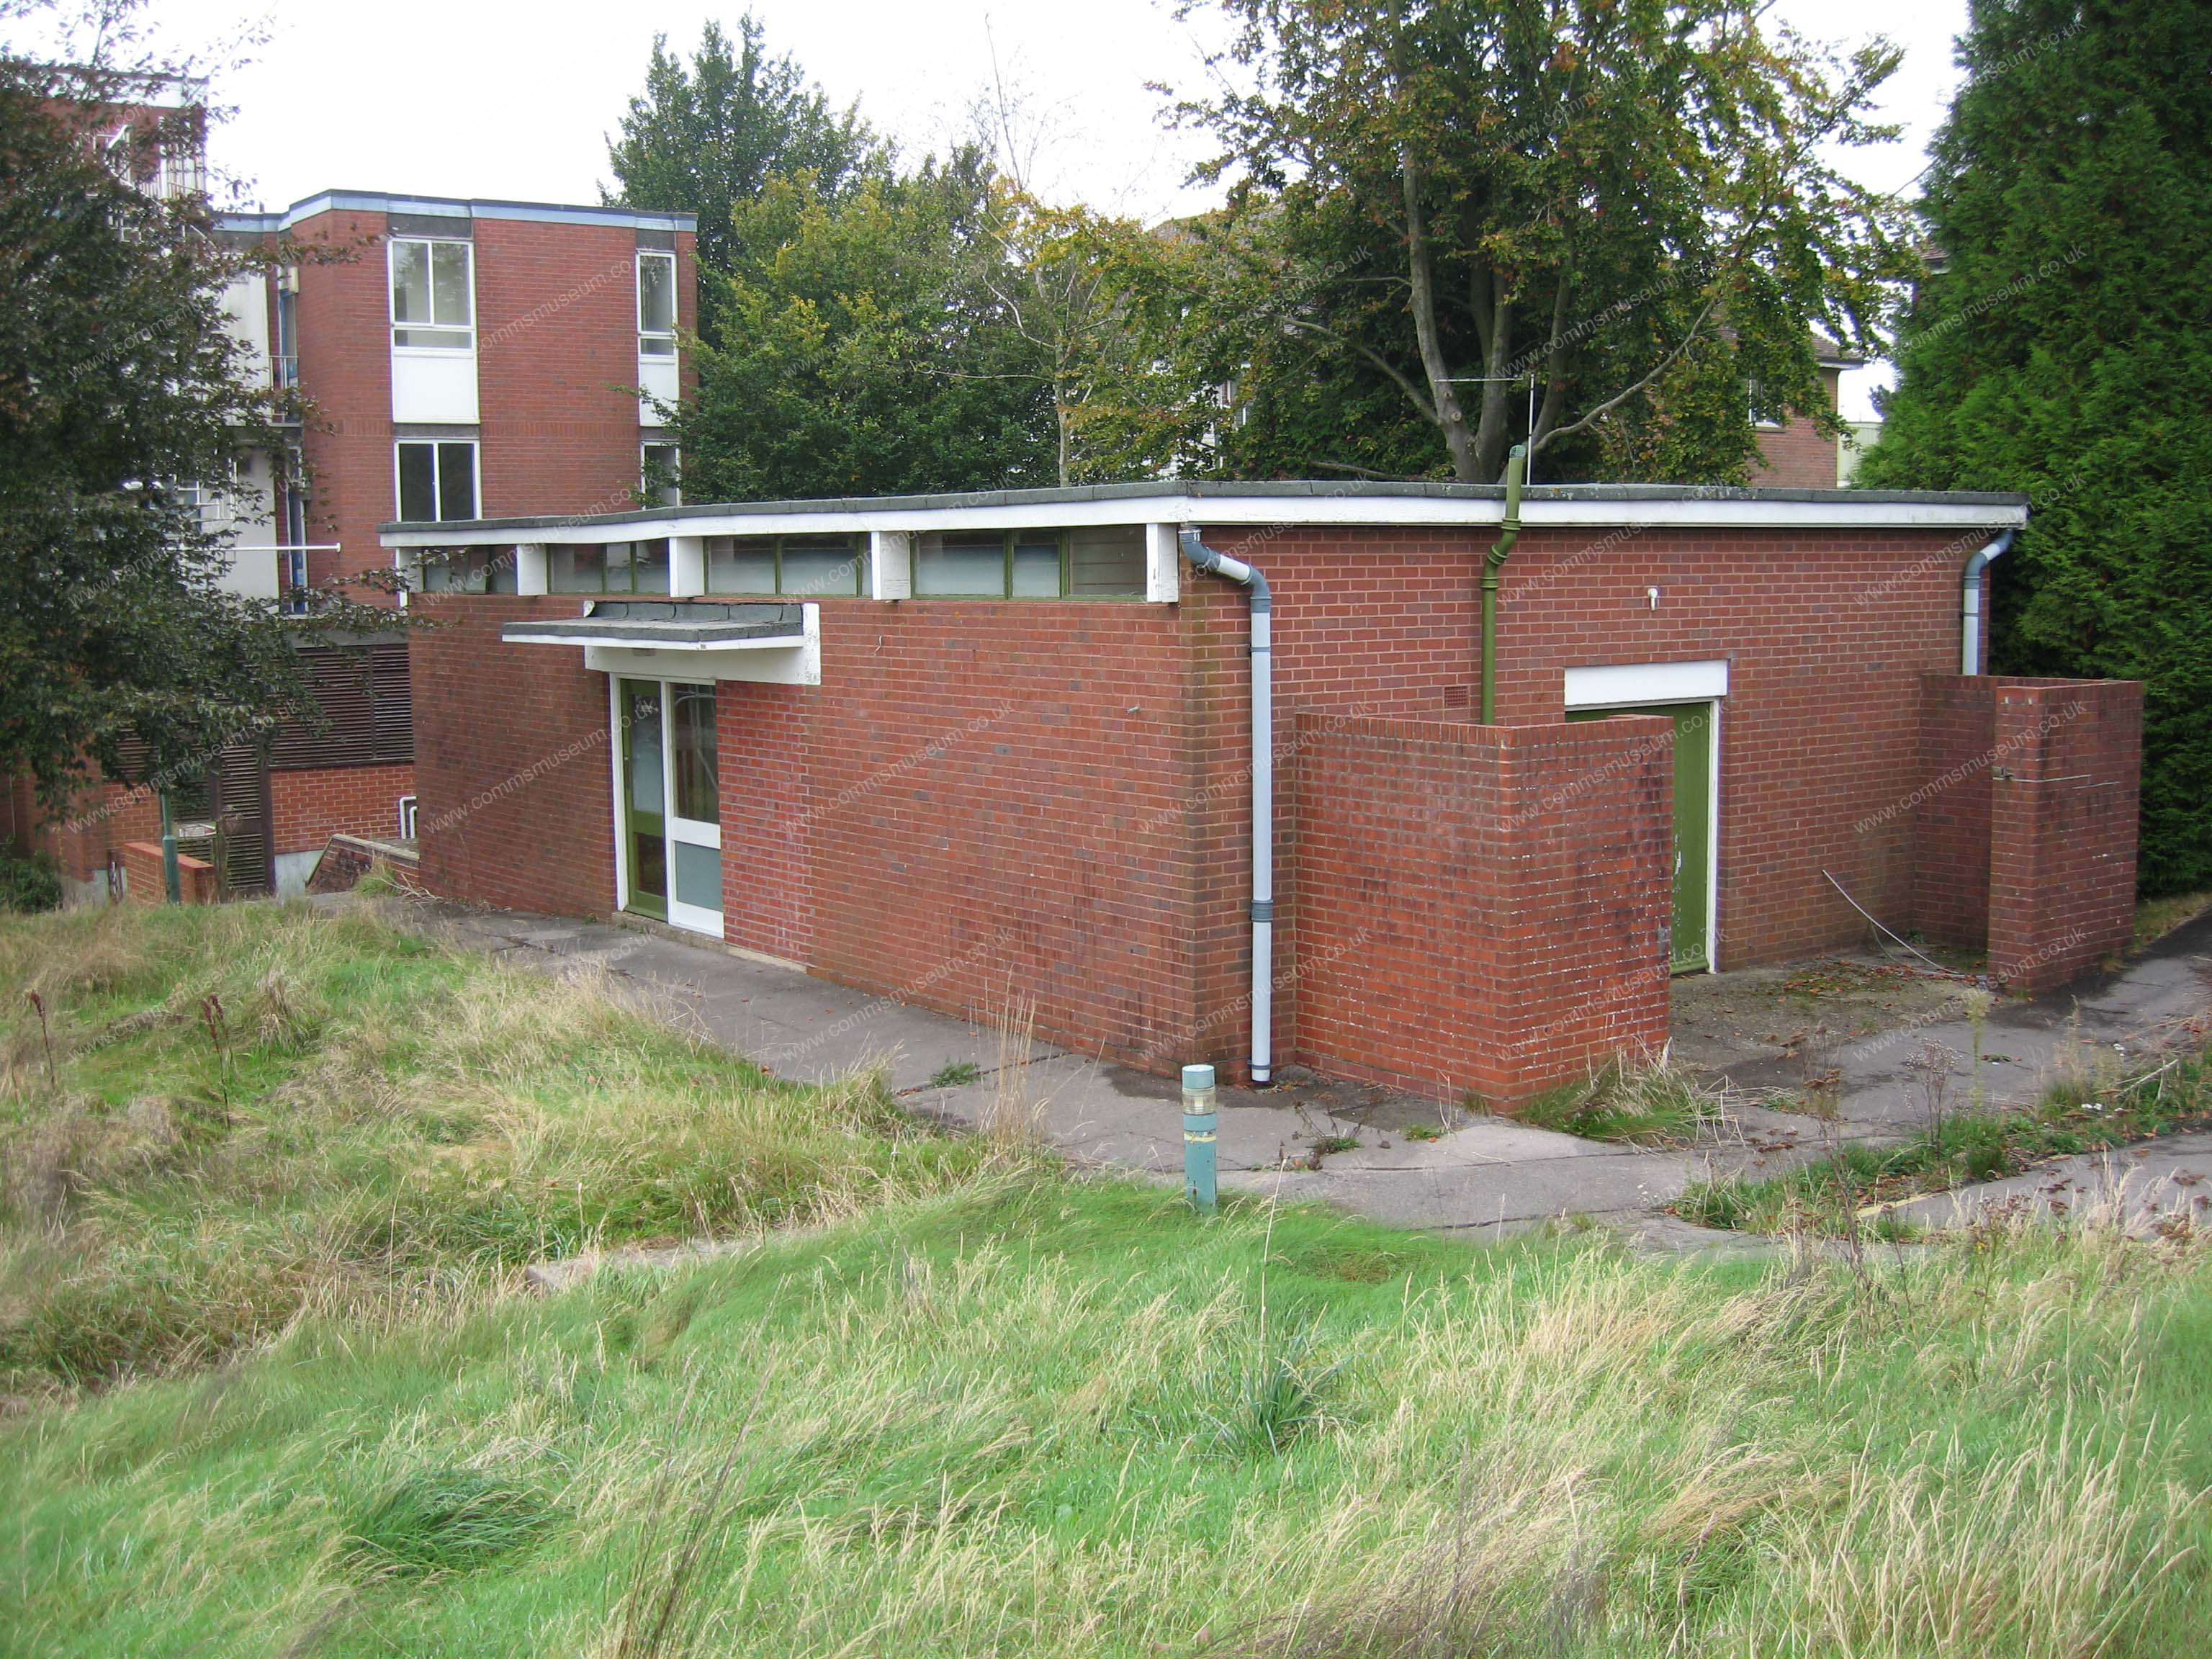
Inglefield Block |
|
Inglefield Block |
Inglefield Block |
Jackson Block |
Jackson Block |
|
Jackson Block |
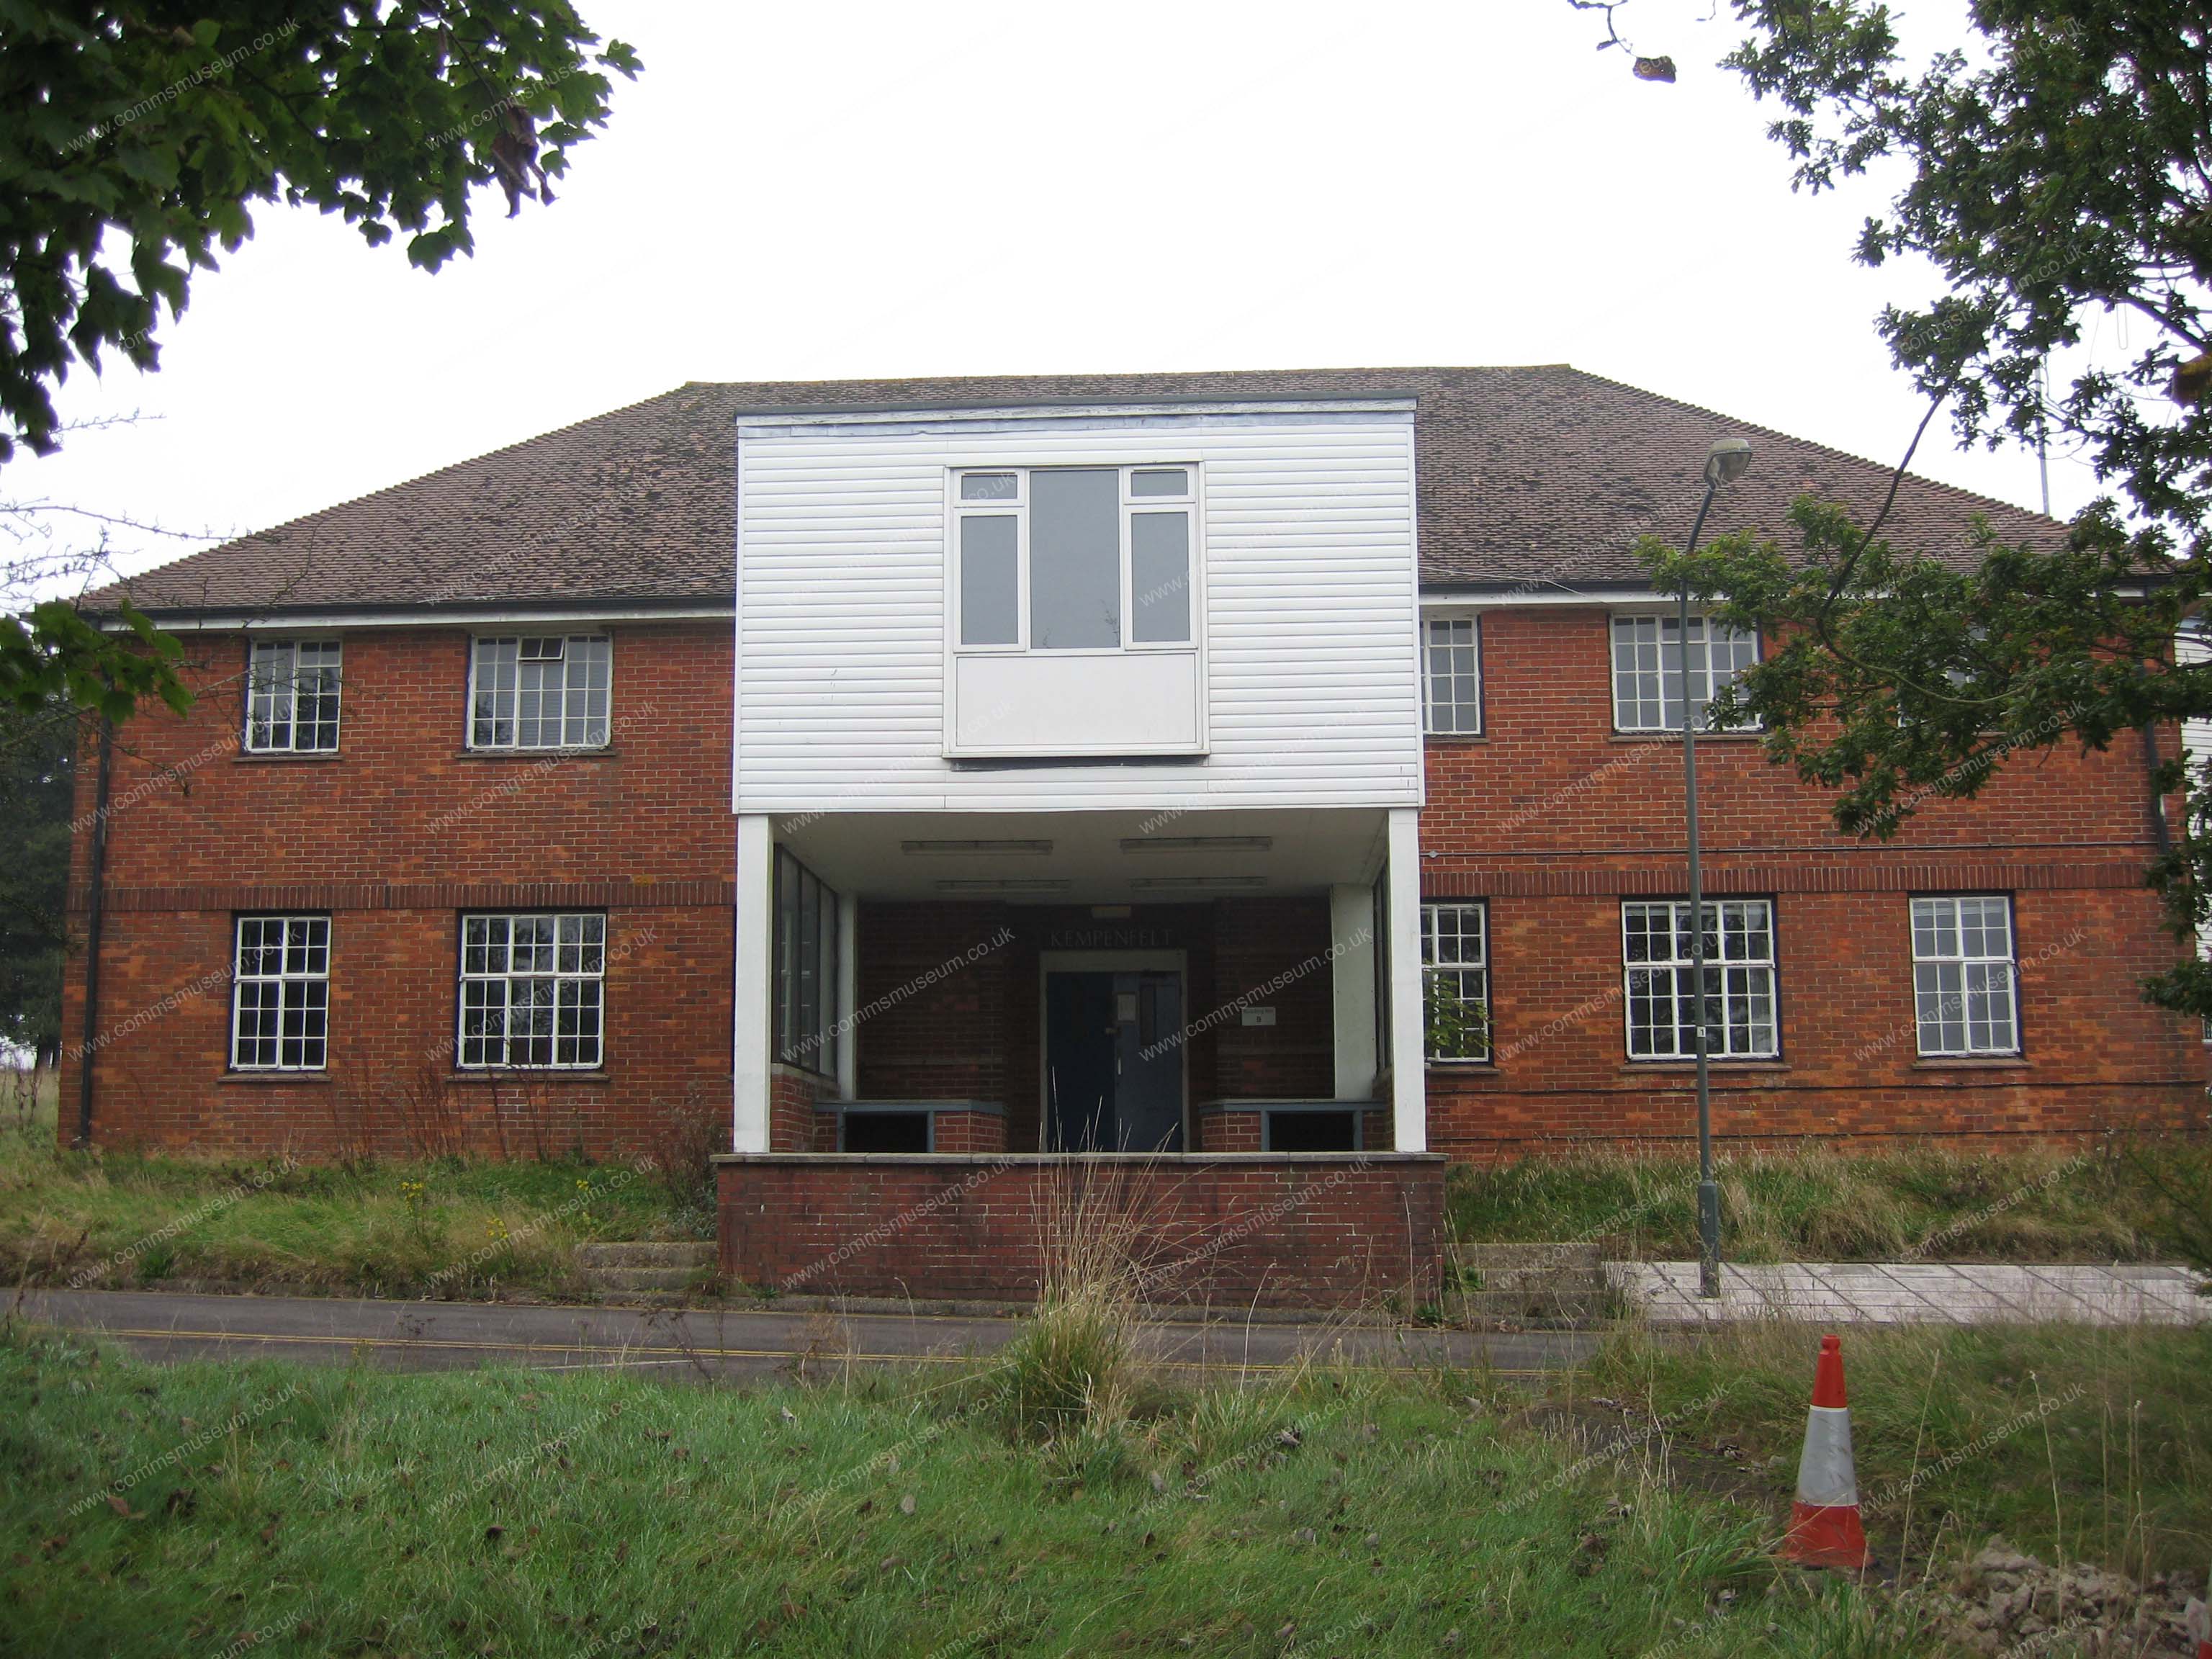
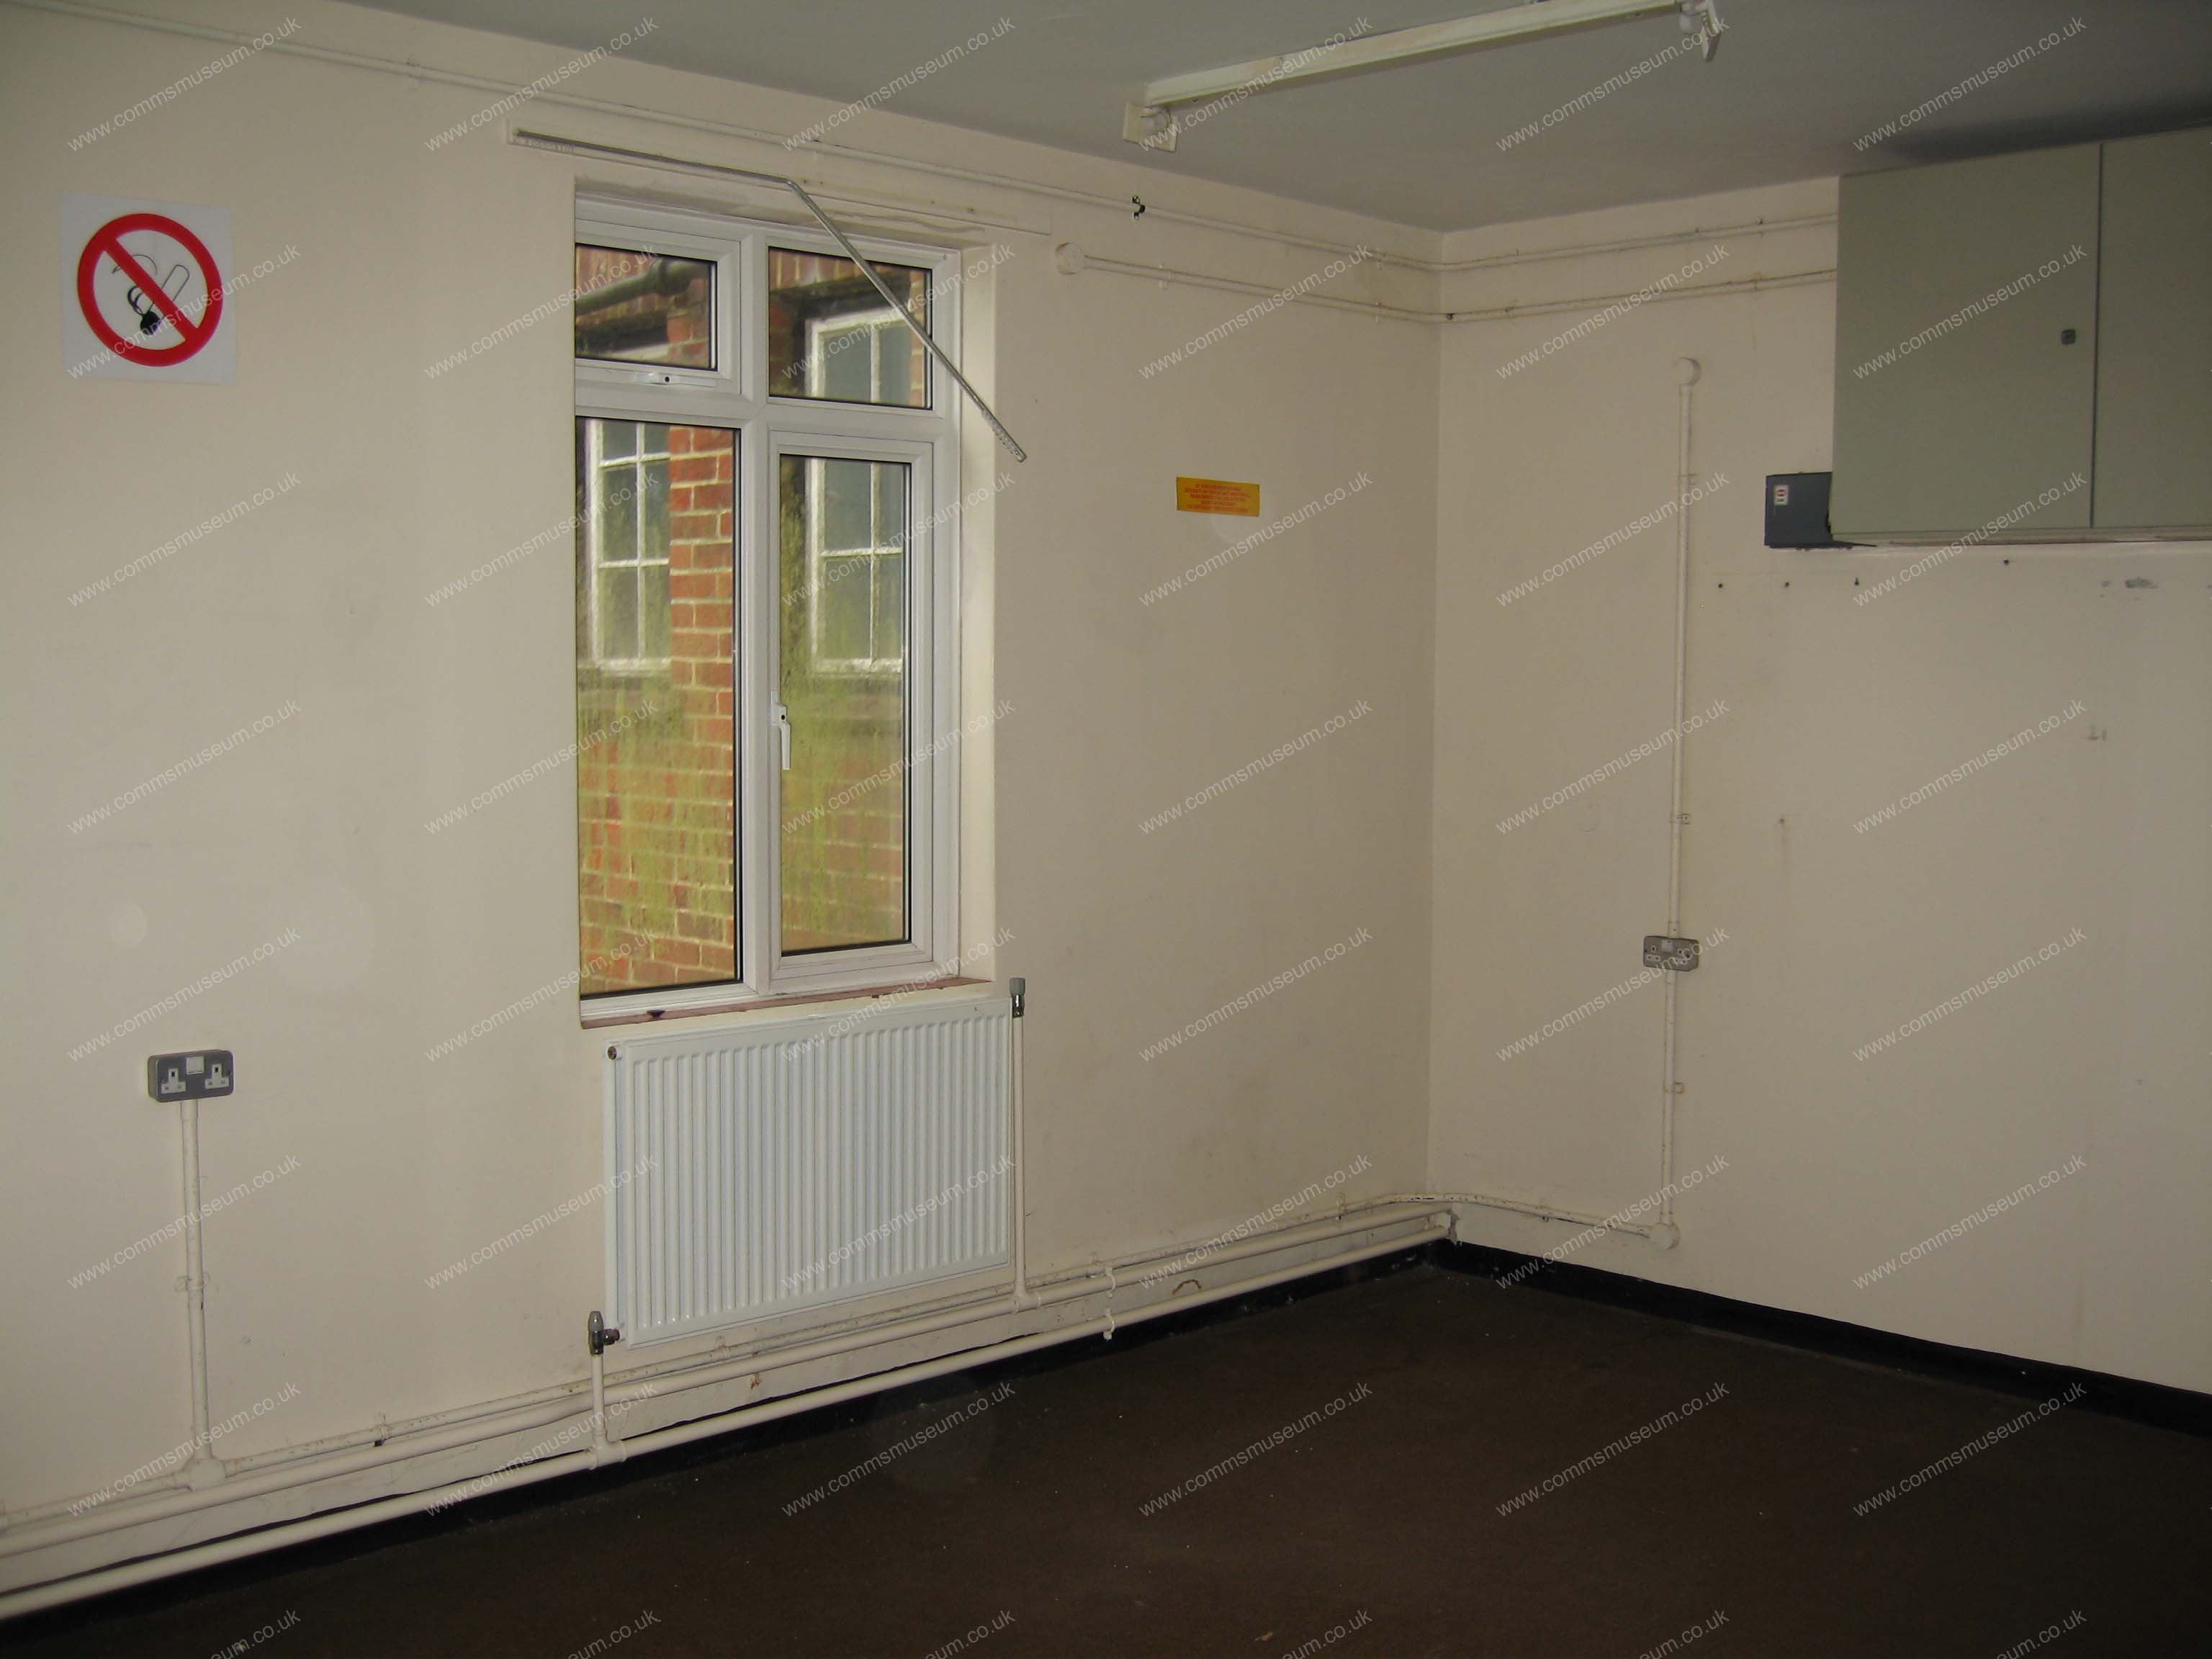
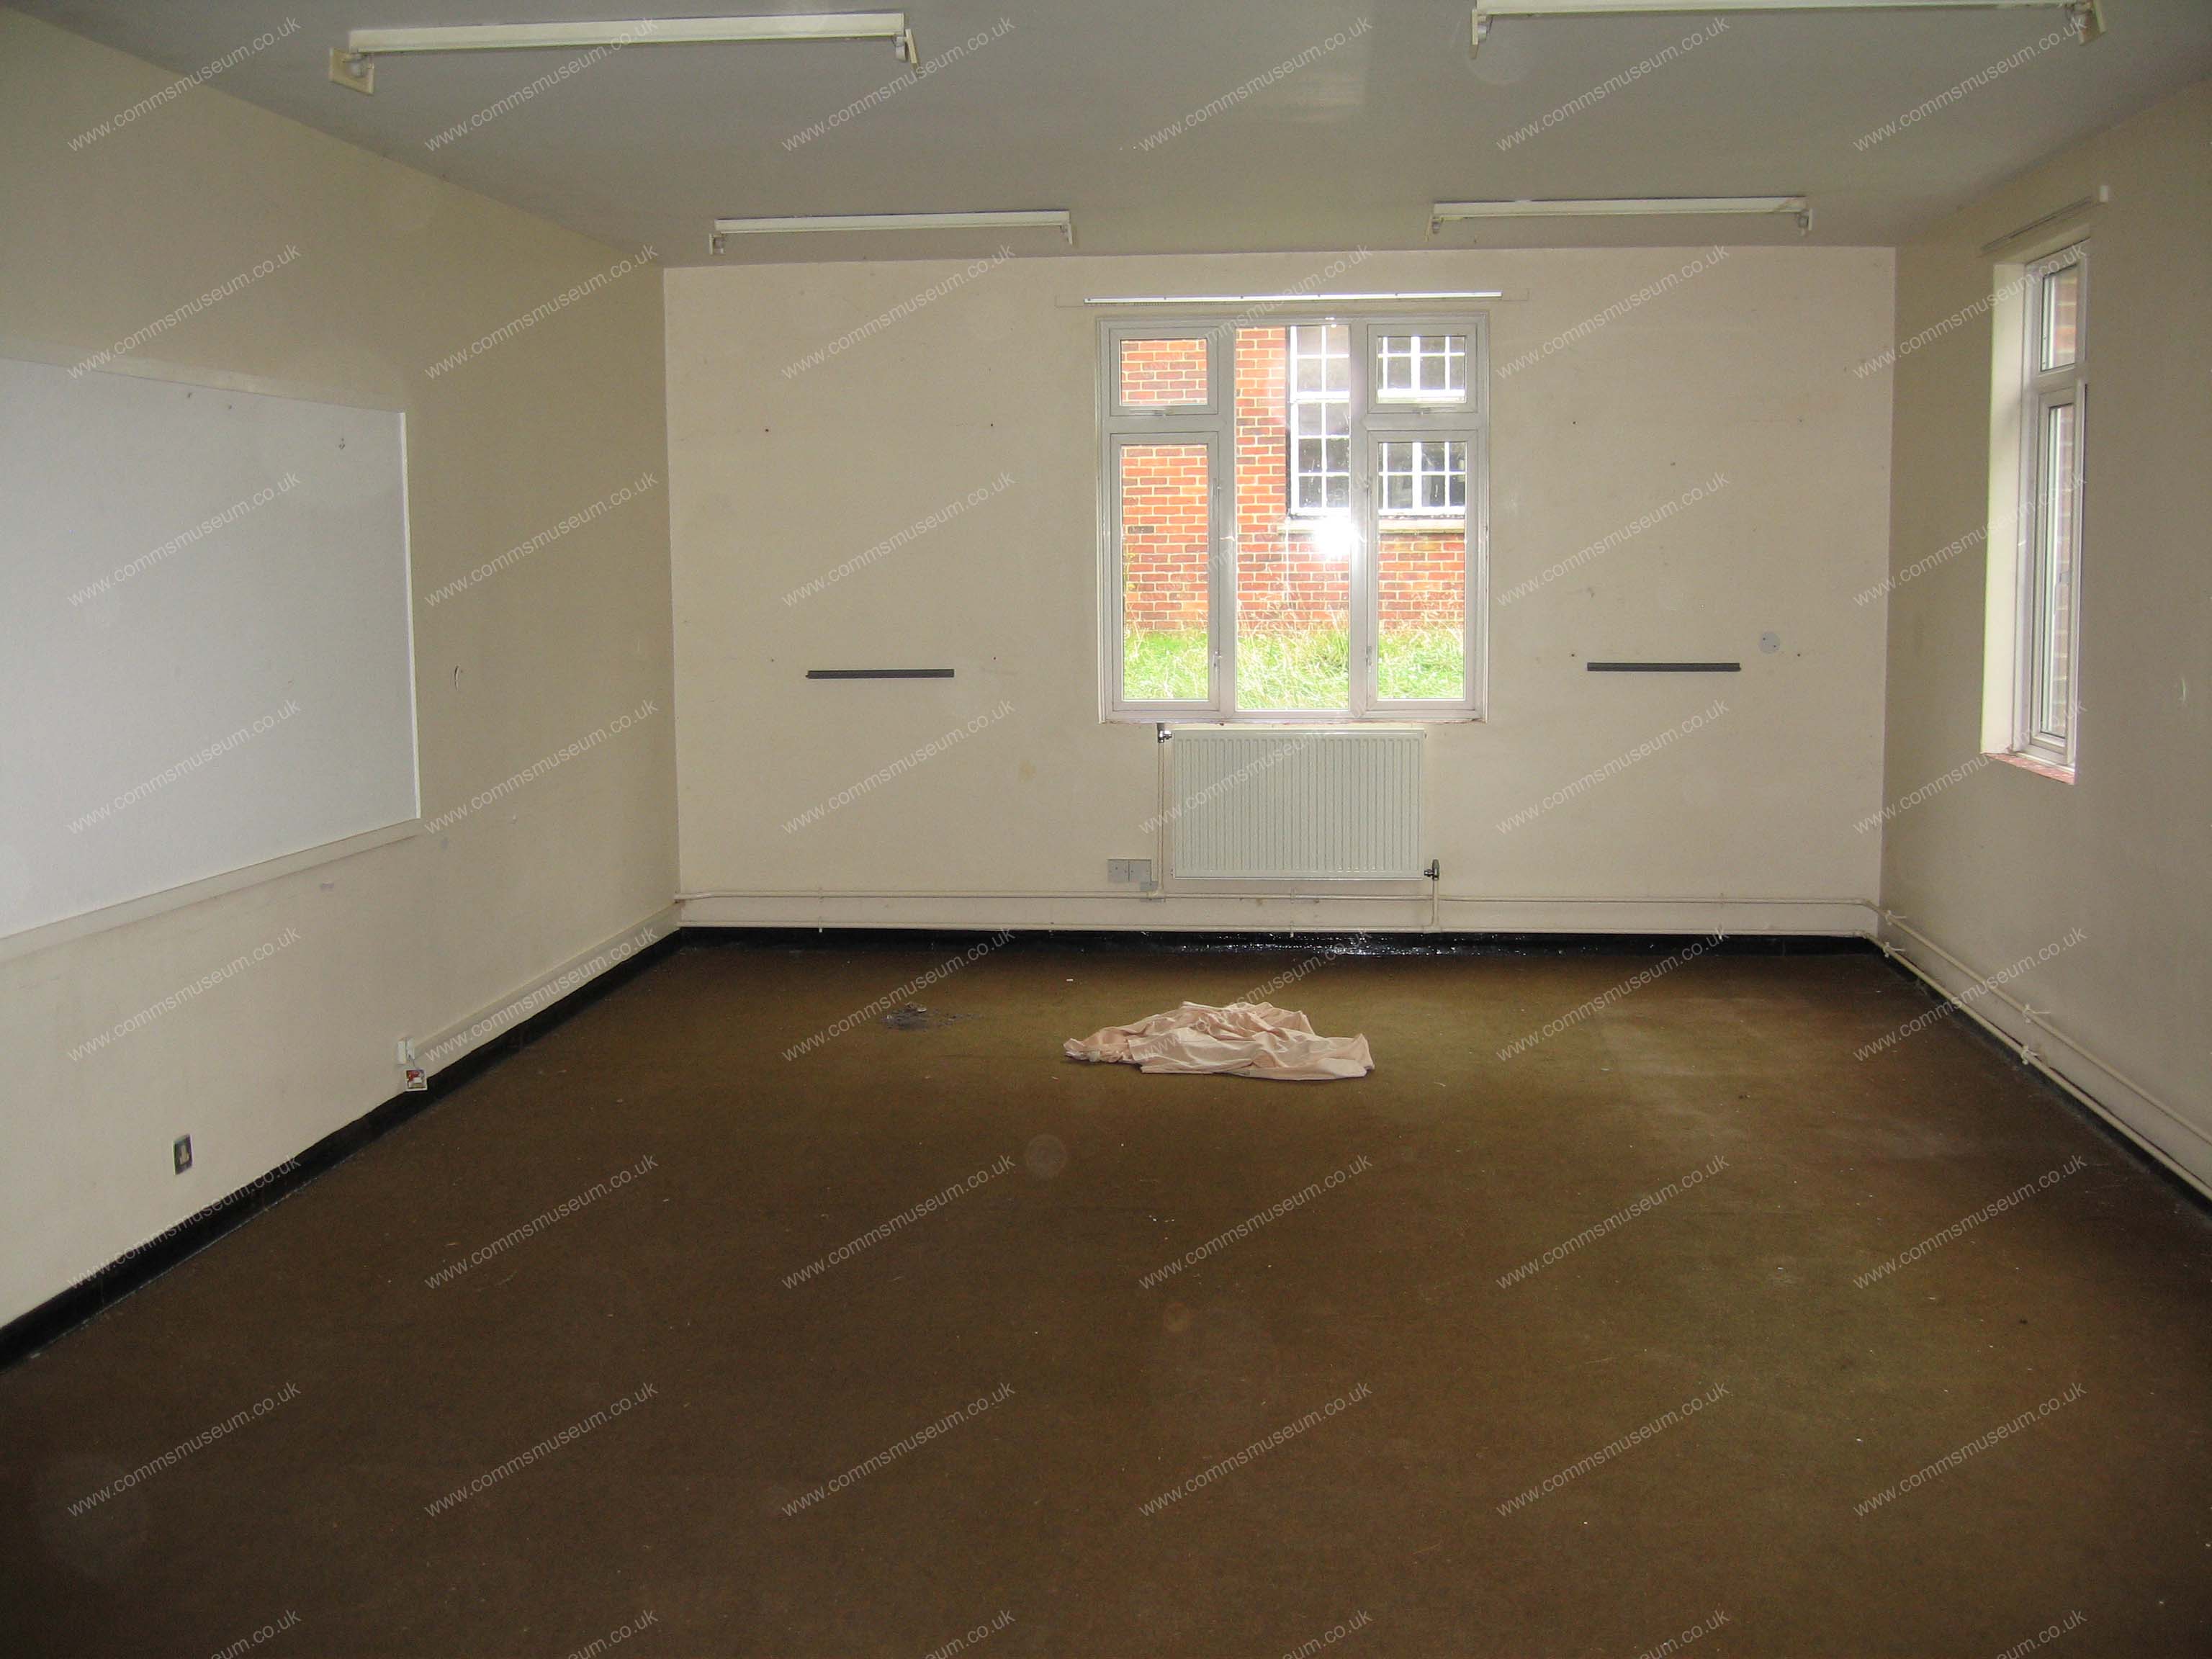
Kempenfelt Block |

Kempenfelt Block |
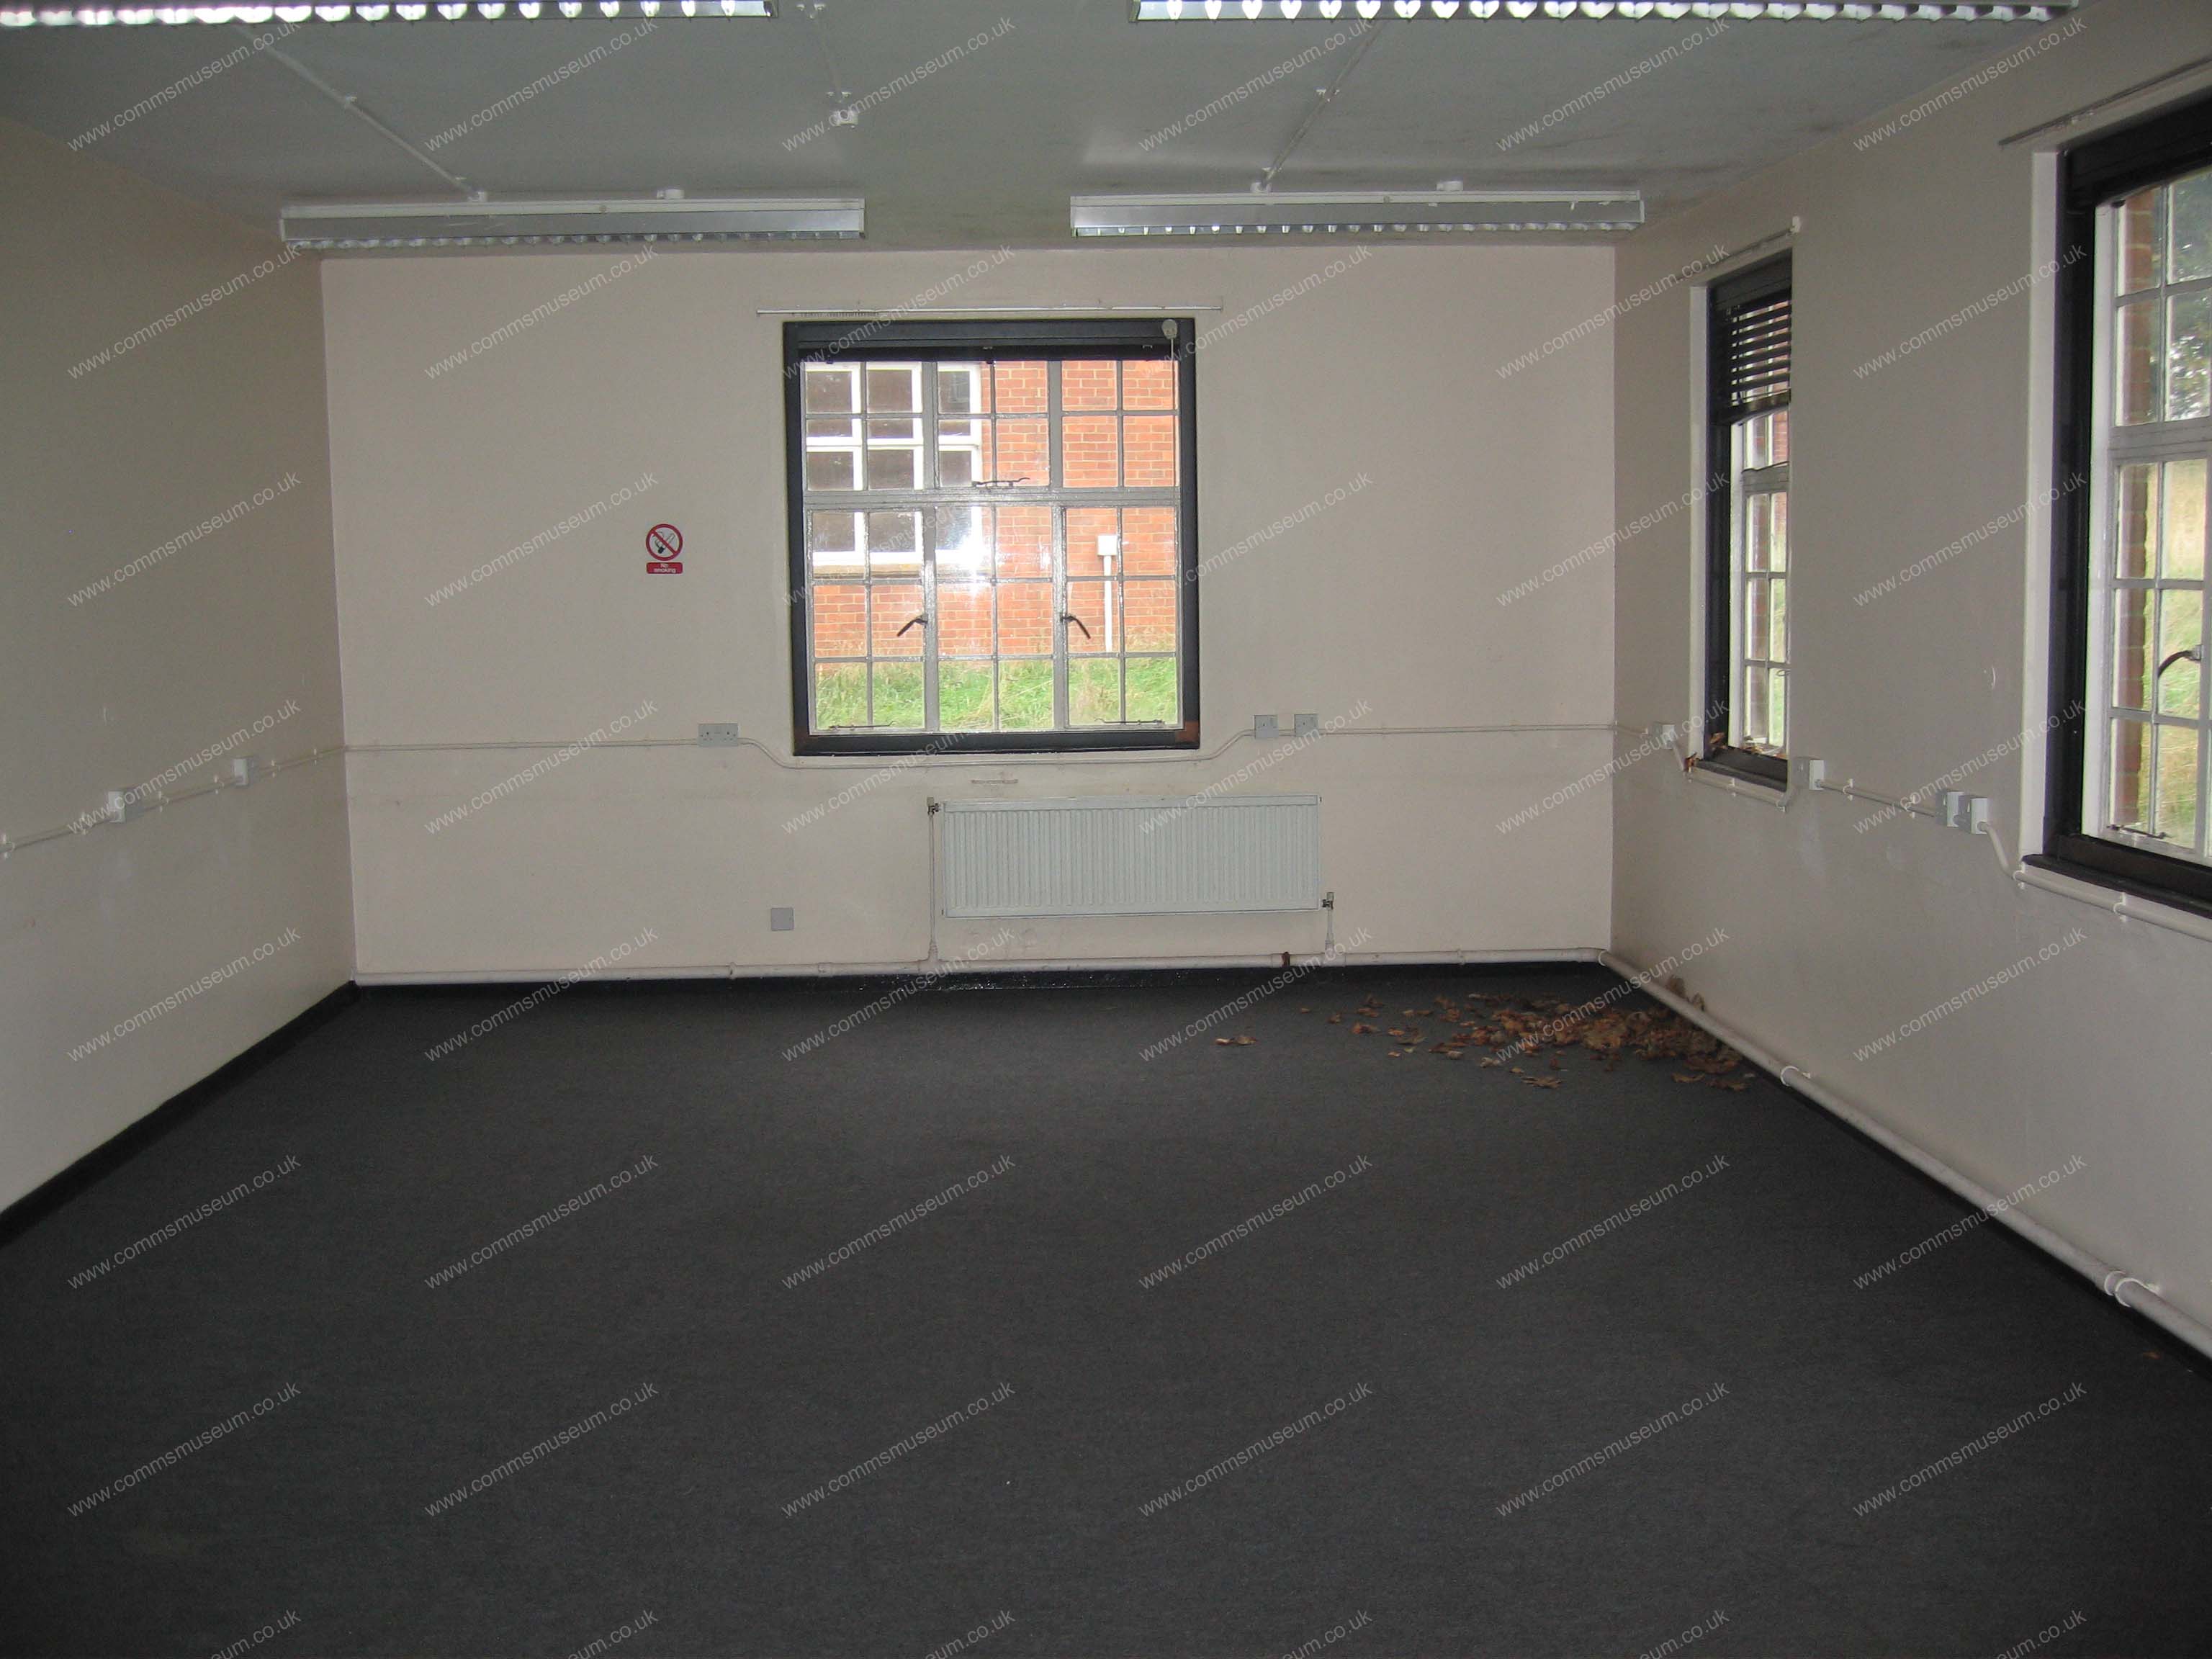
Kempenfelt Block |
|
Knowles Block |
Knowles Block |
Knowles Block |
Leydene |
|
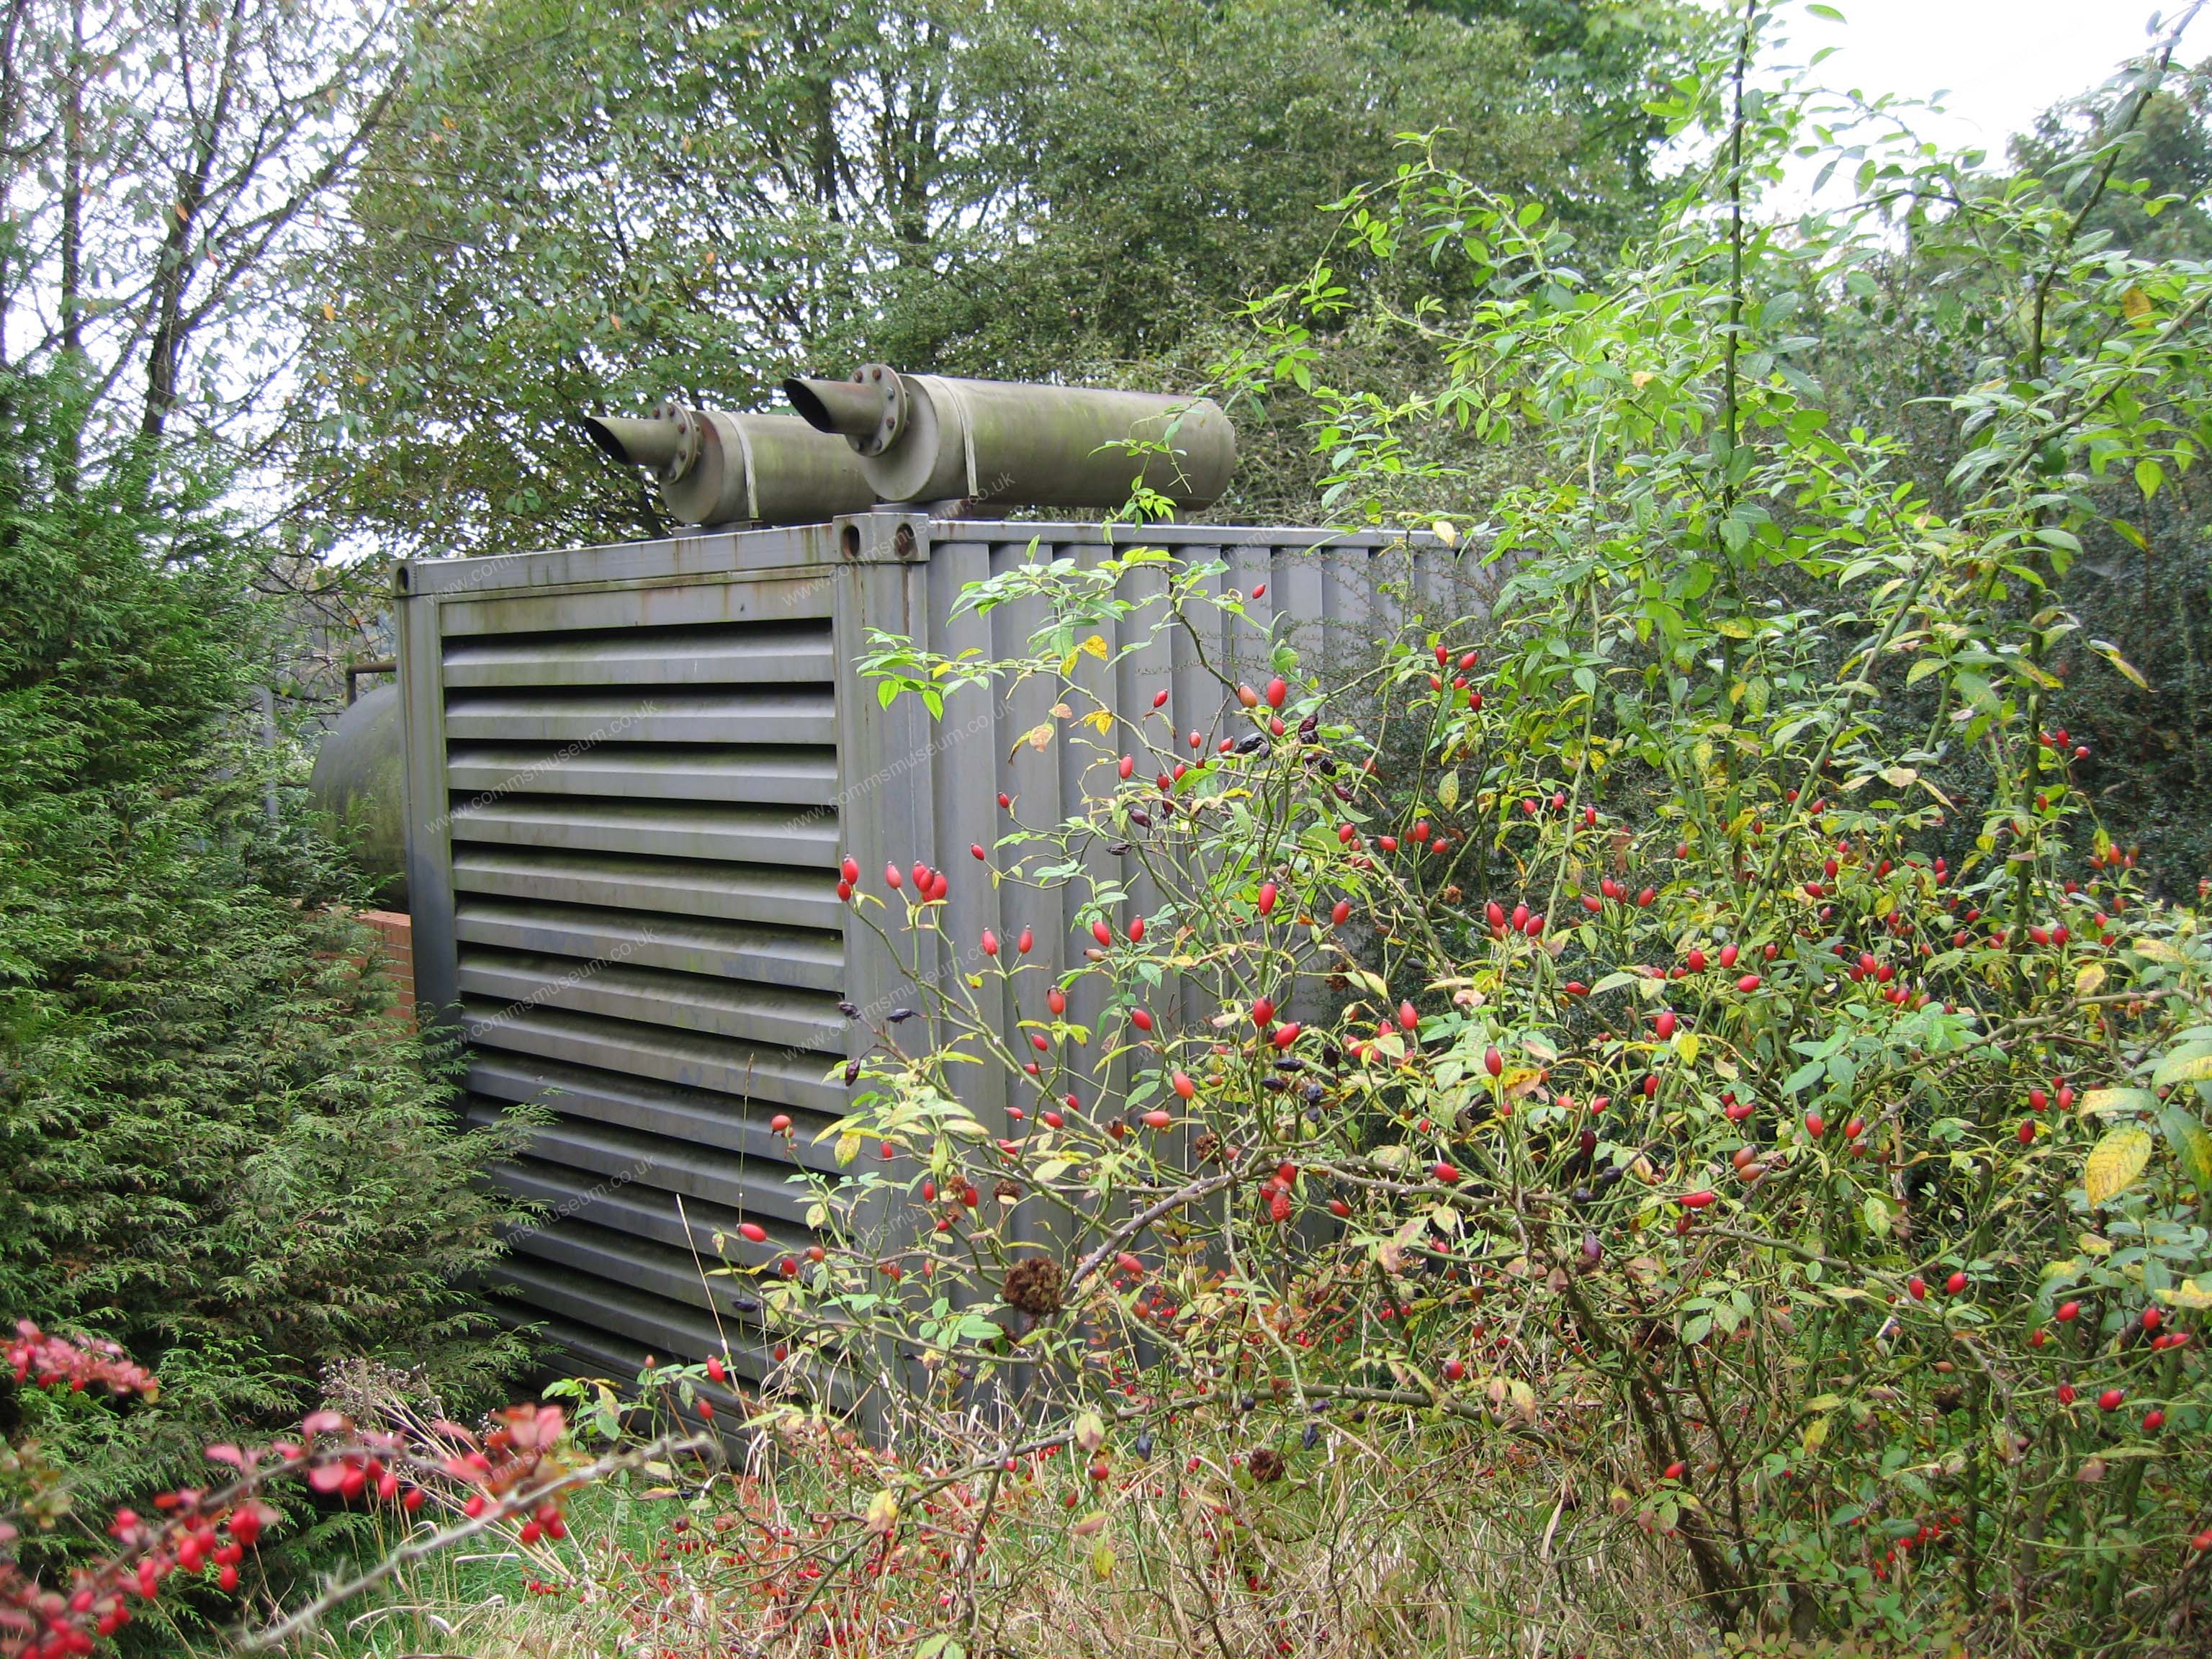
Generator |

NAAFI |
Pascoe Block |
Pascoe Block |
|
Pascoe Block |
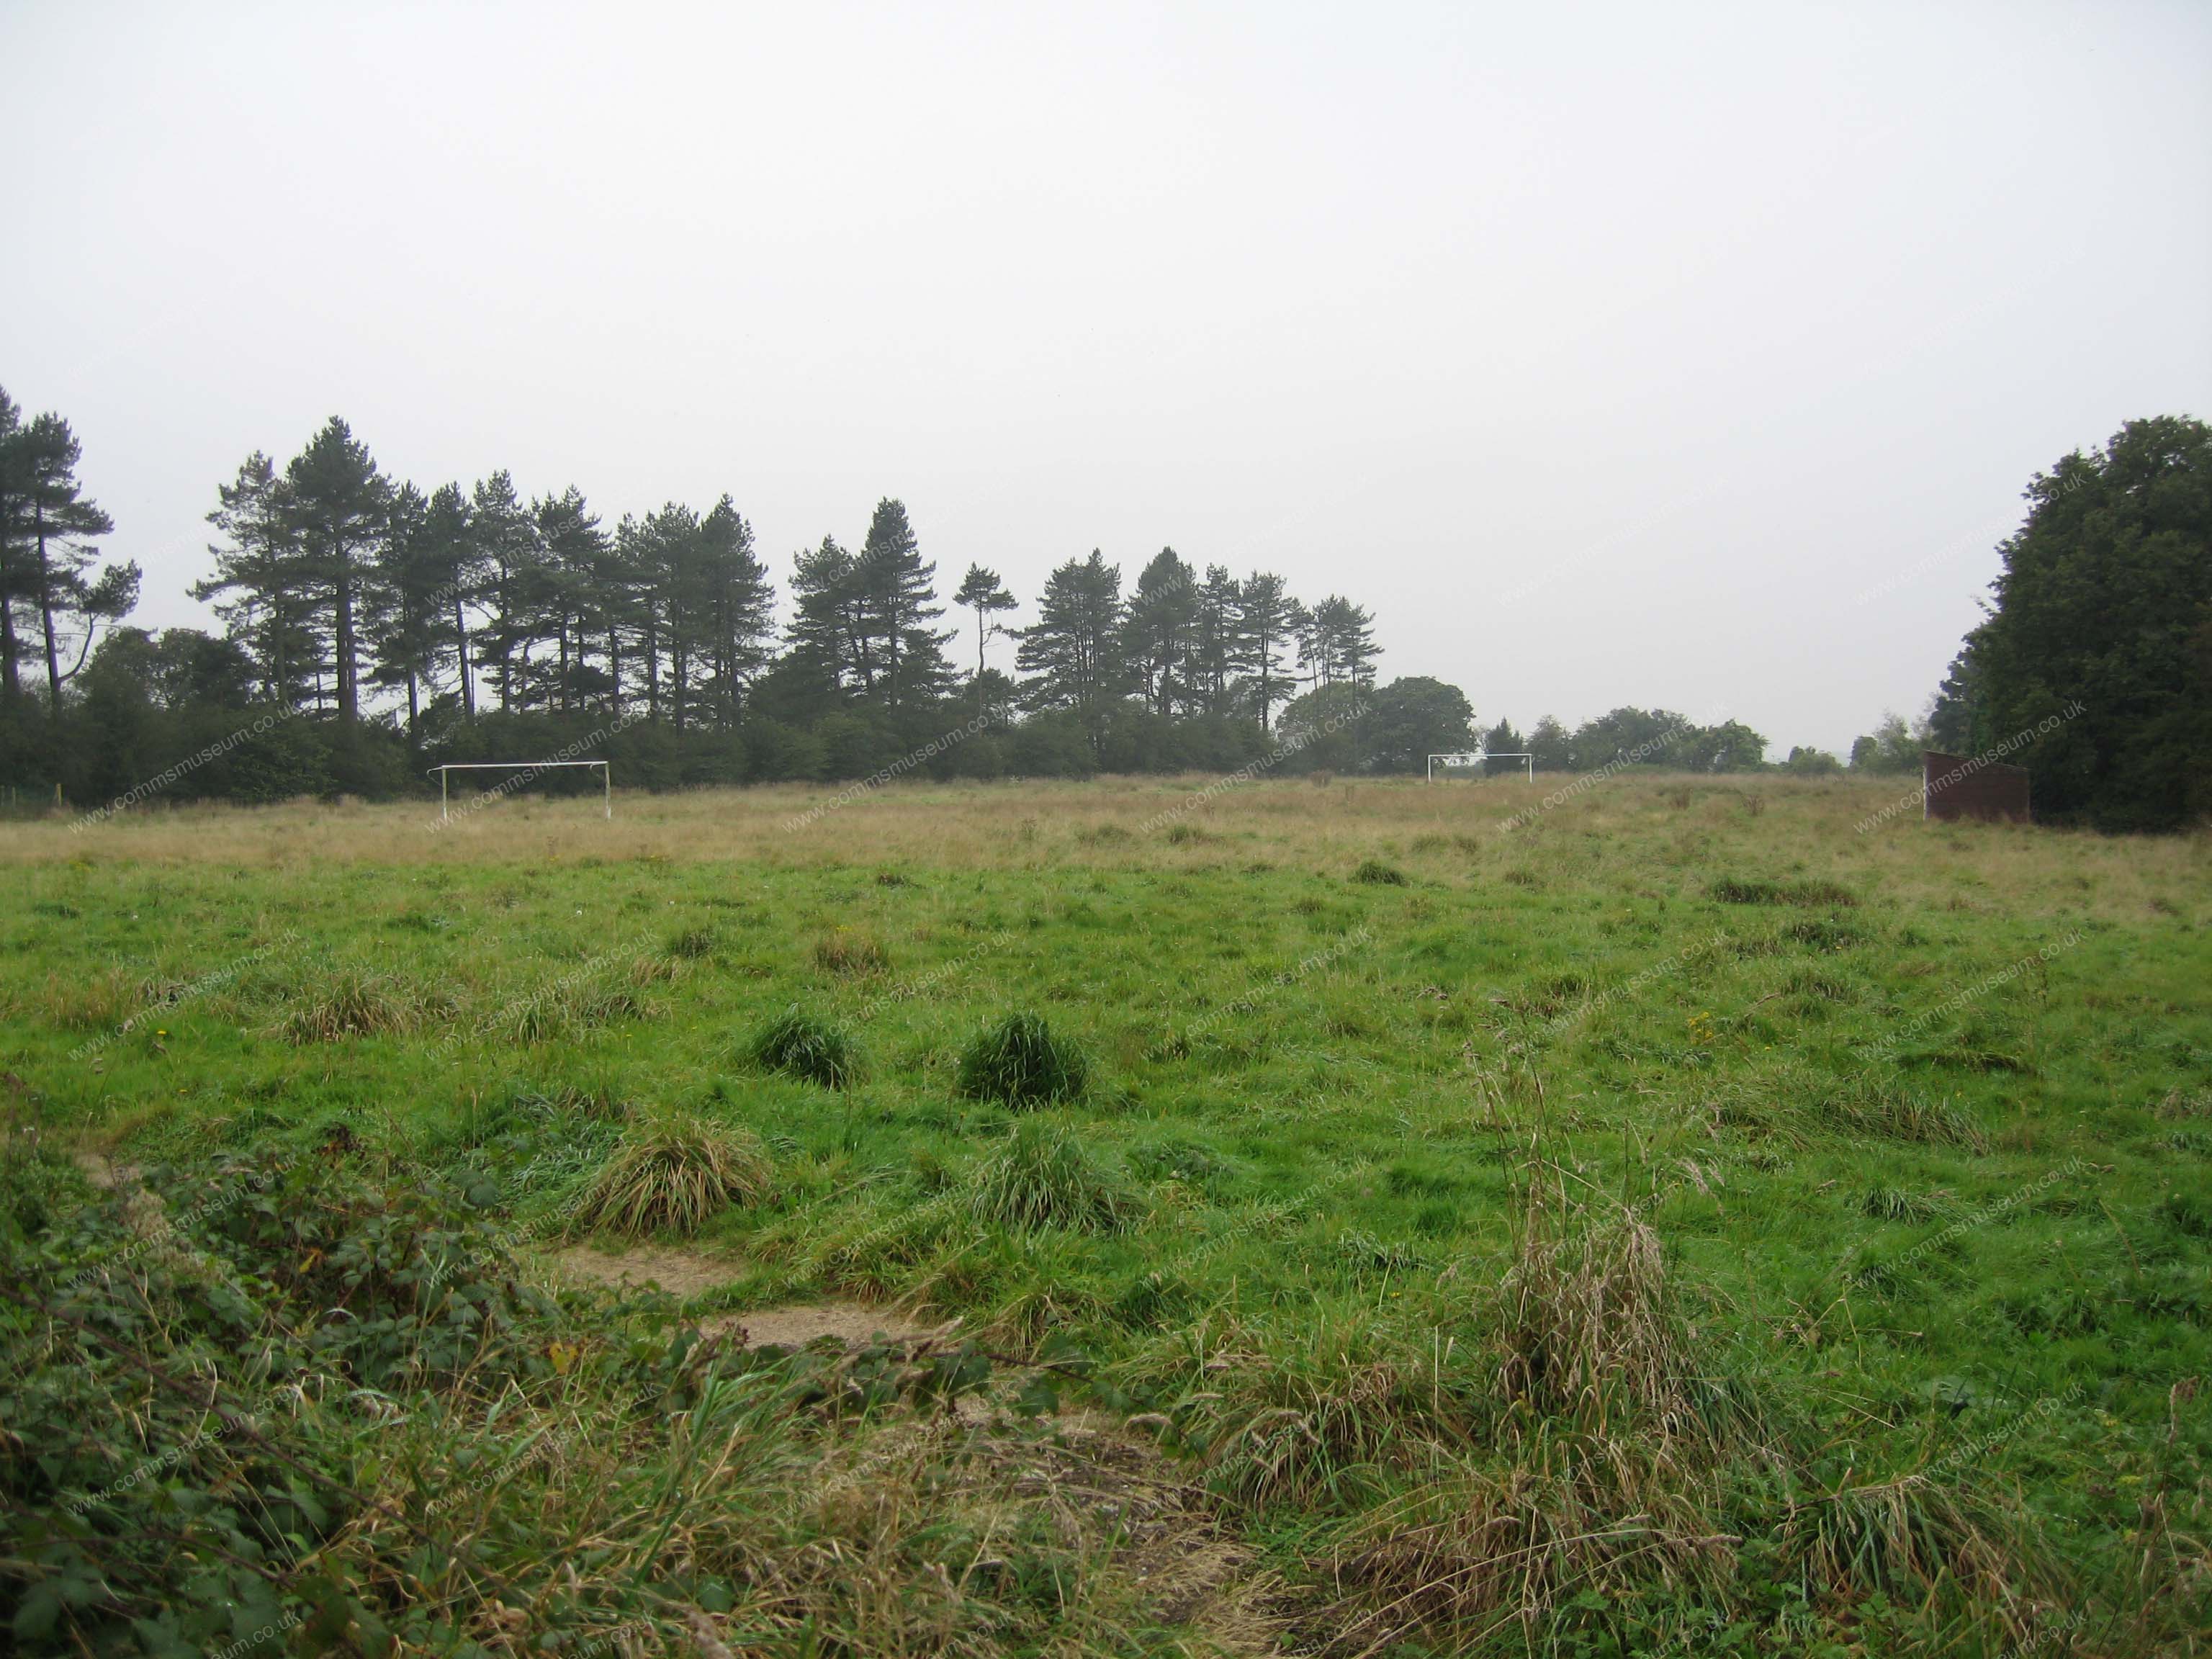
Playing Field |
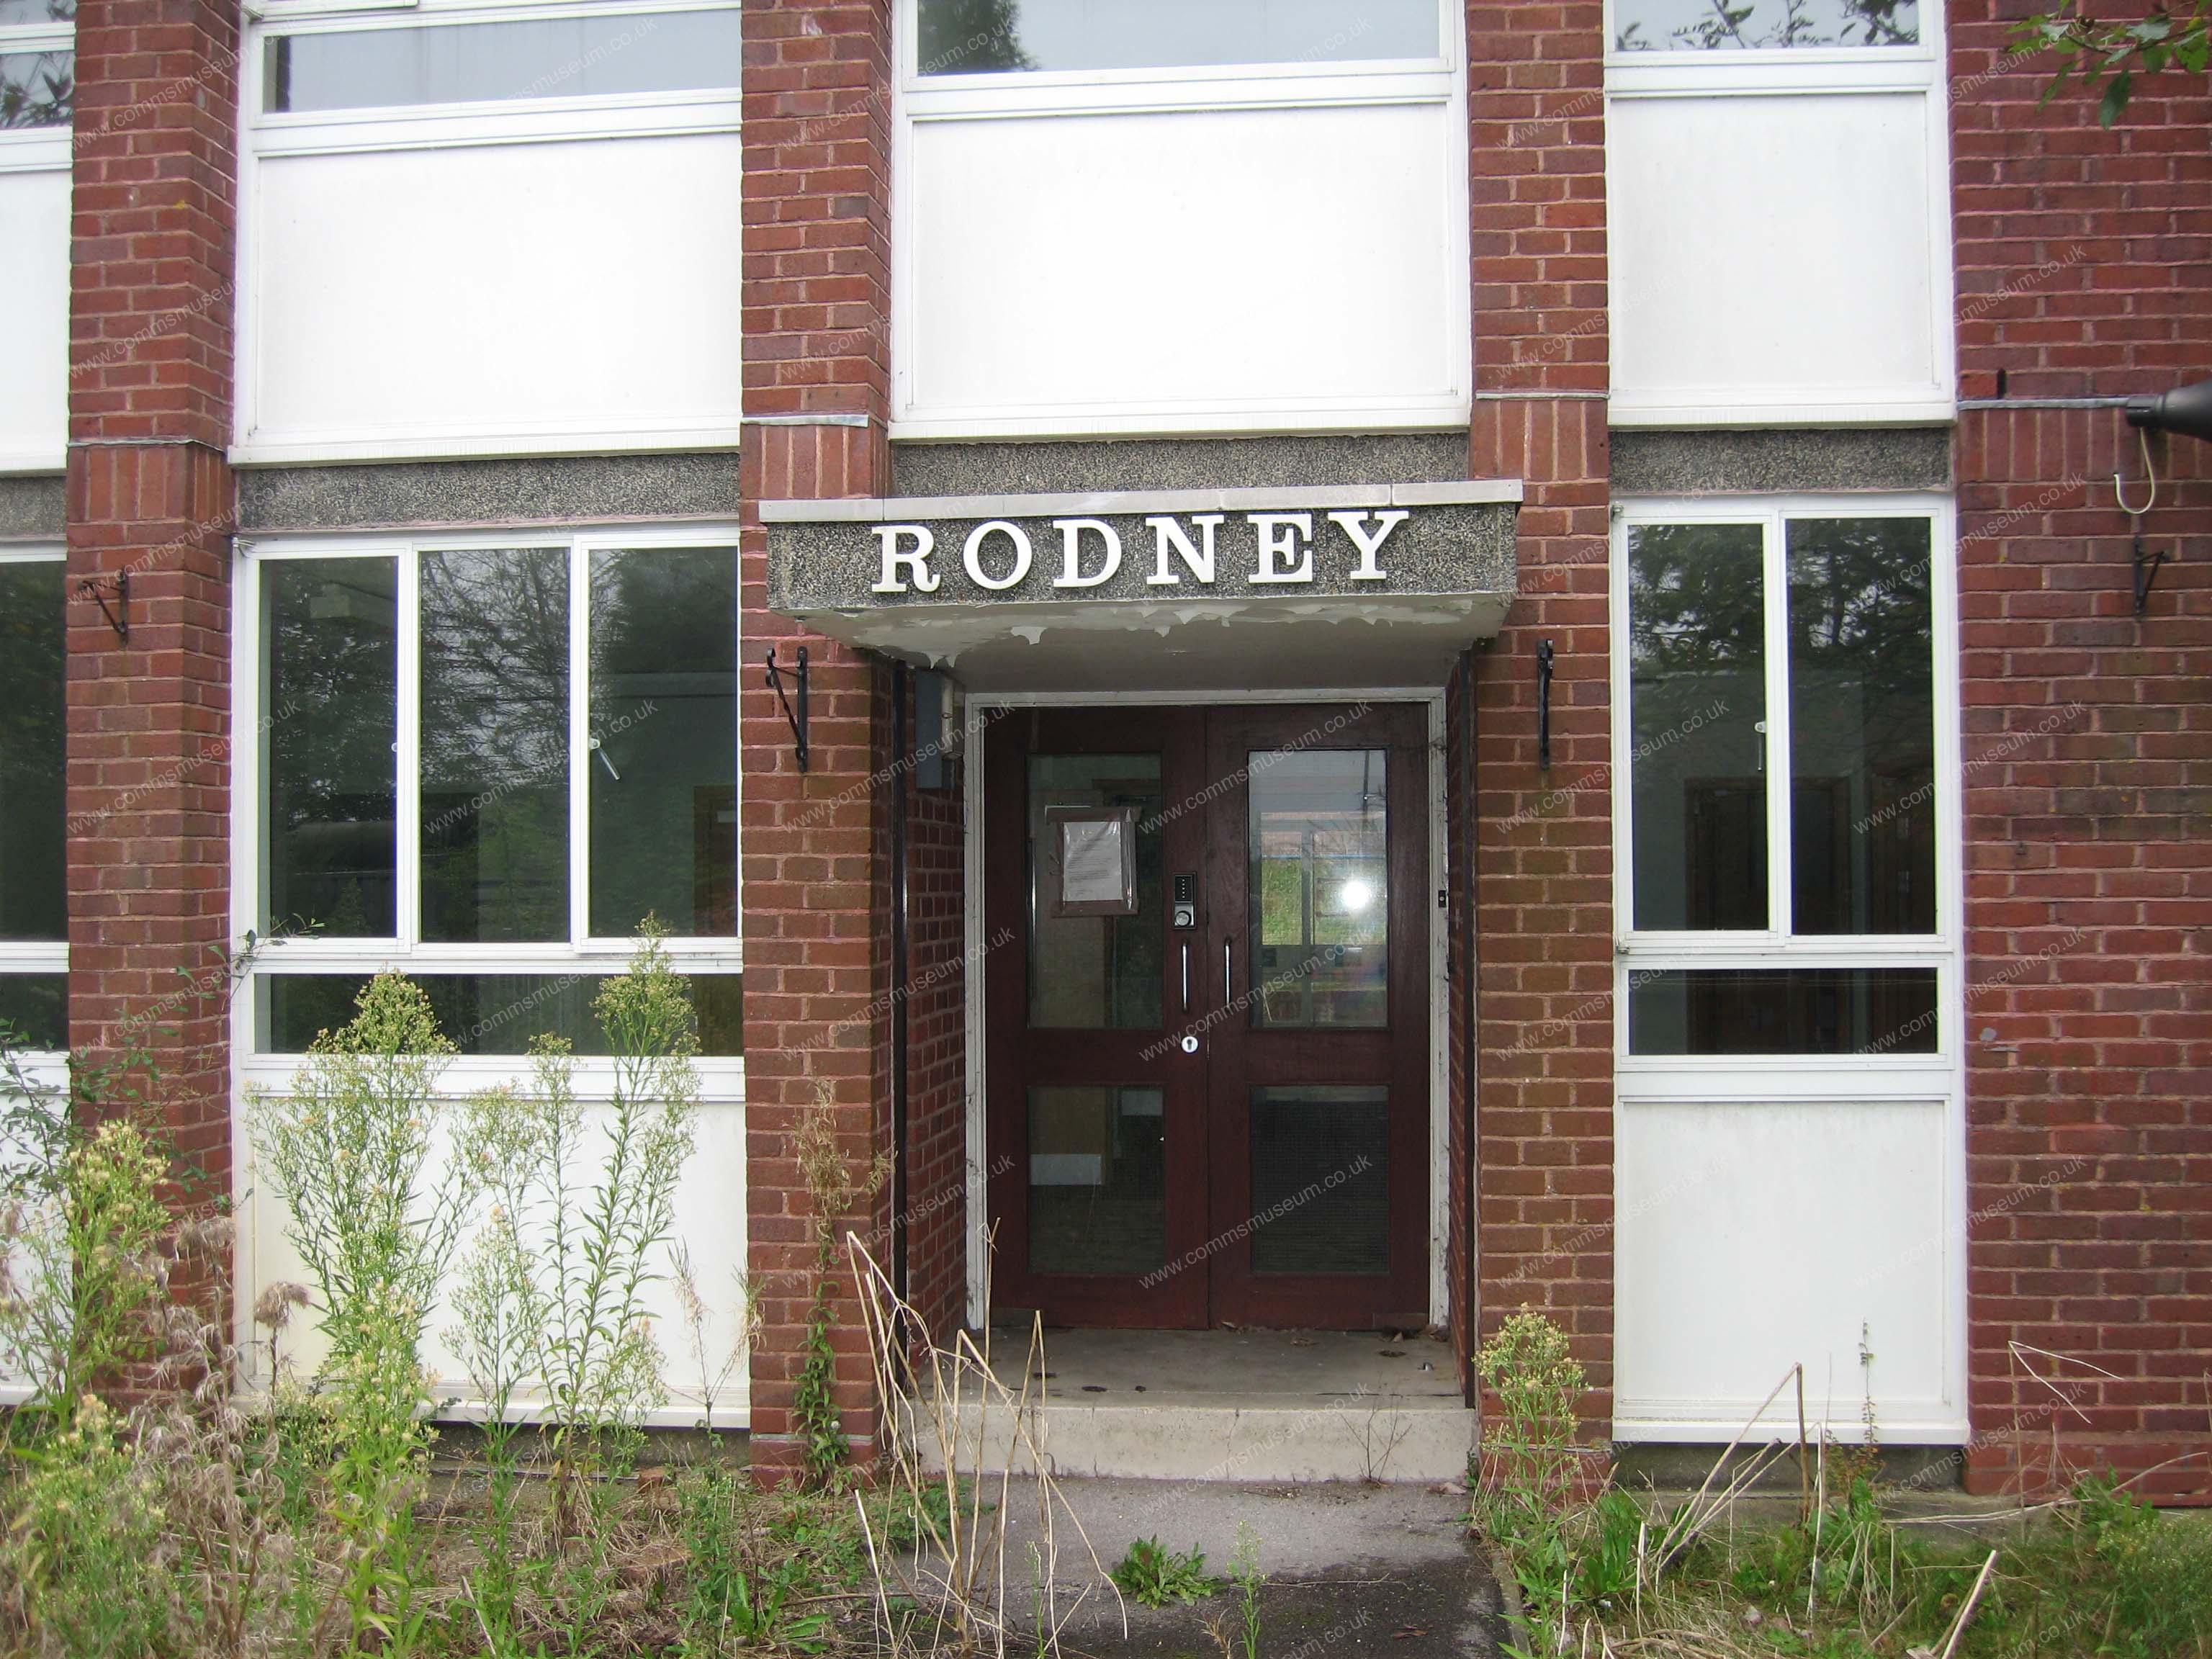
Rodney Block |
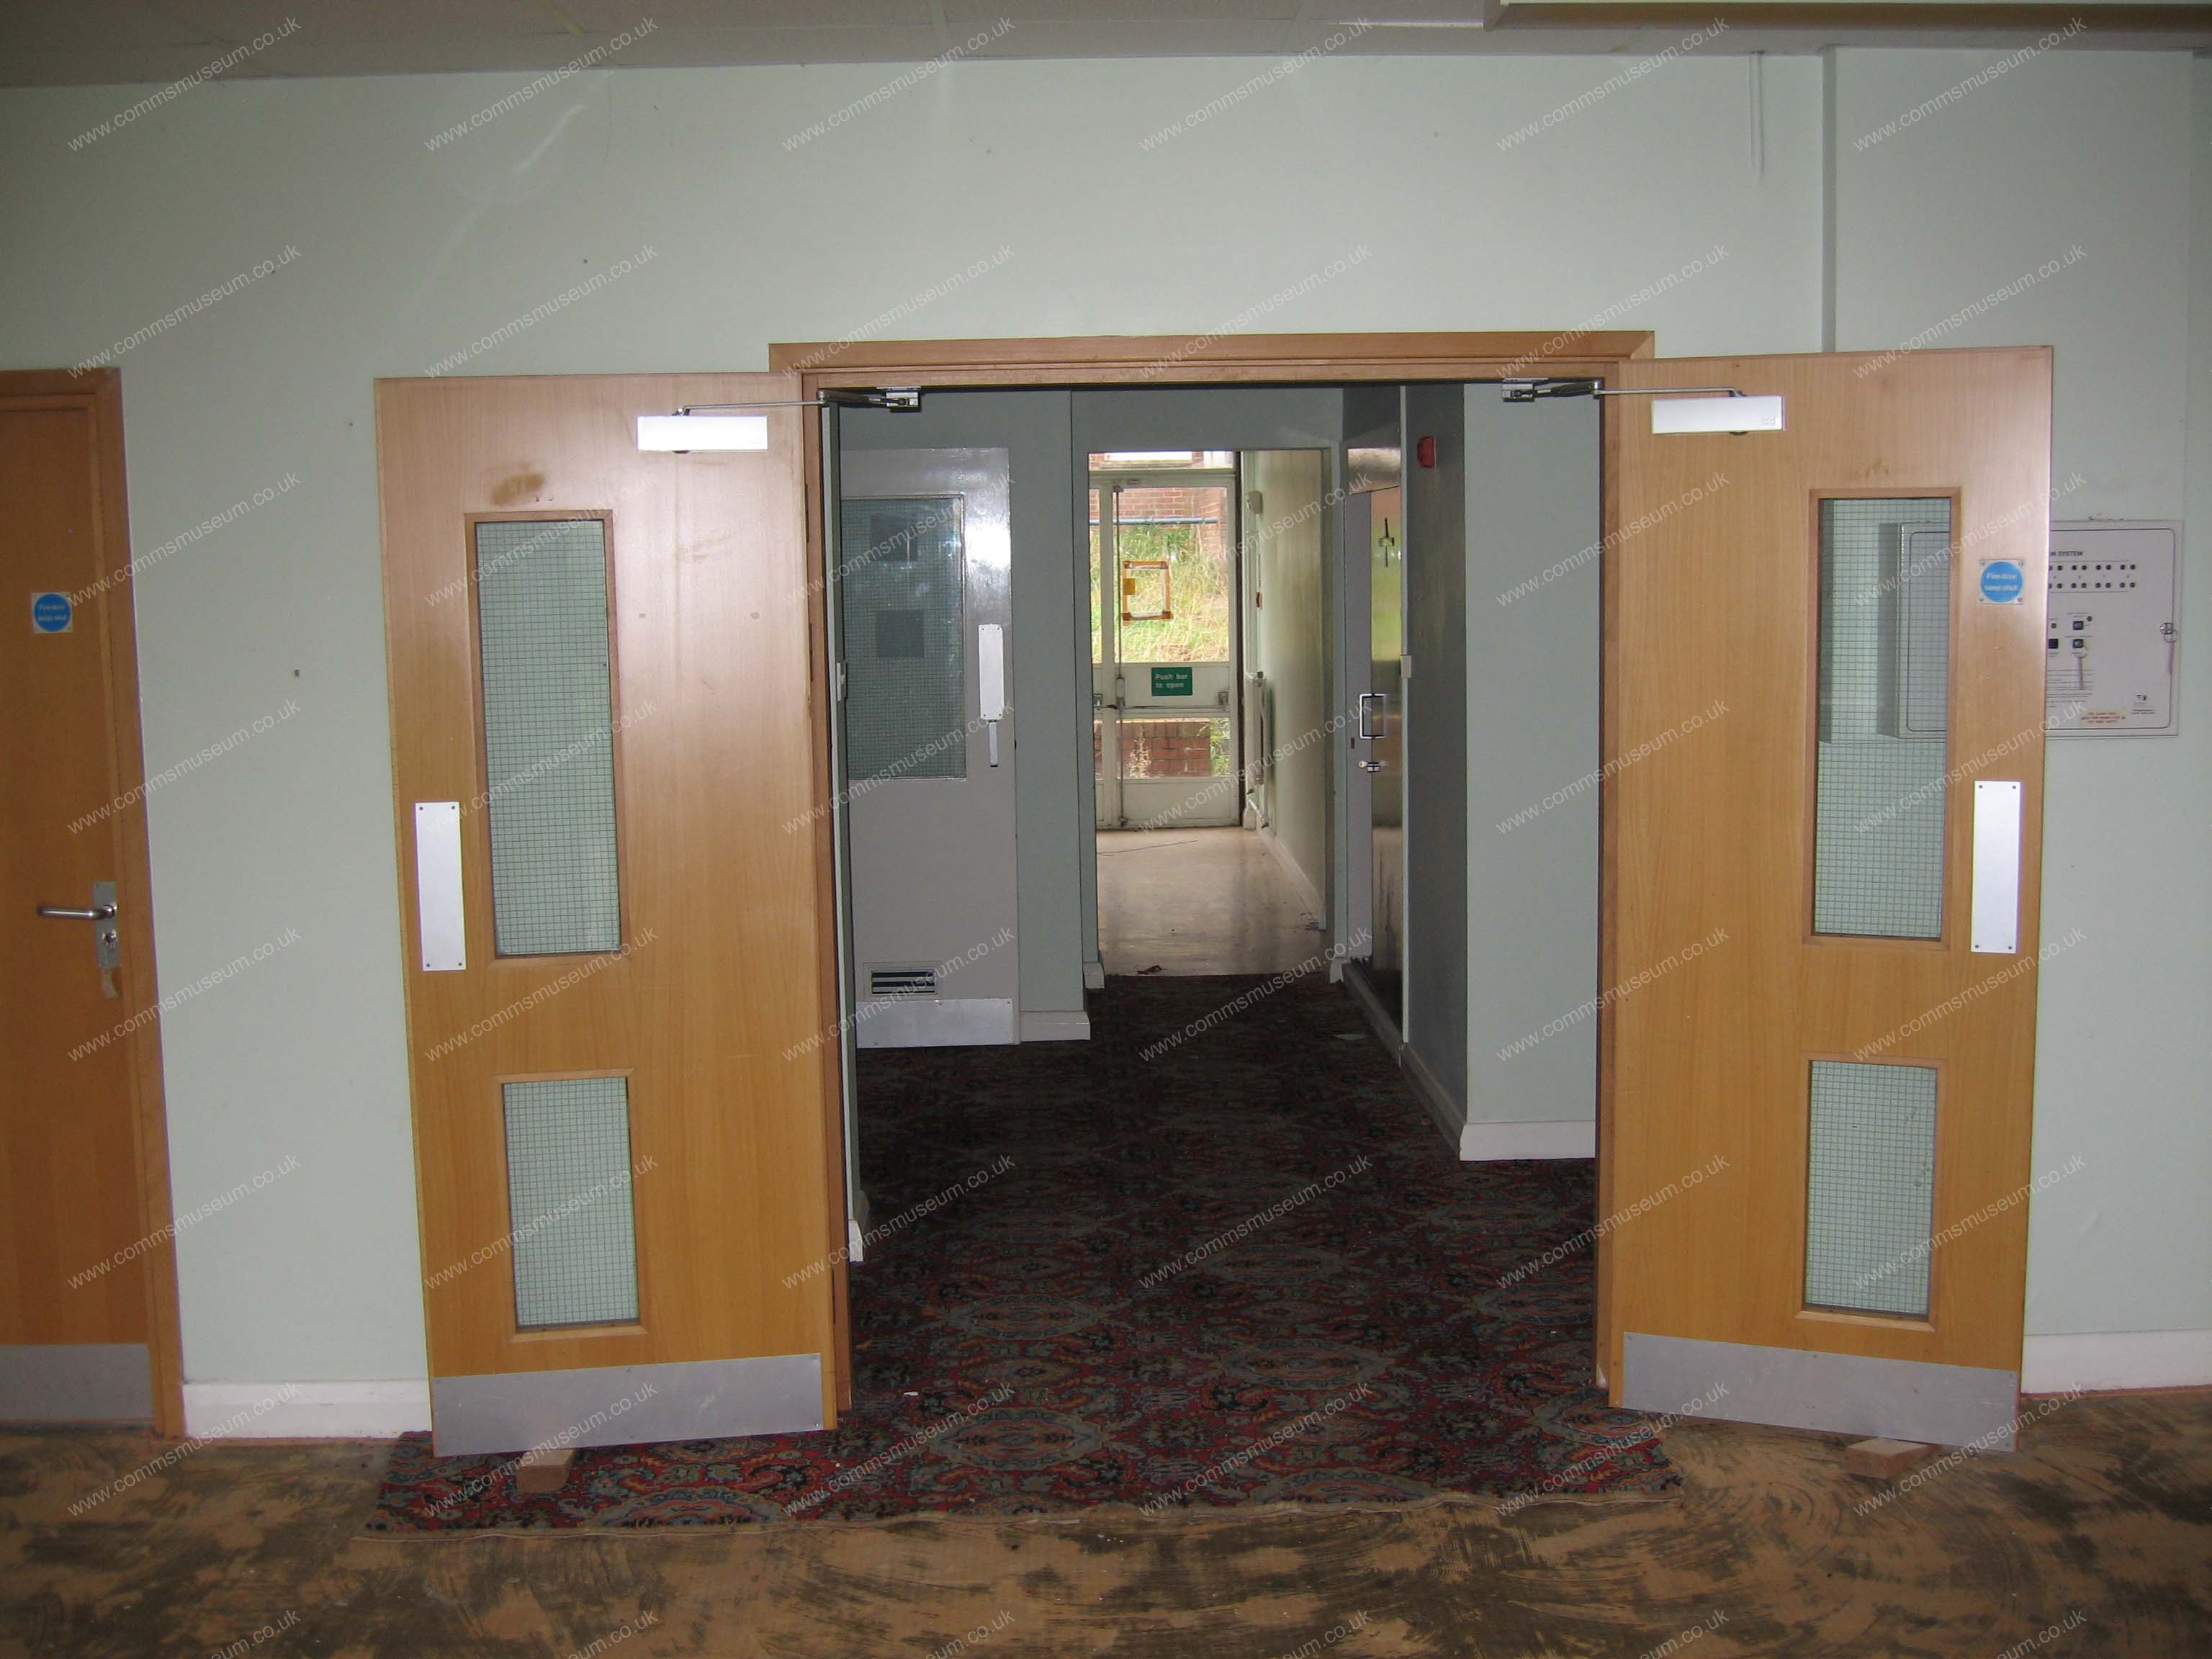
Rodney Block |
|
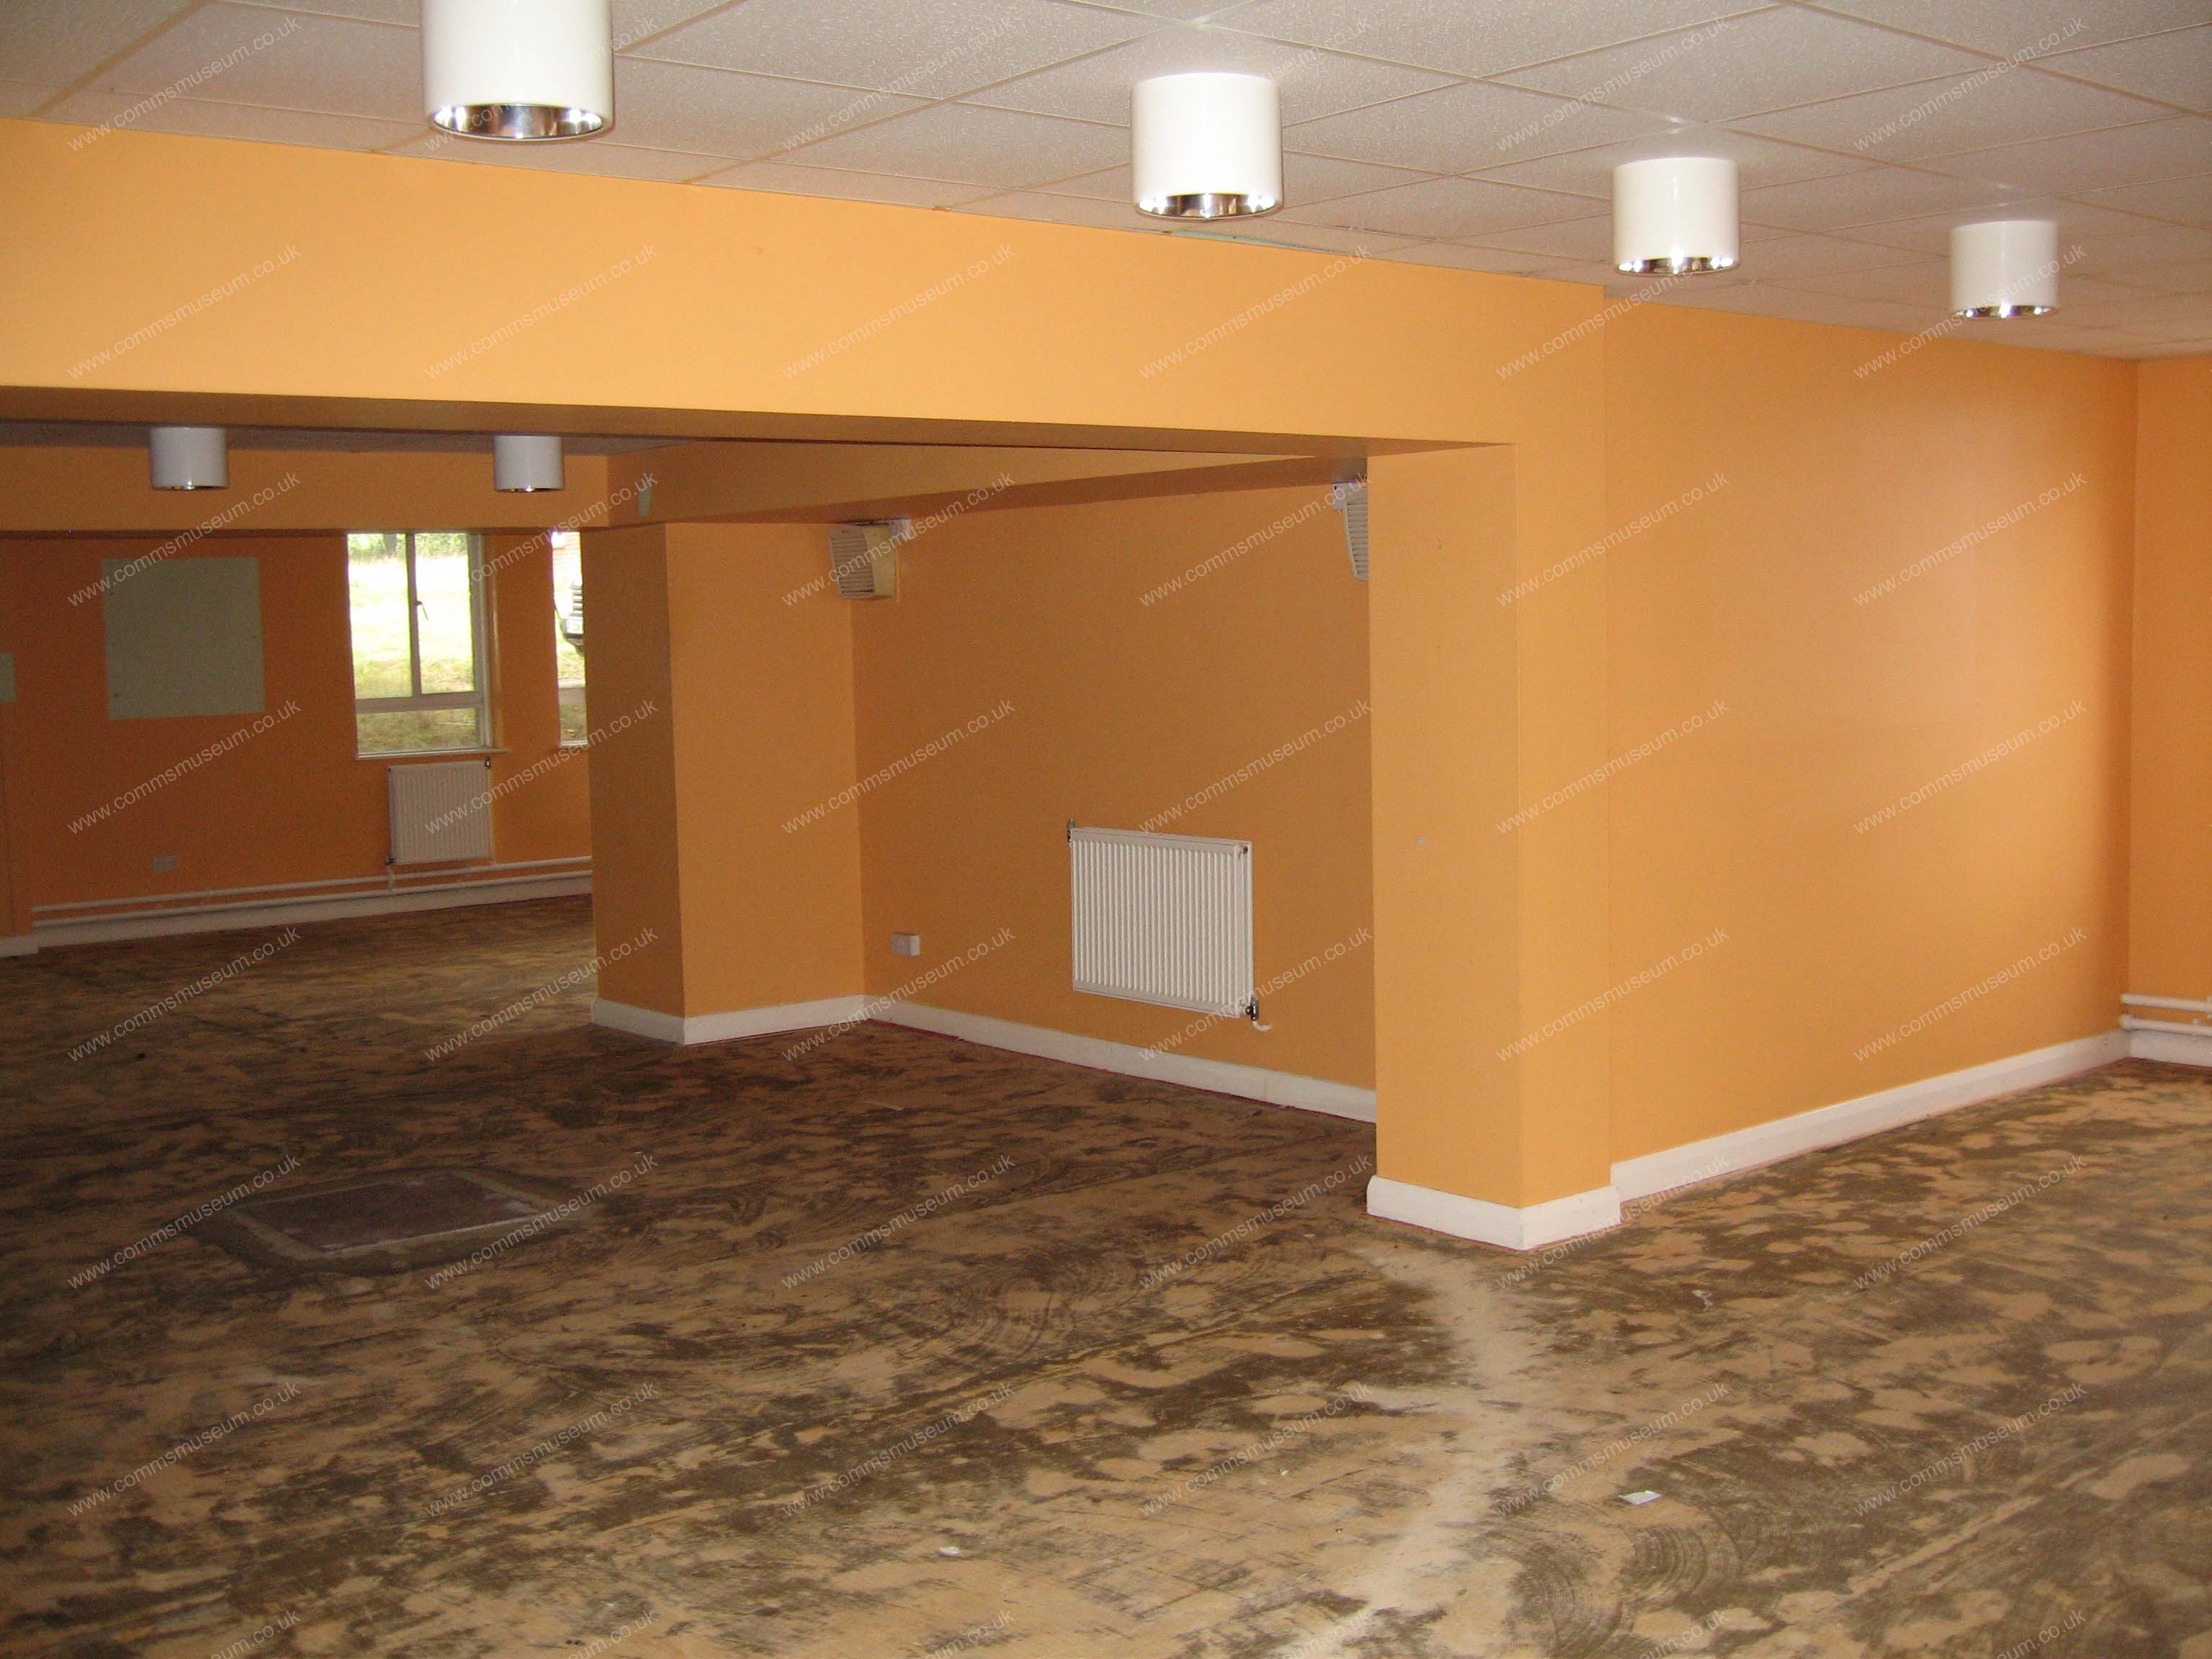
Rodney Block |
Rodney Block |
Somerville Block |
Somerville Block |
|
Somerville Block |
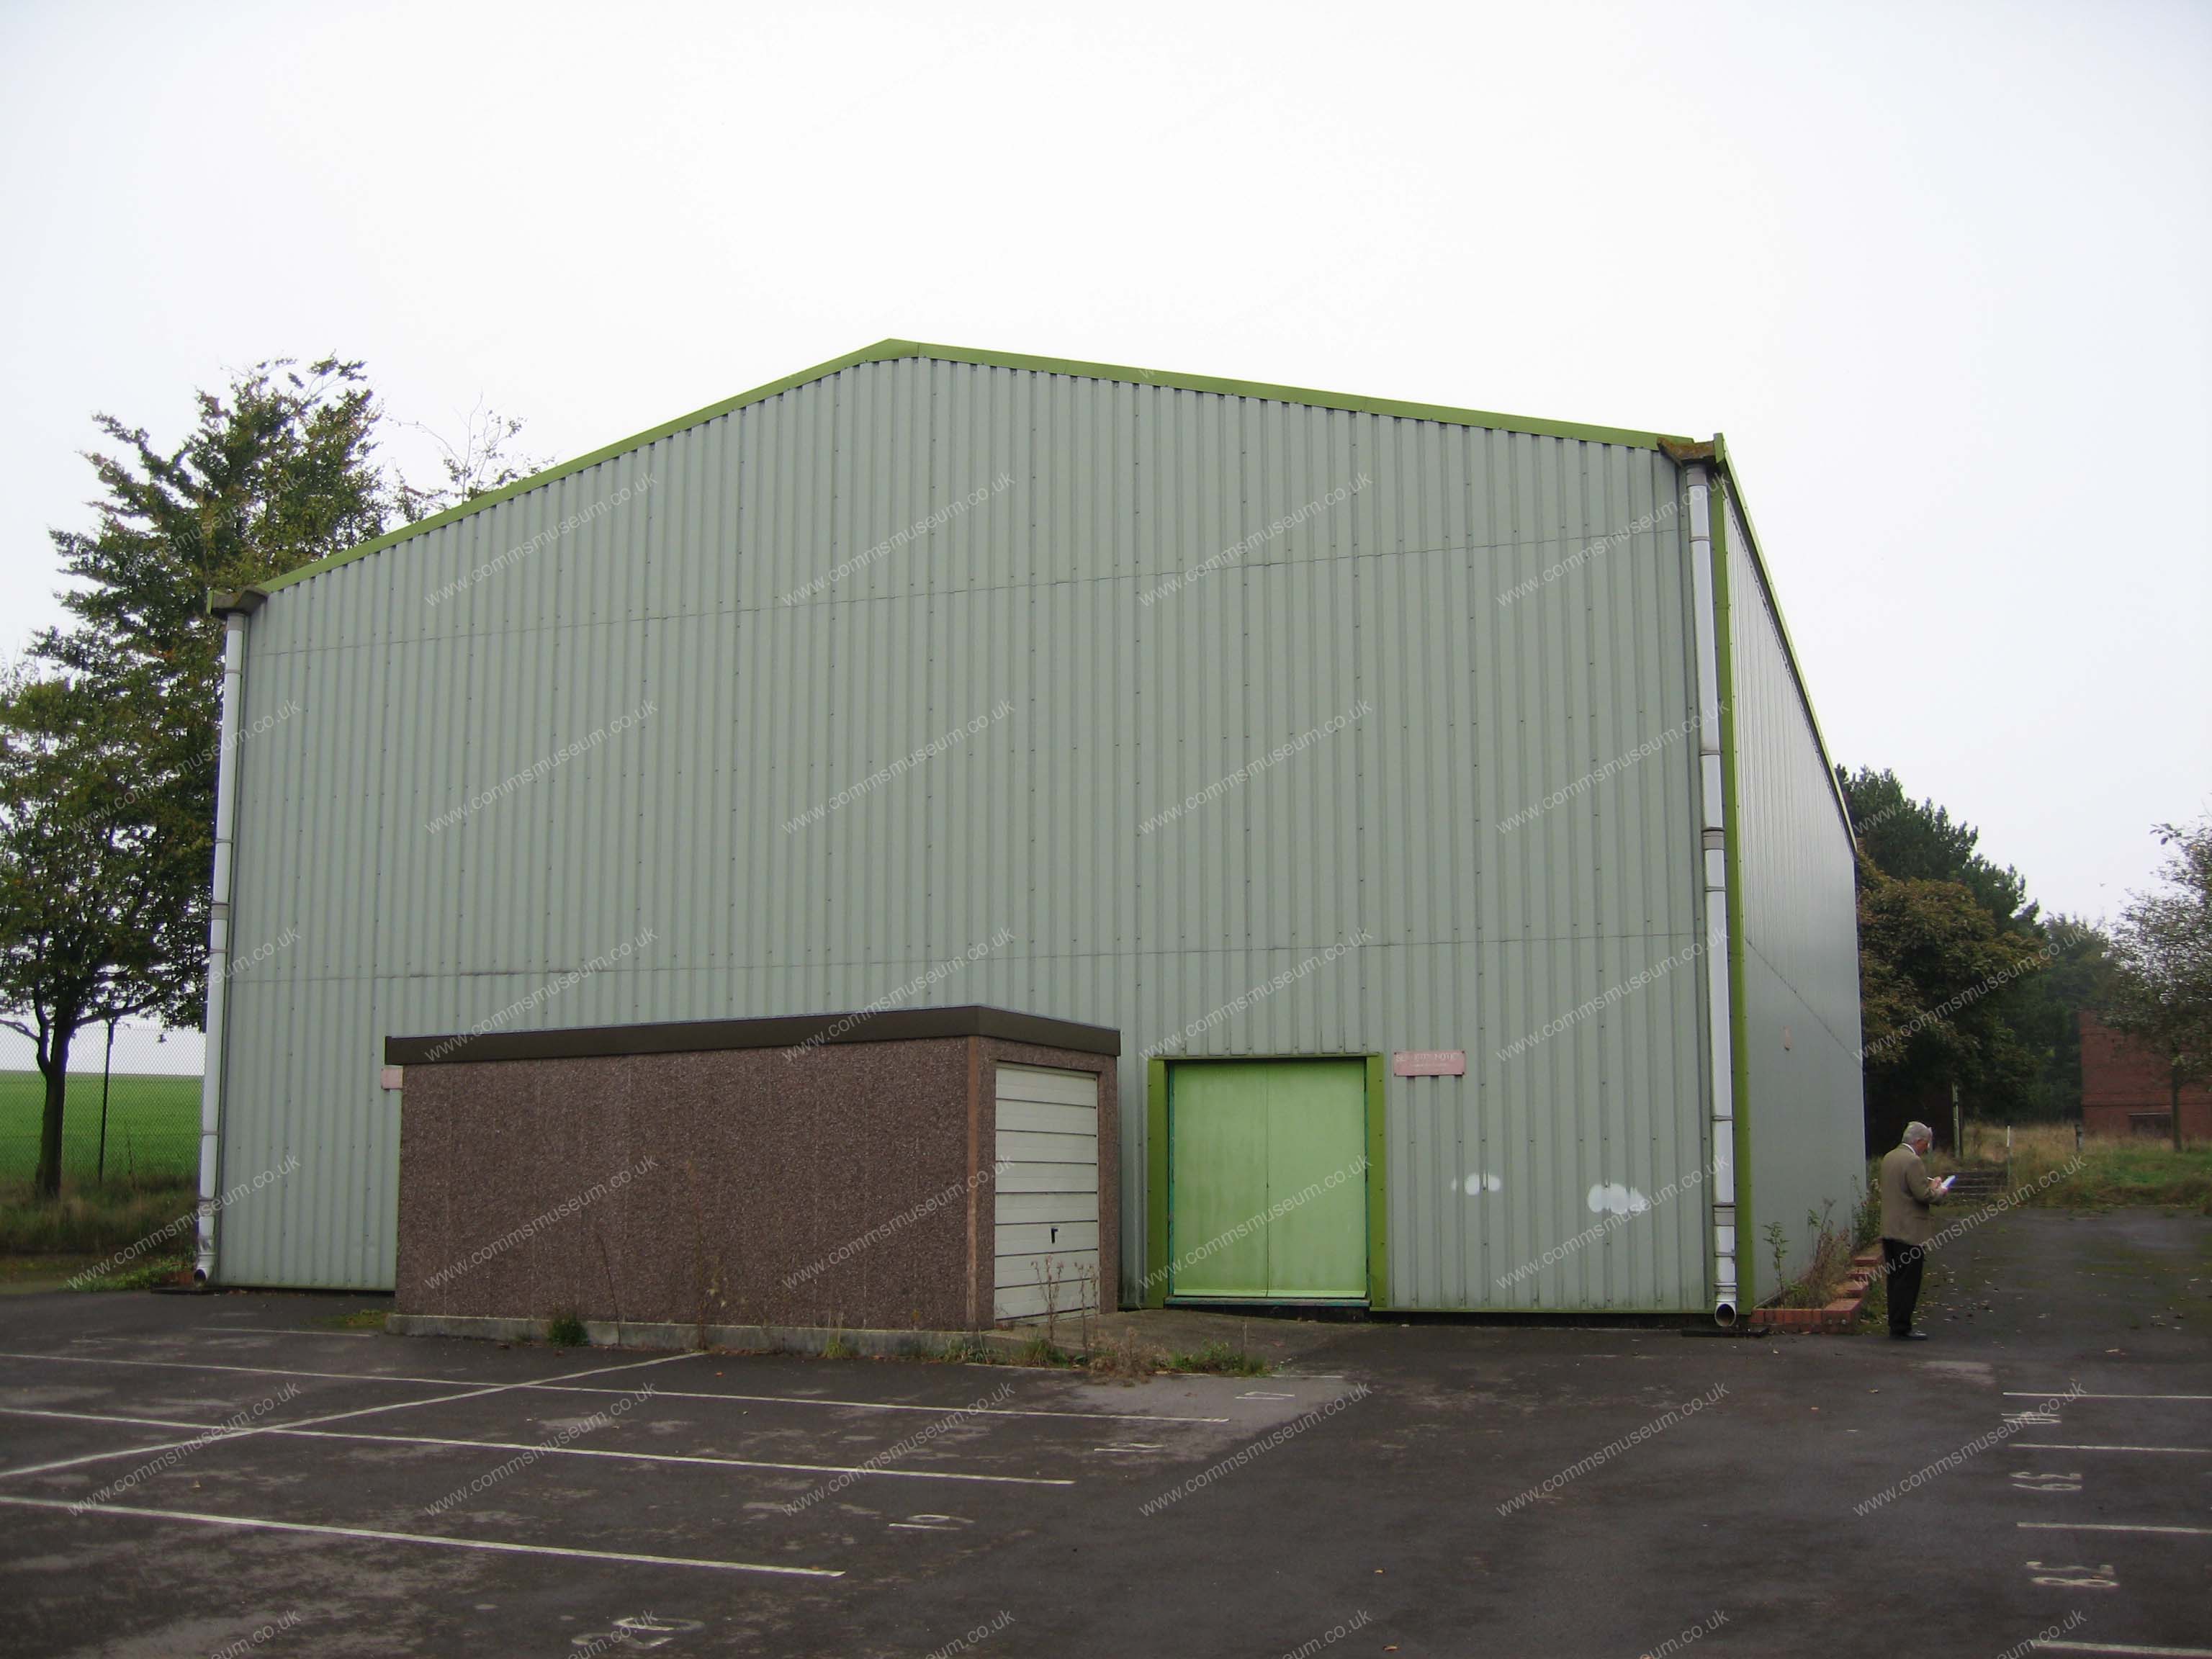
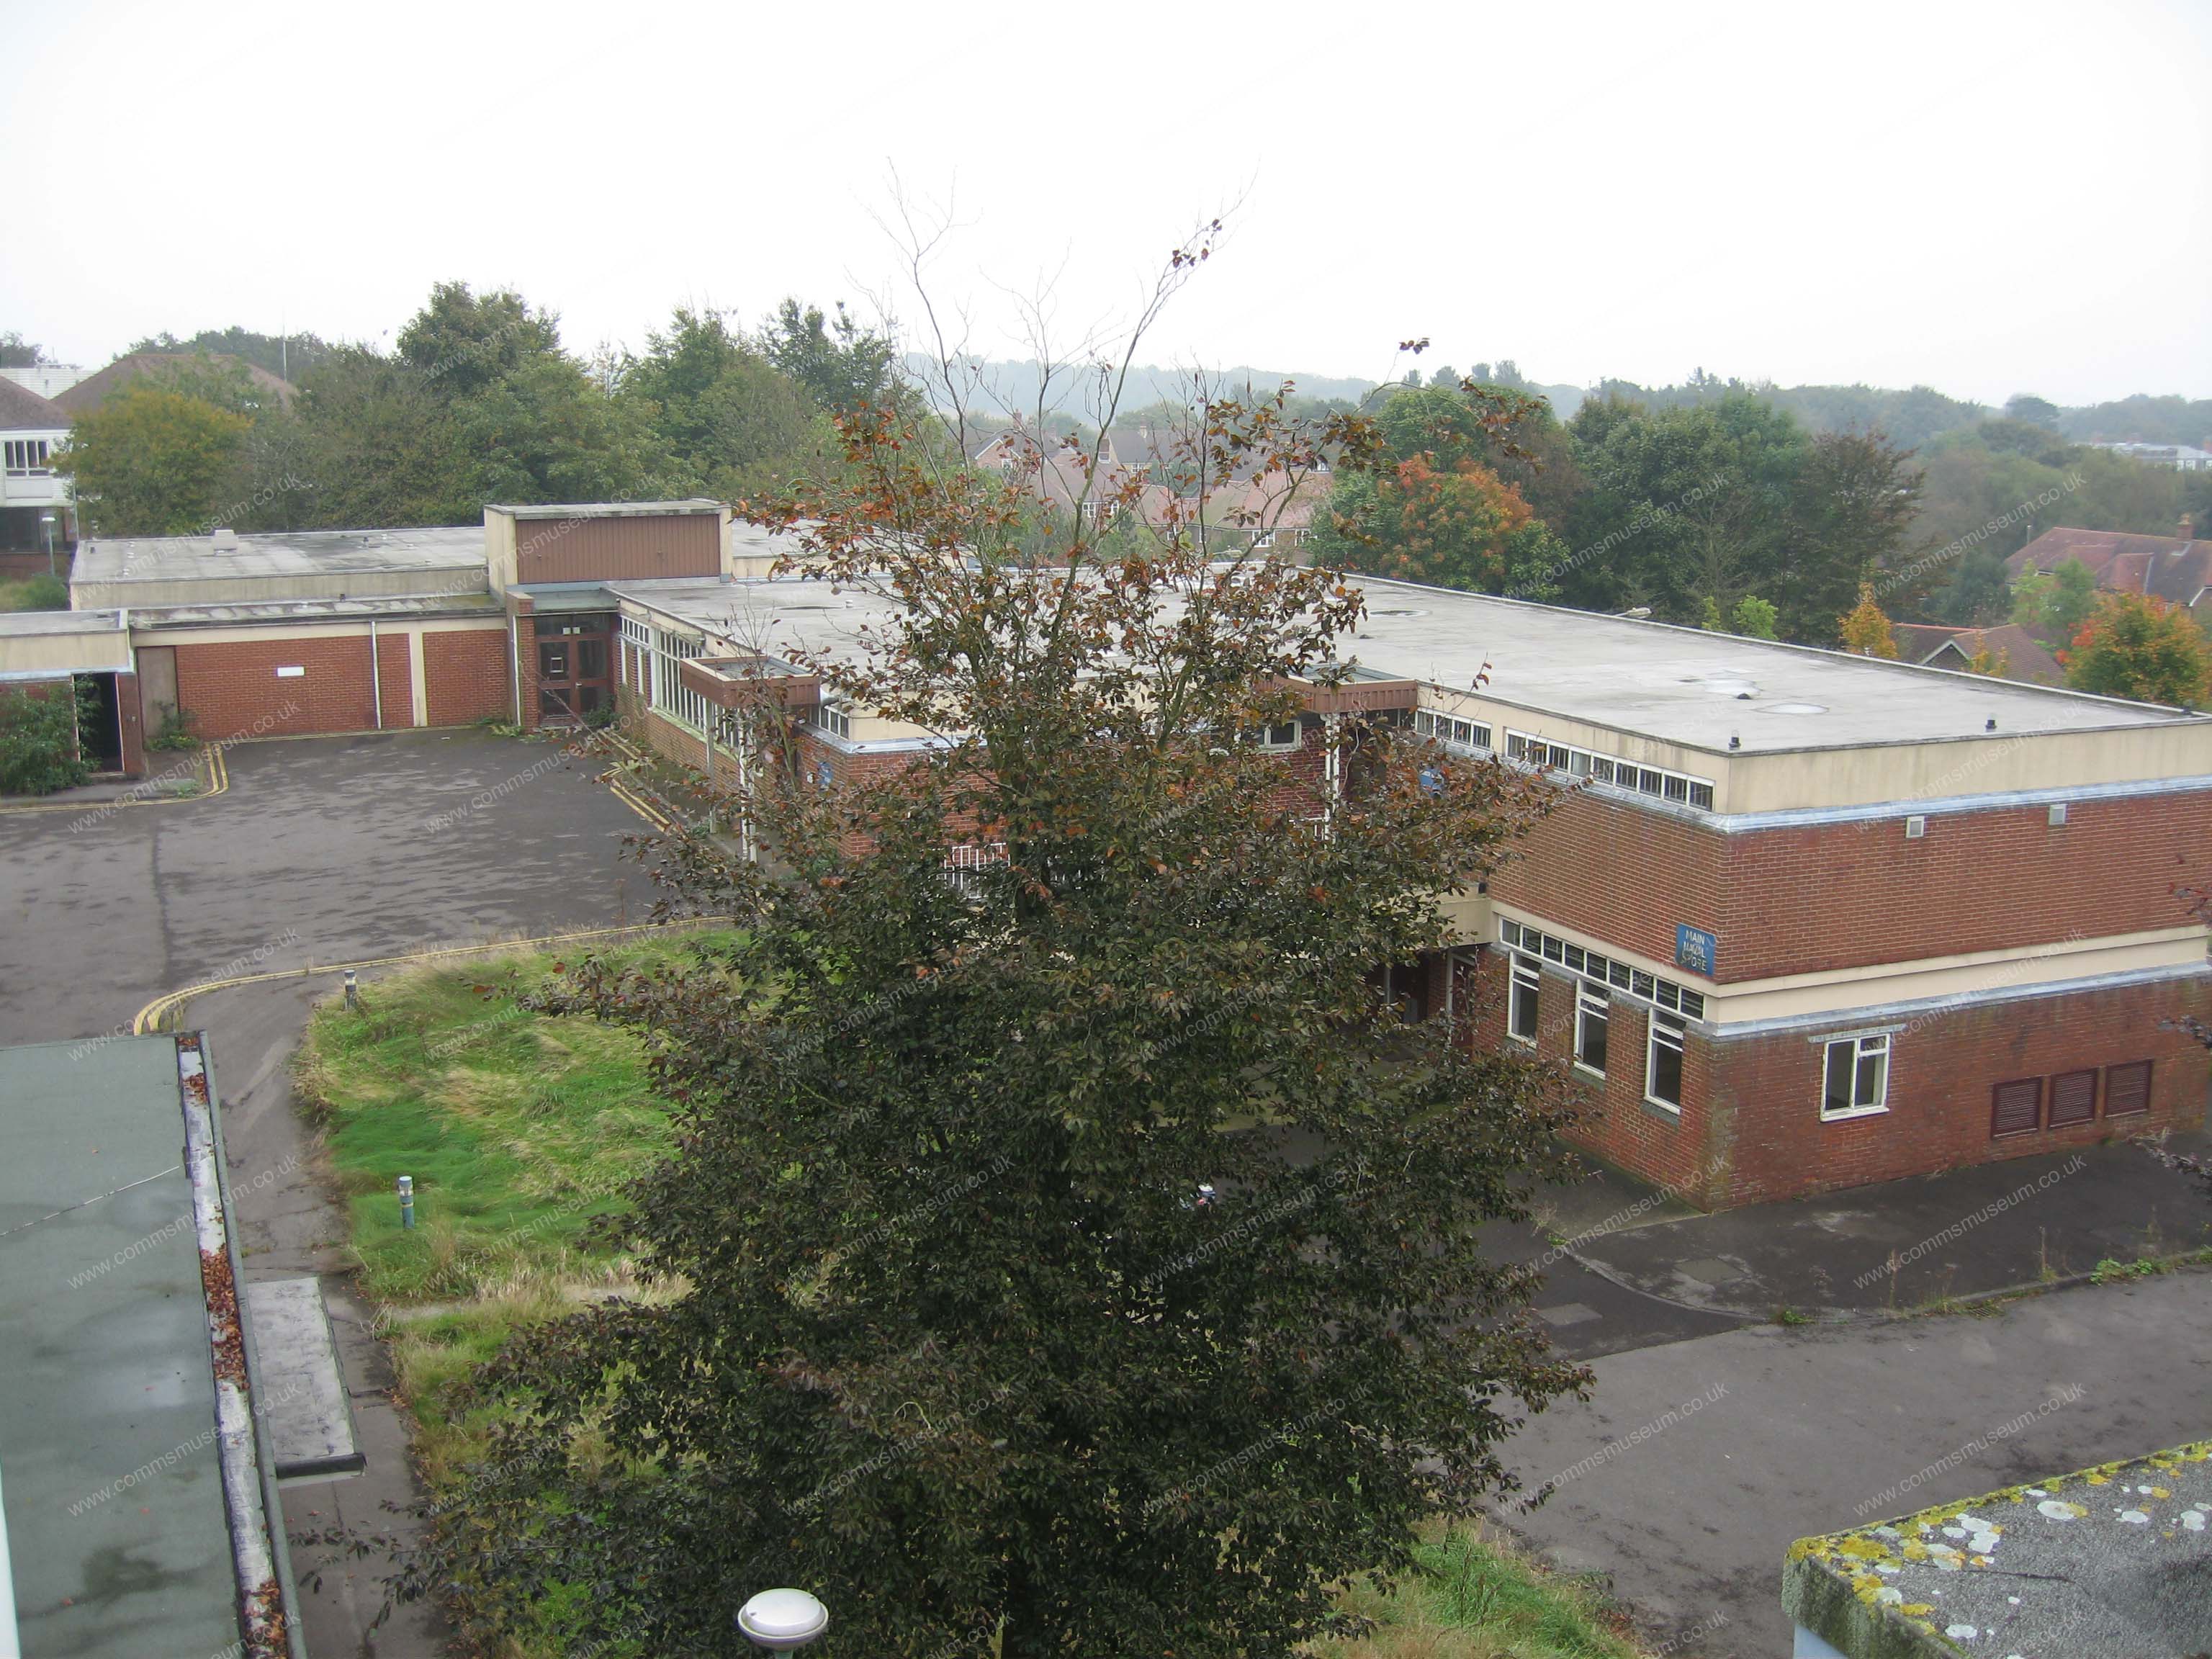
Sports Hall |
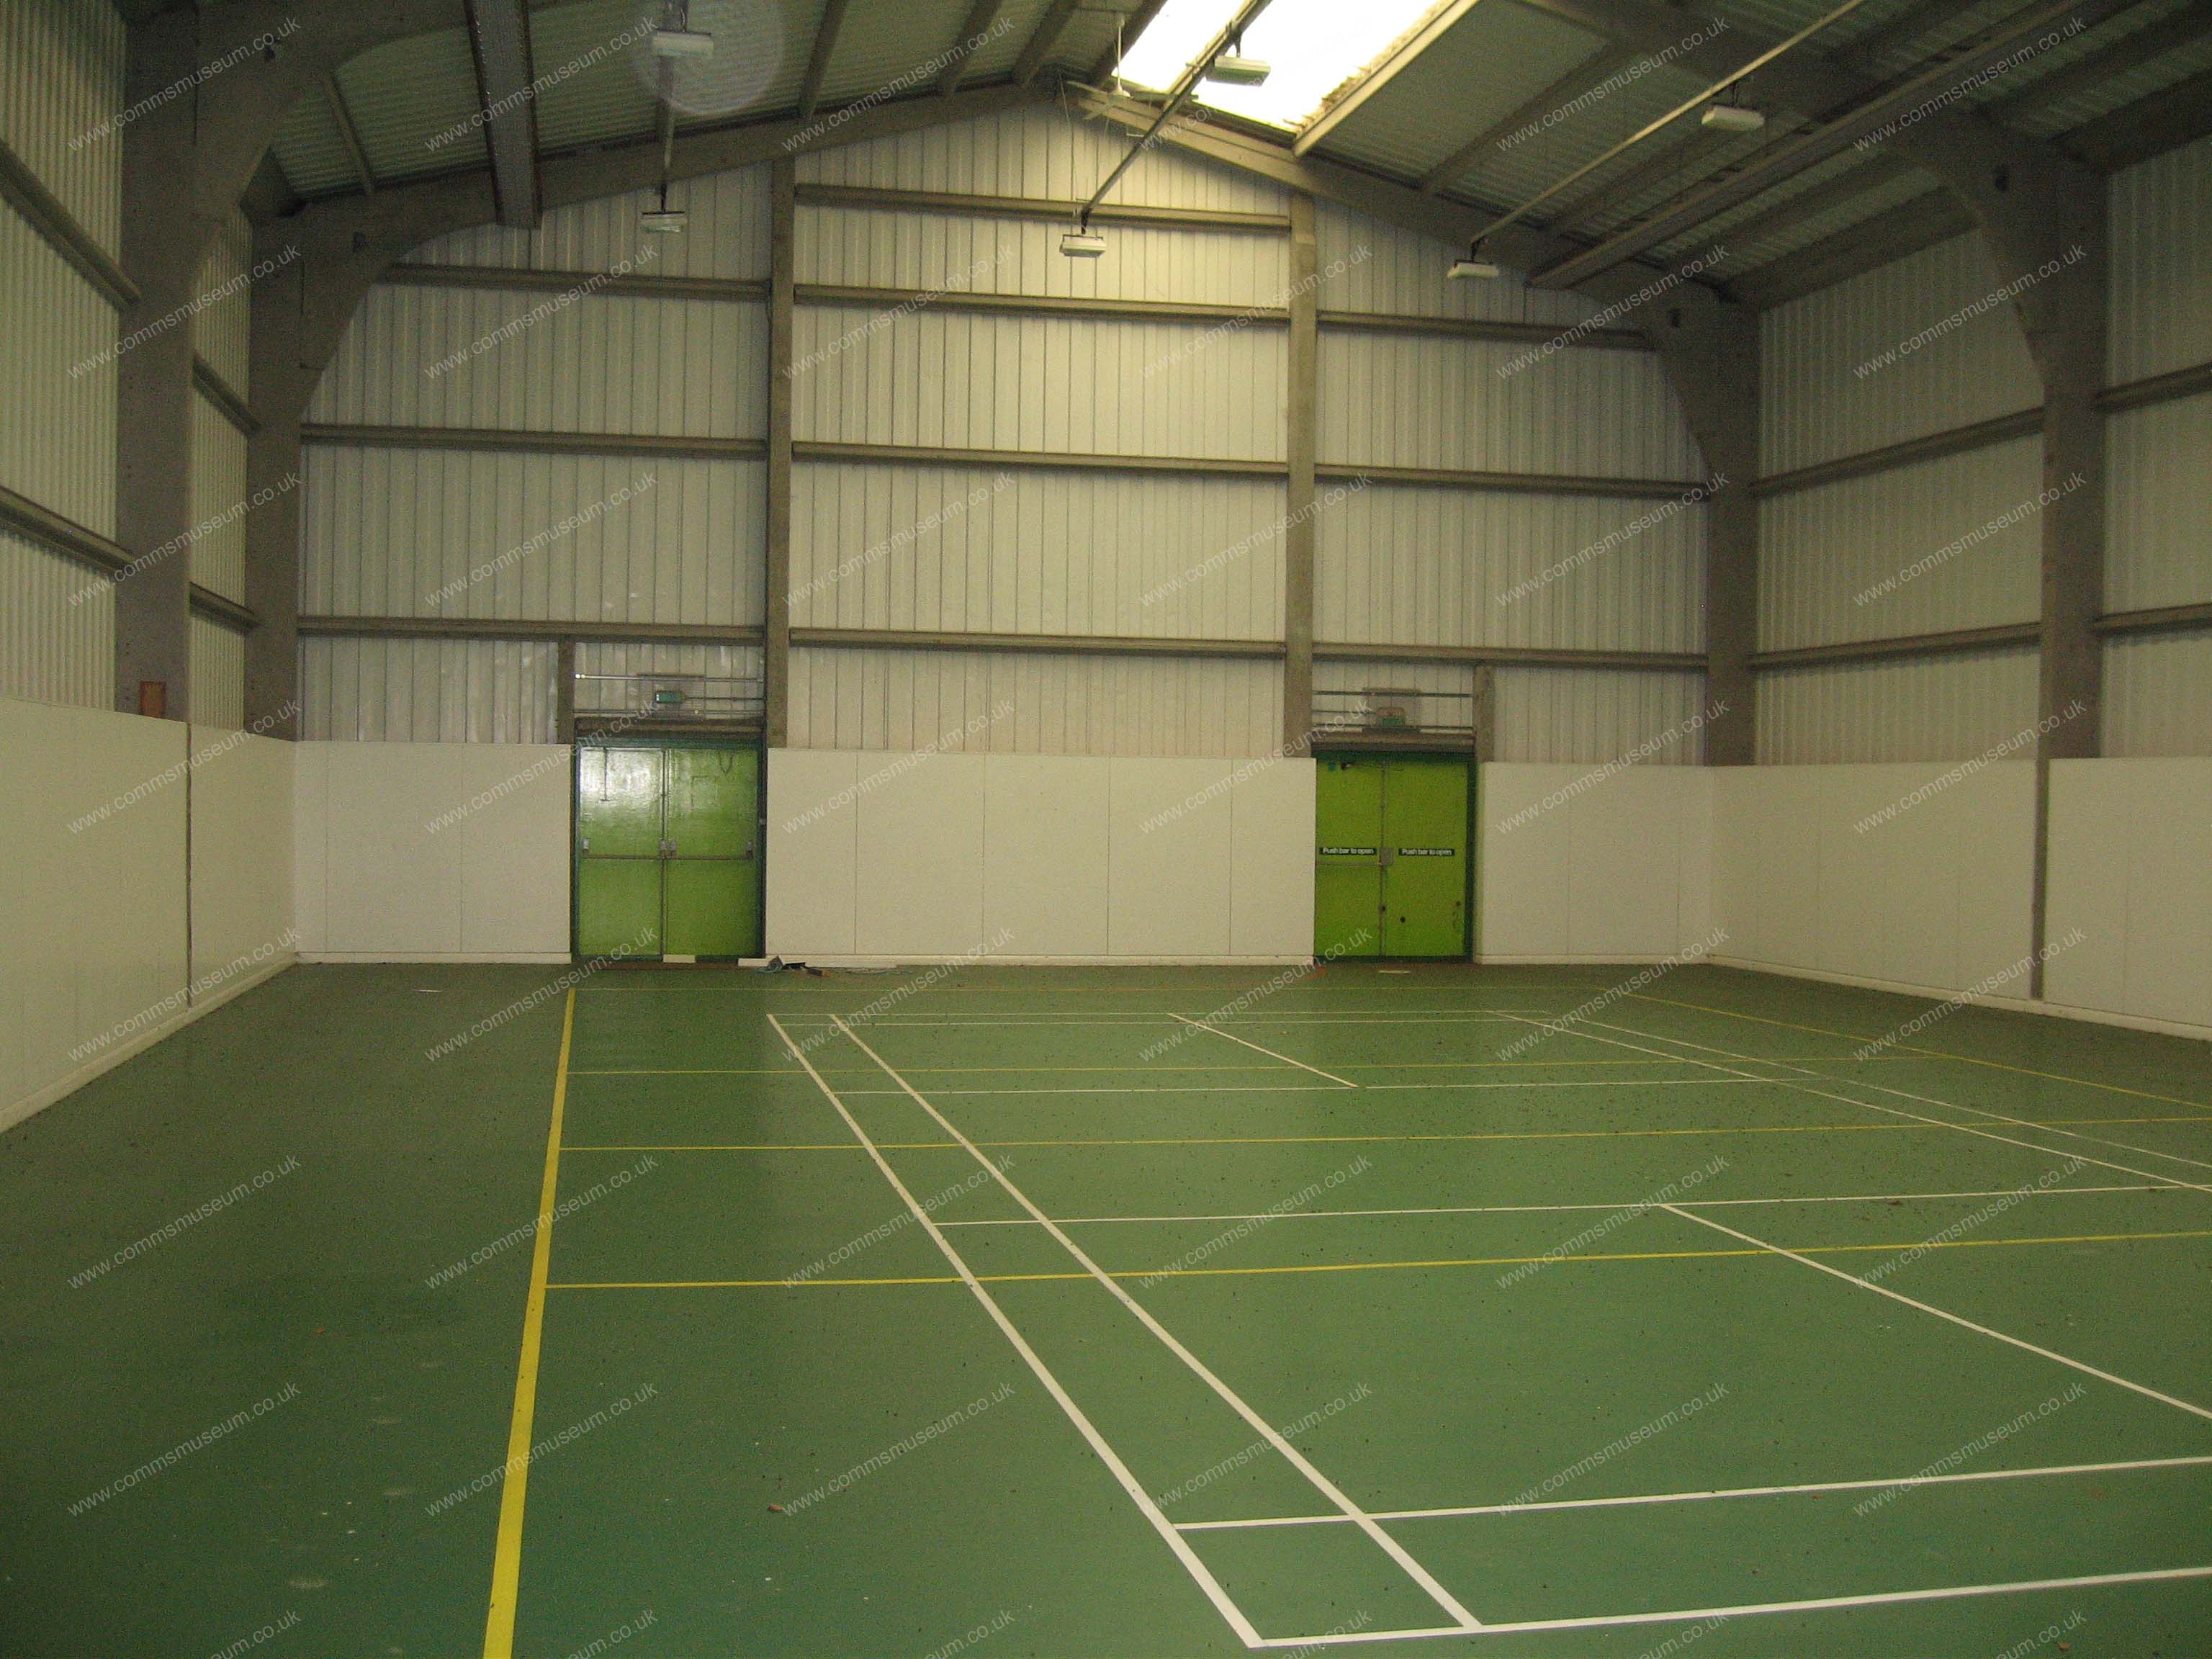
Sports Hall |
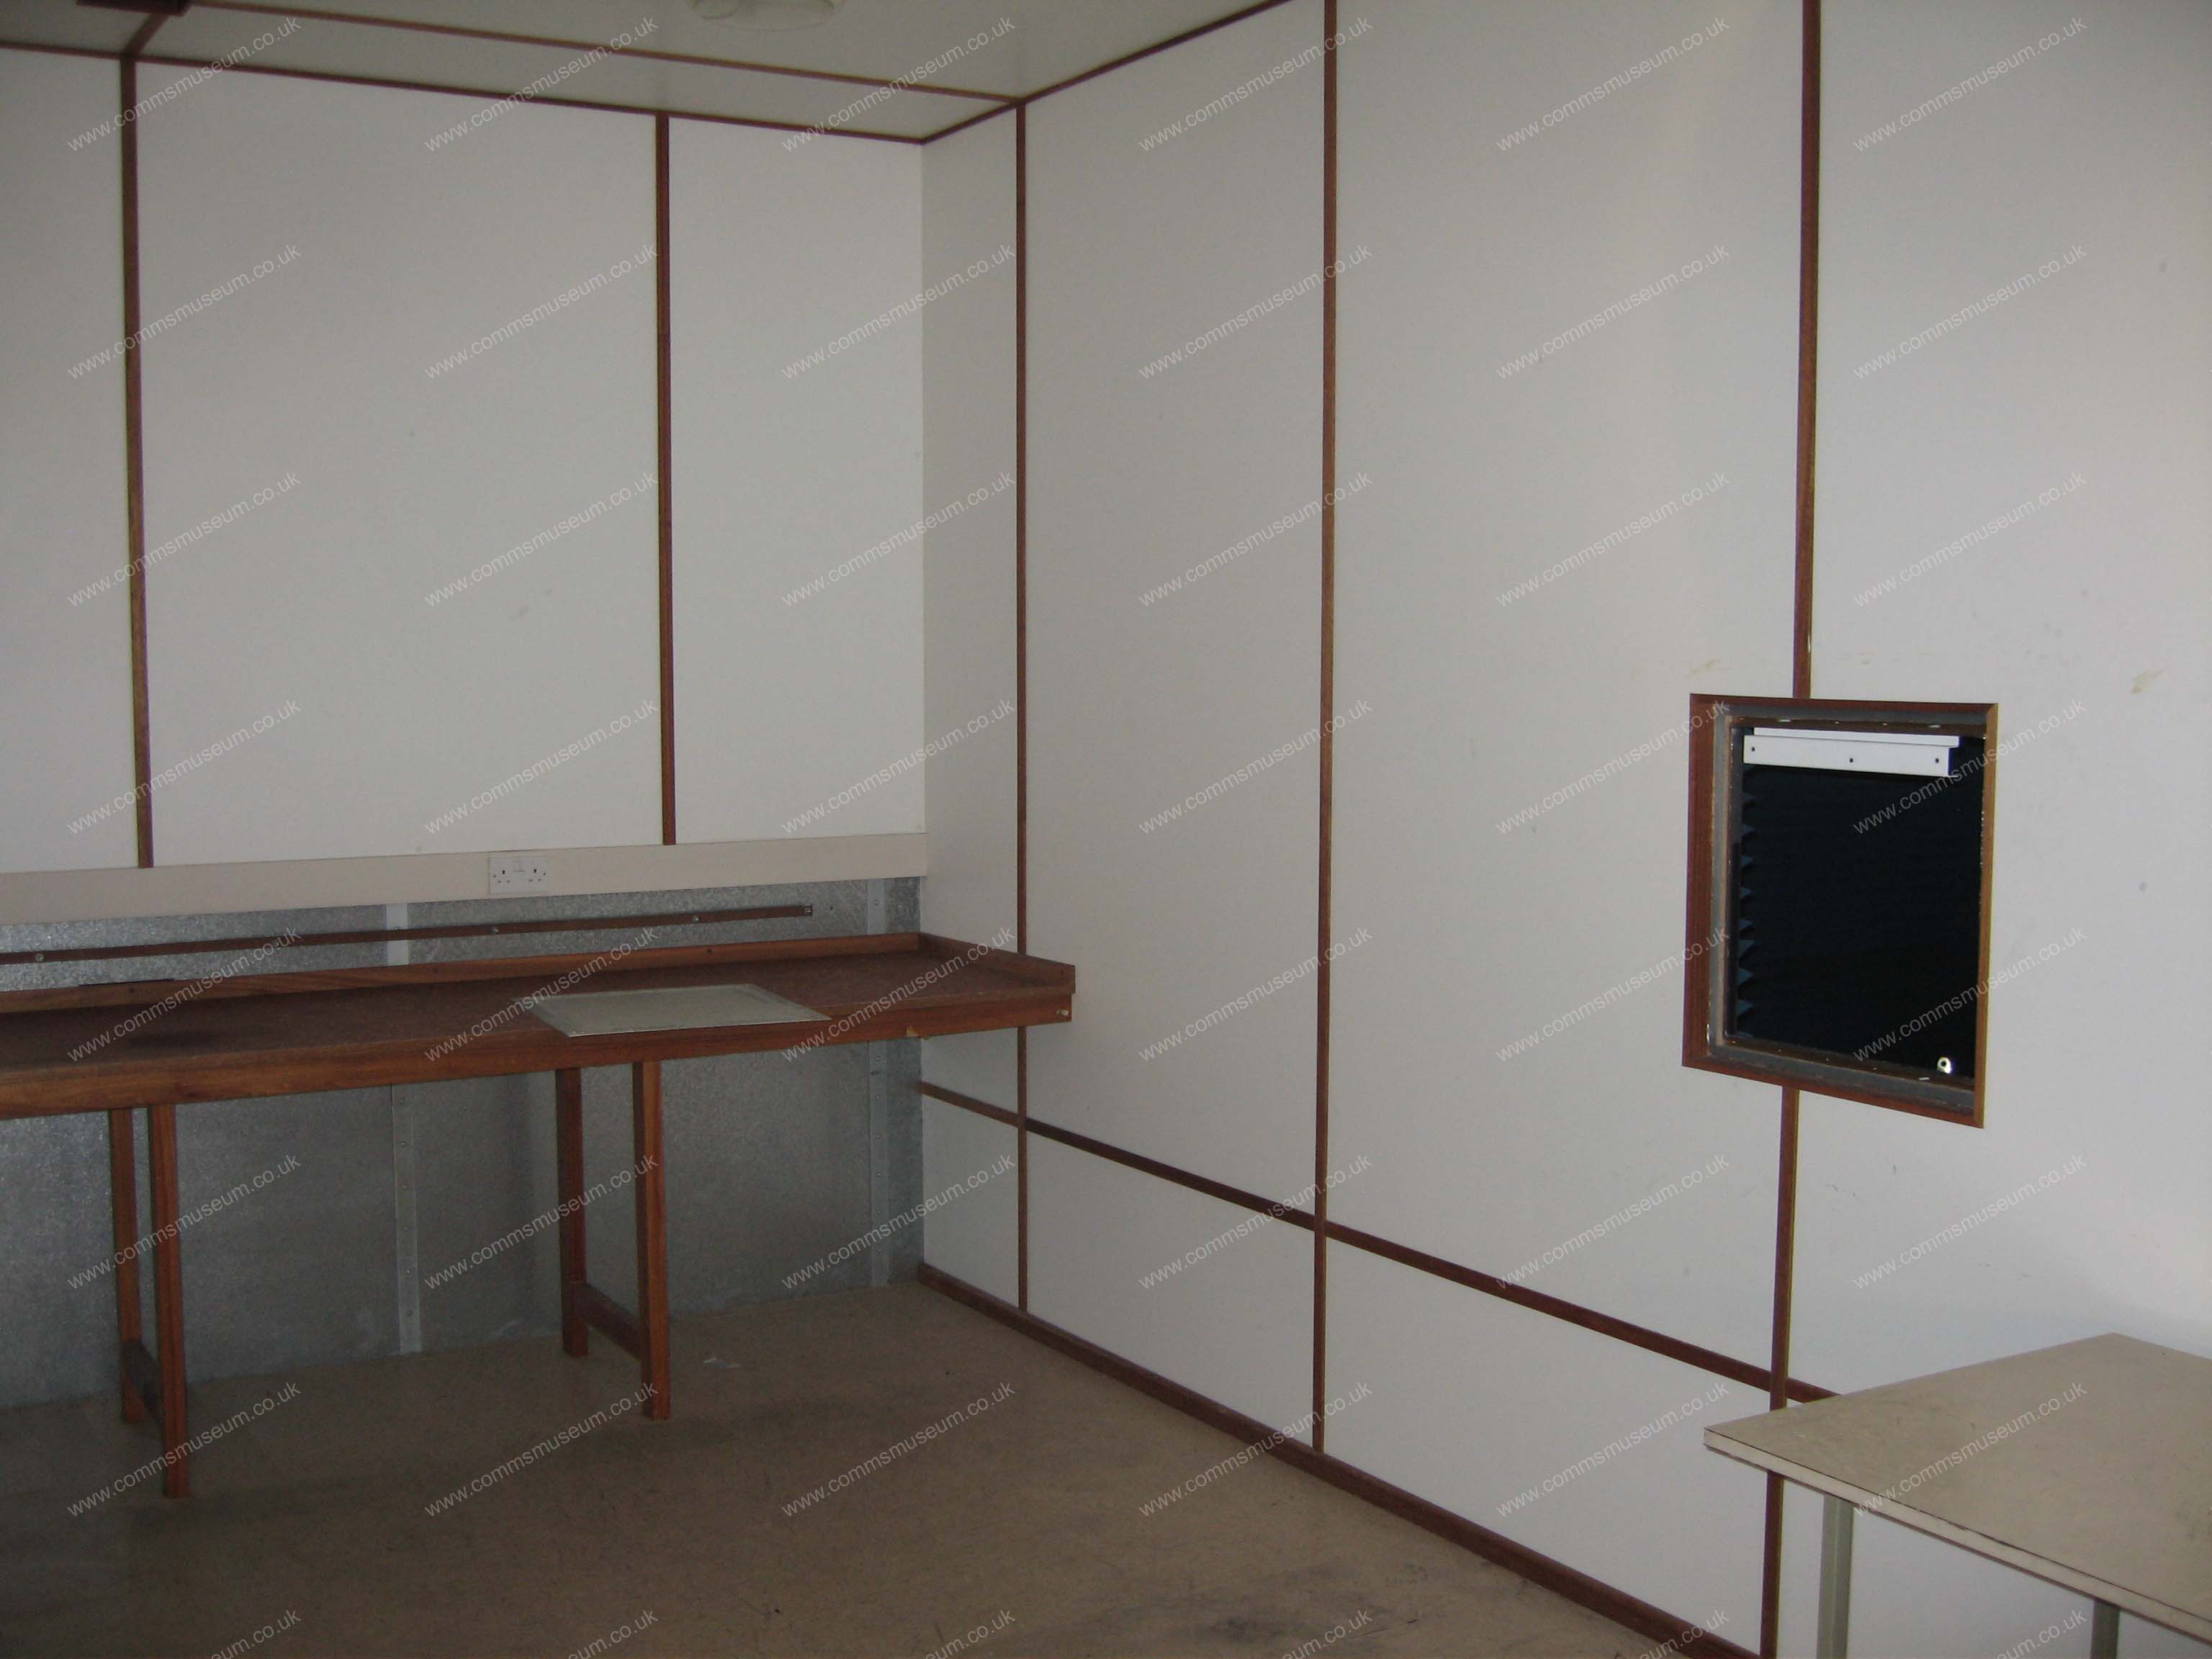
Stores - Chamber Control Room |
|
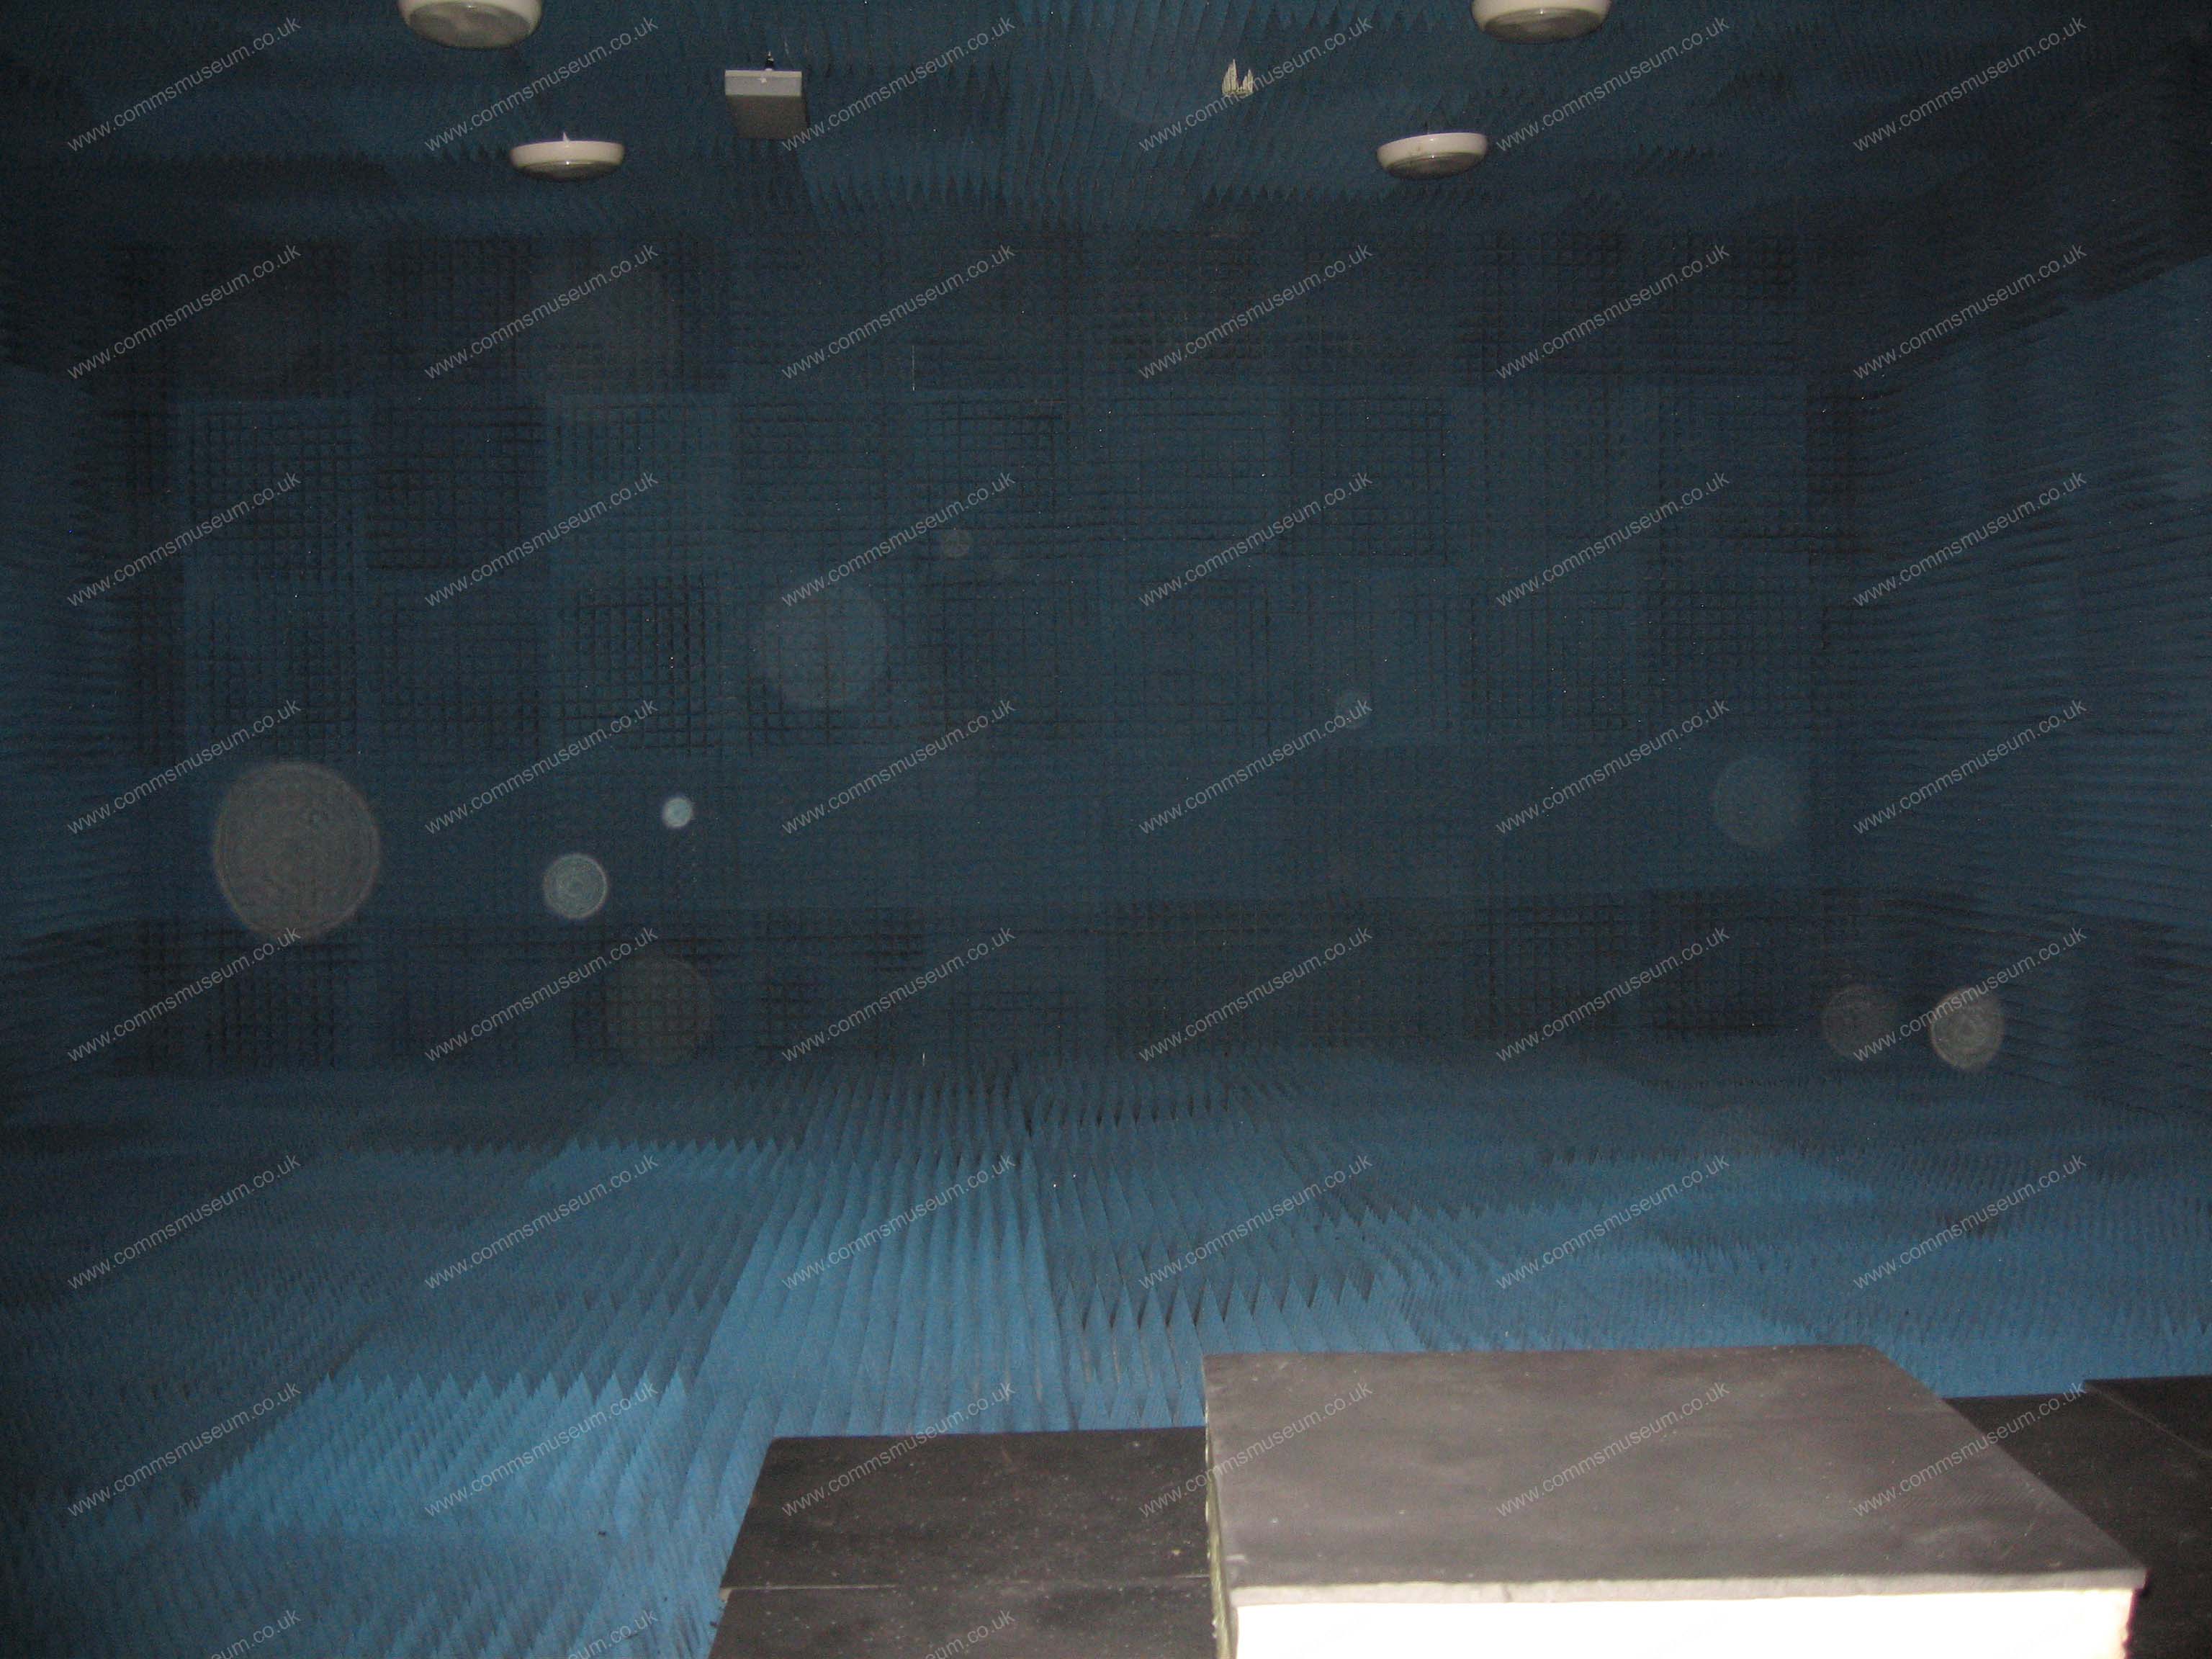
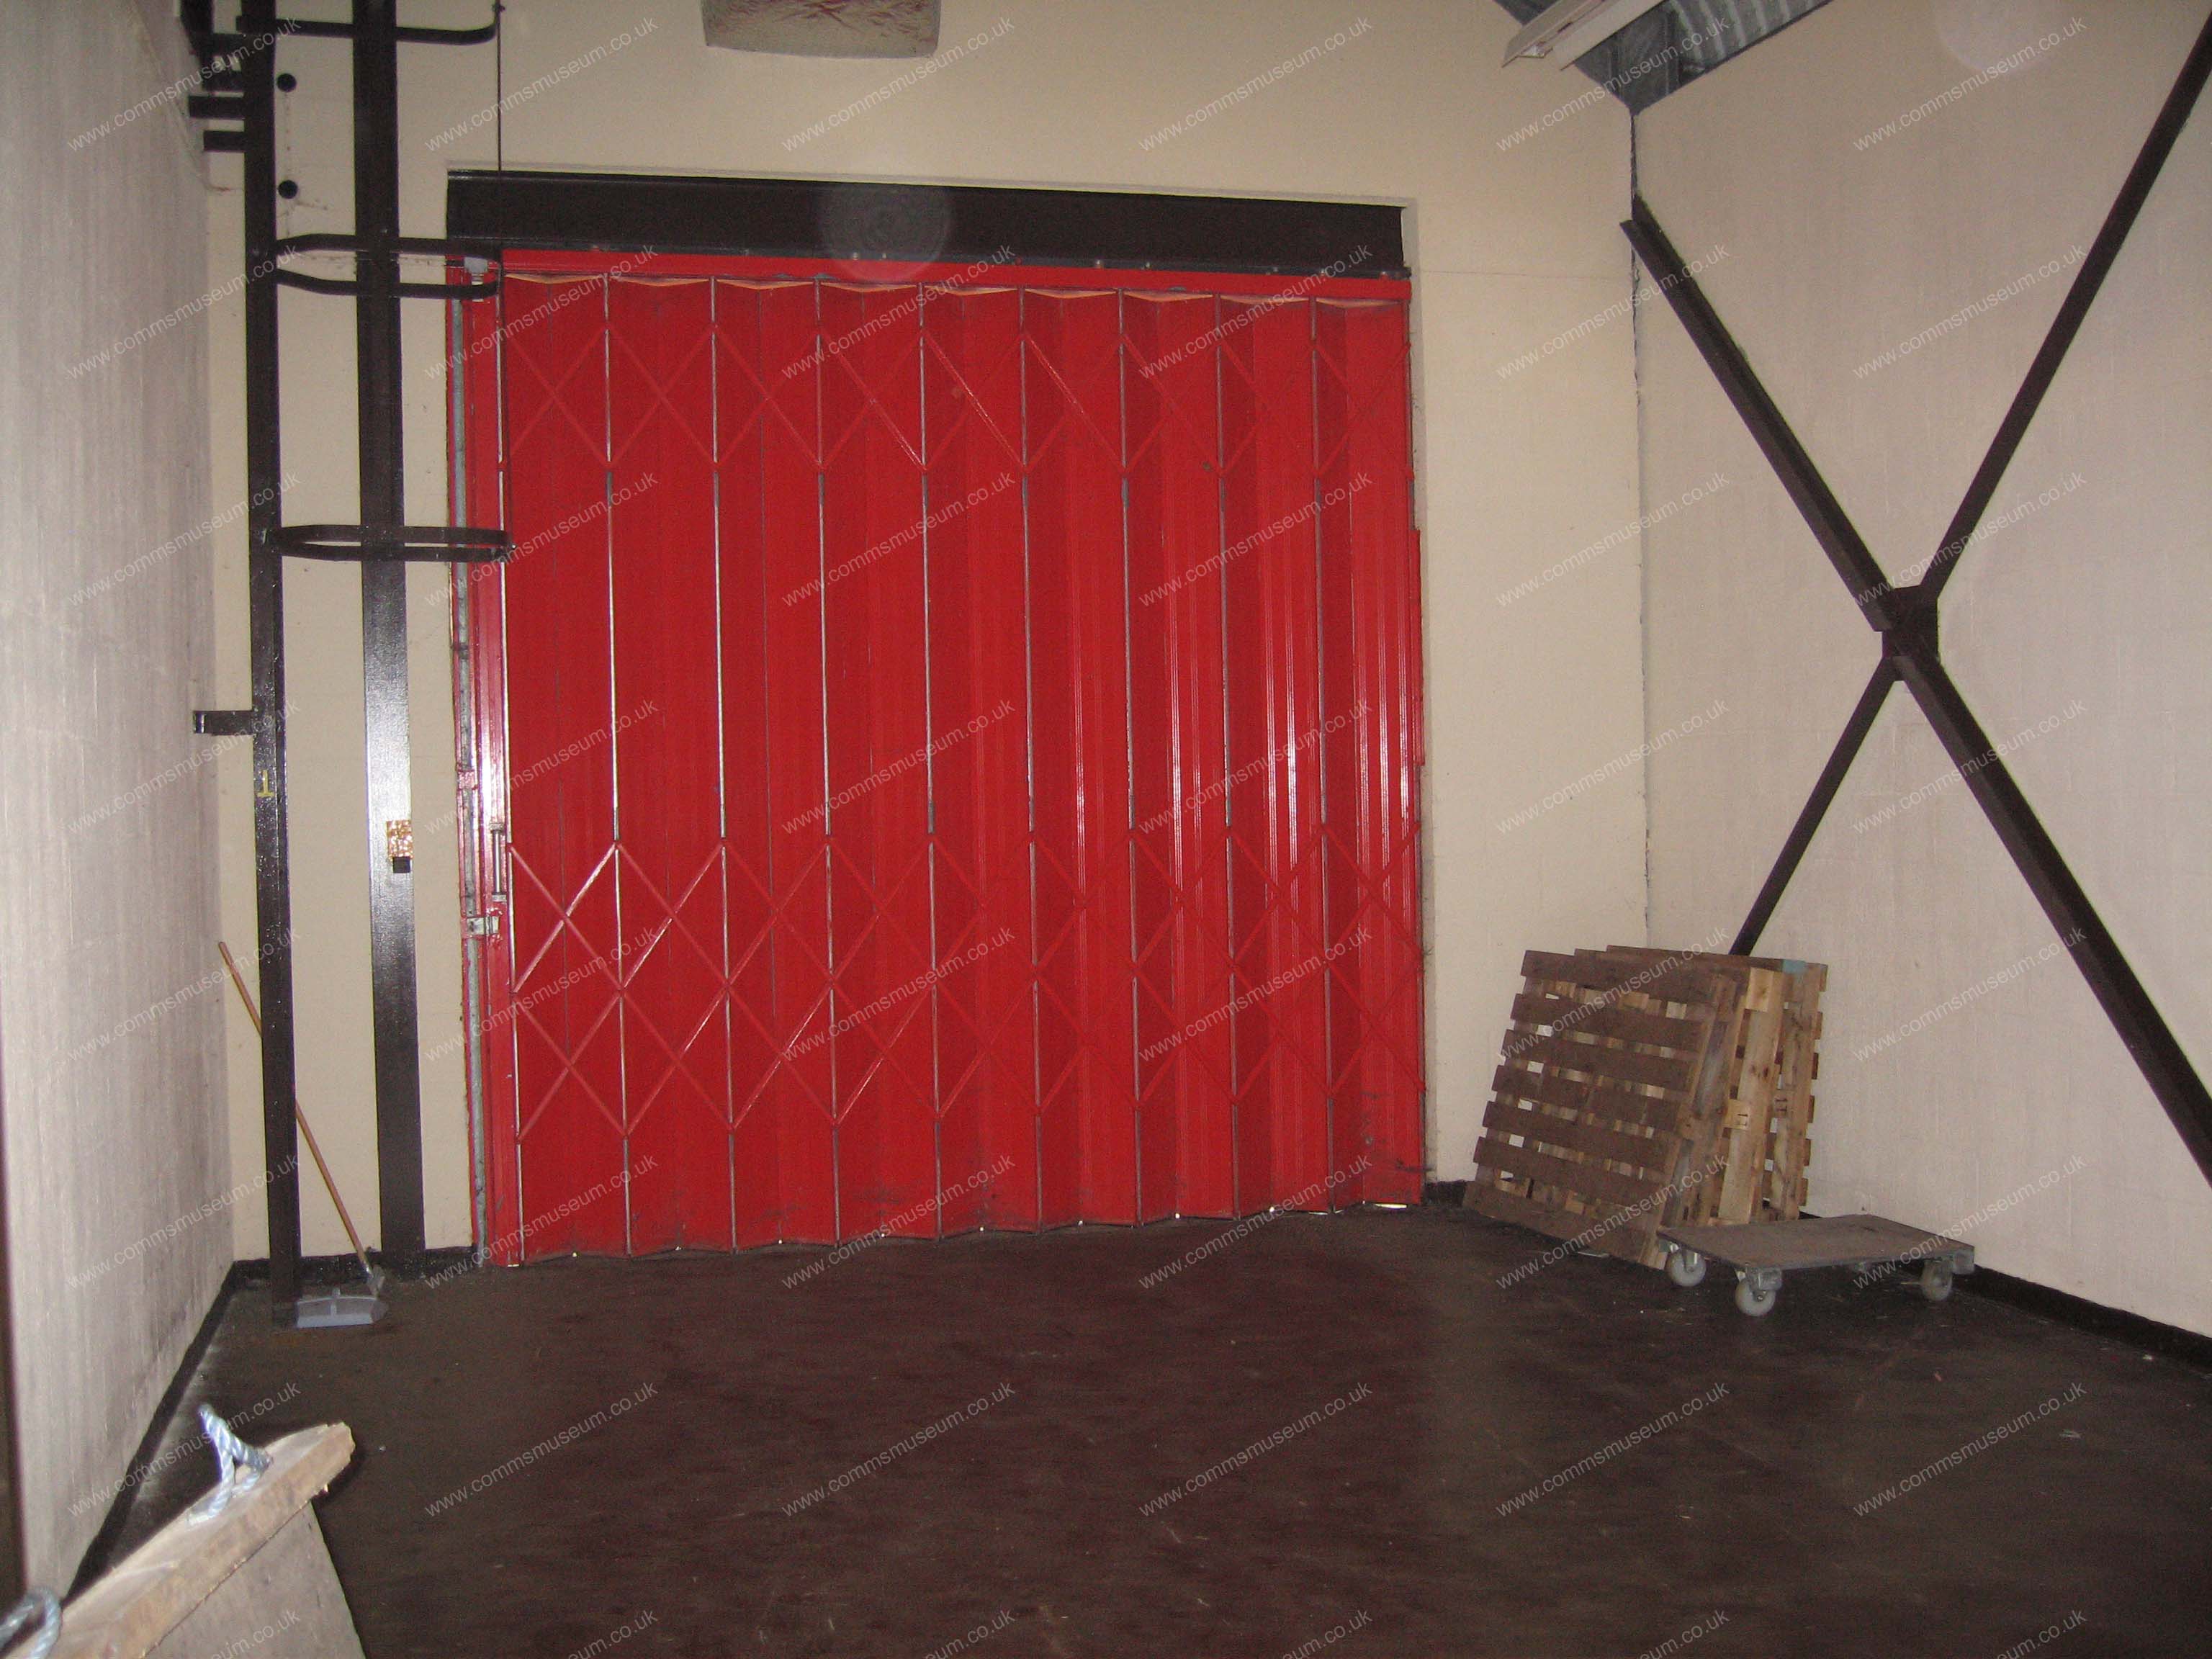
Stores - Chamber |
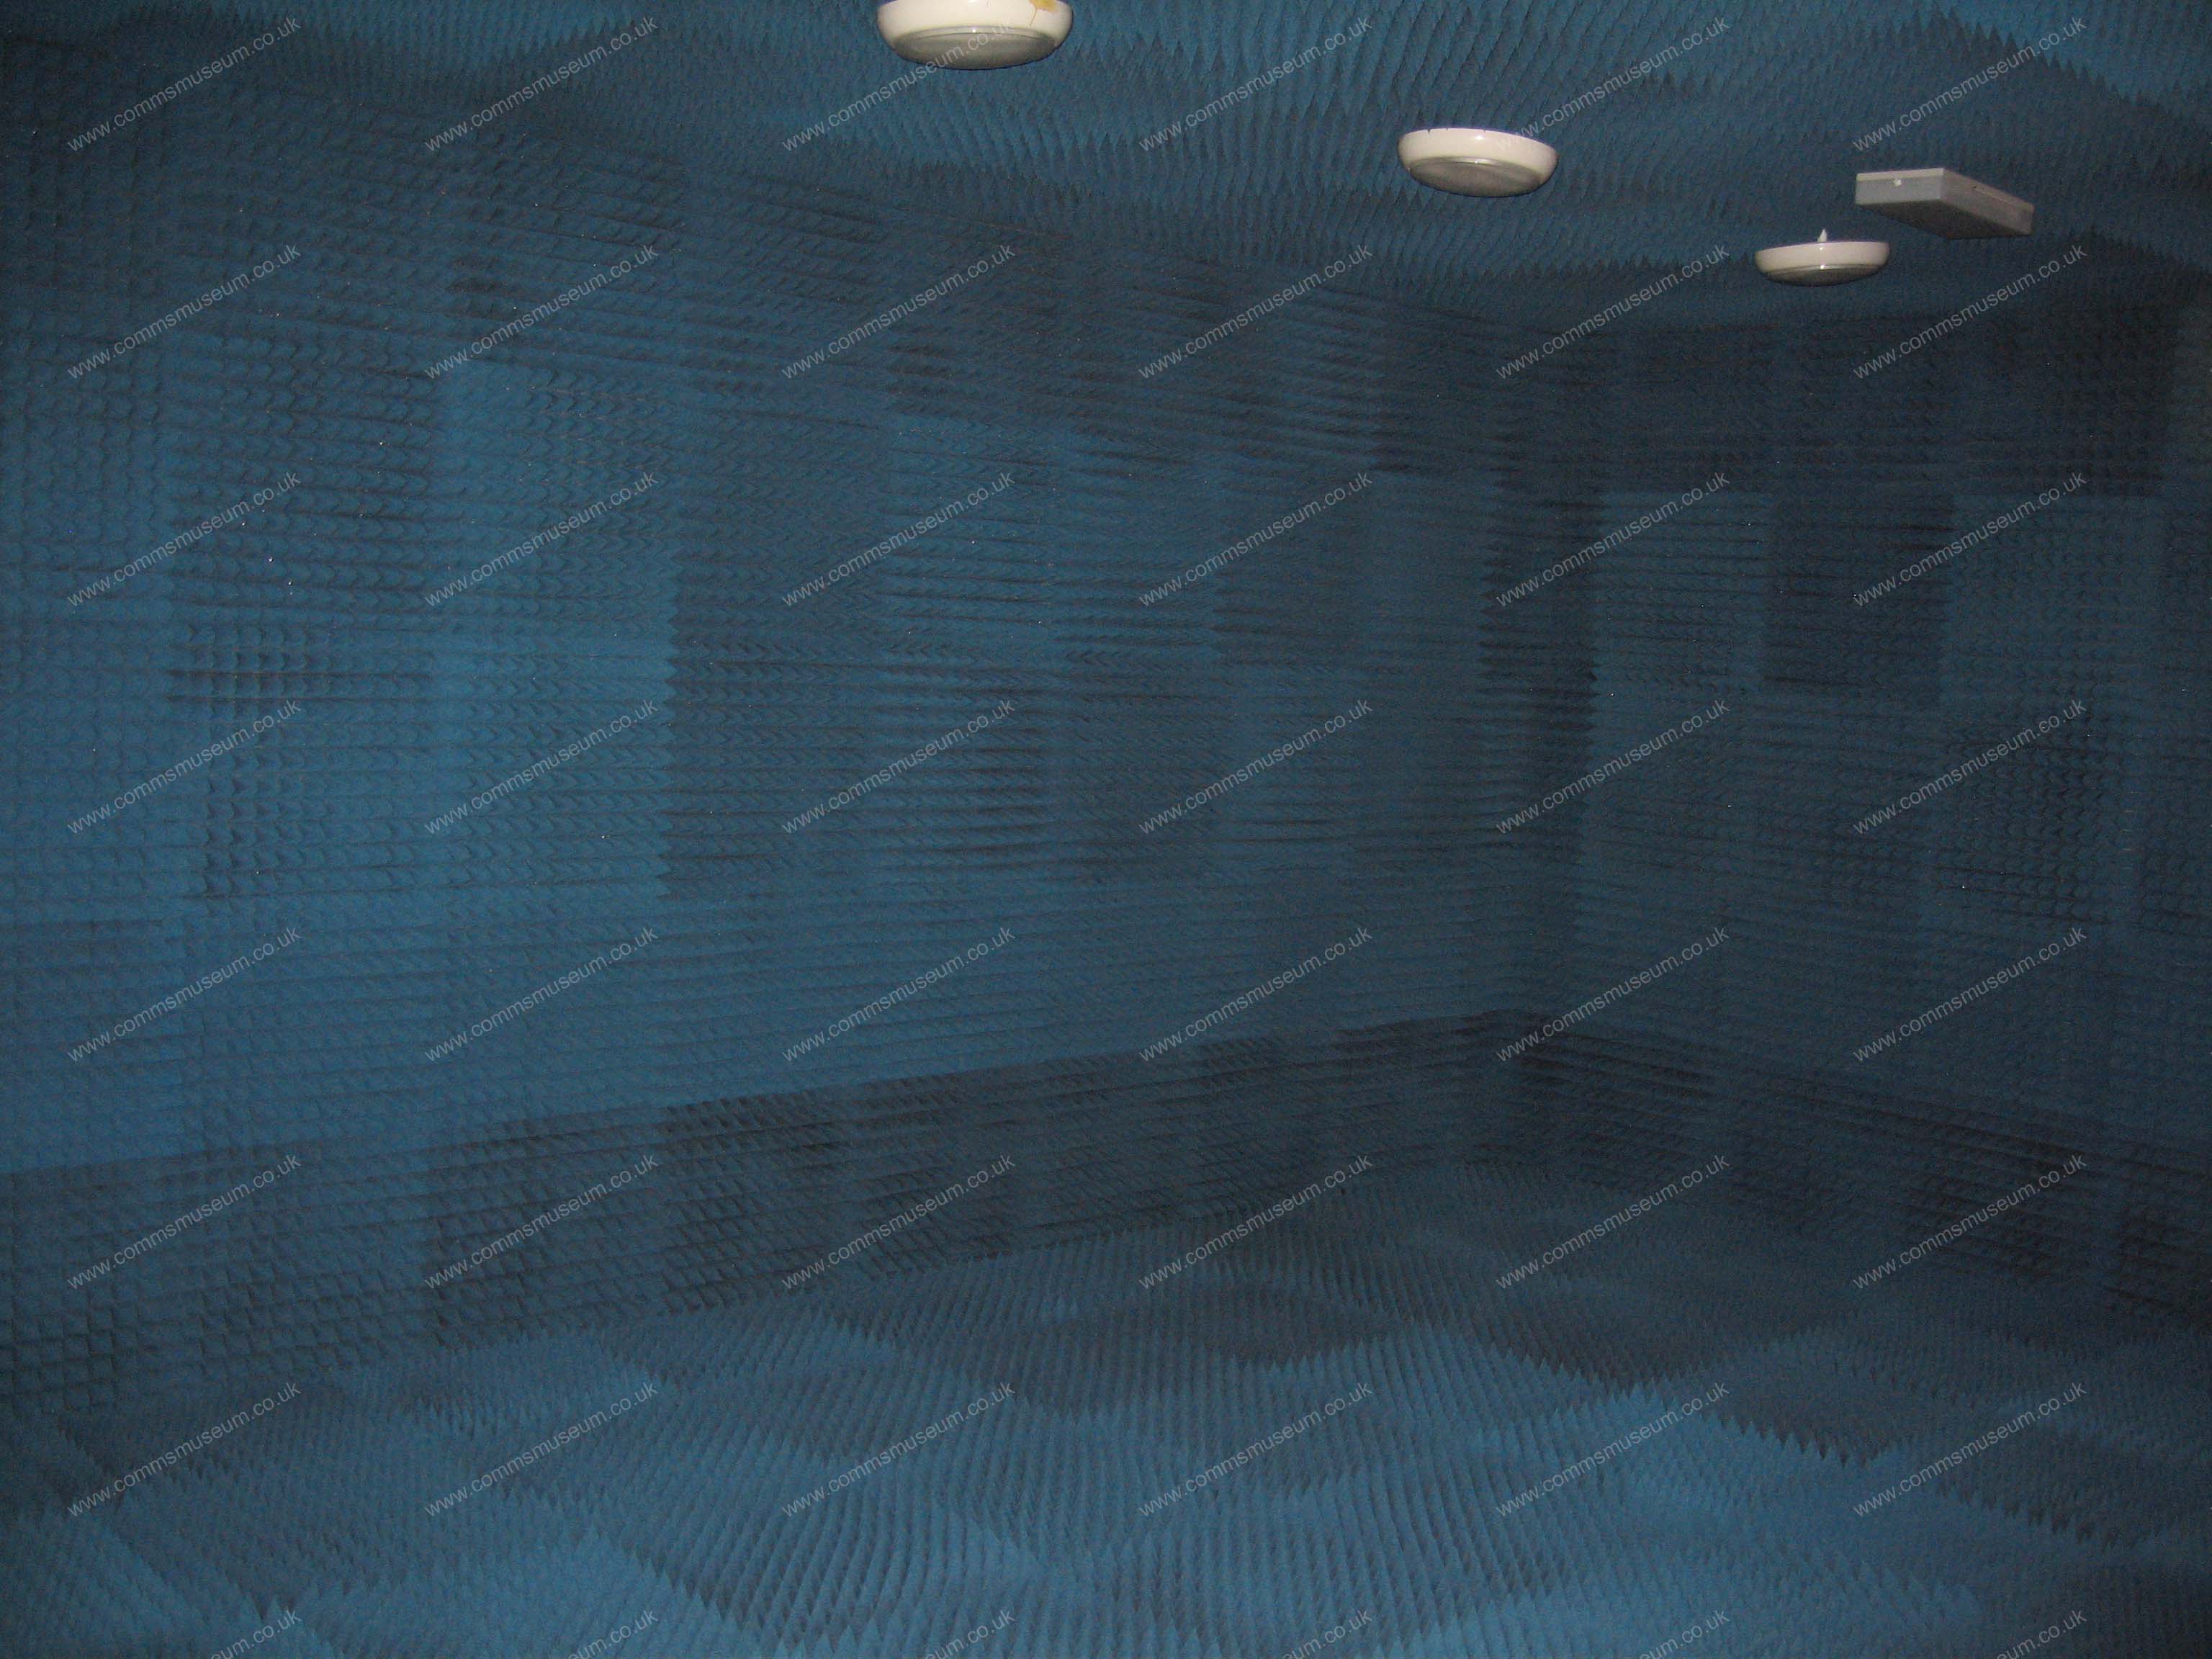
Stores - Anechoic Chamber |
Stores - Workshop |
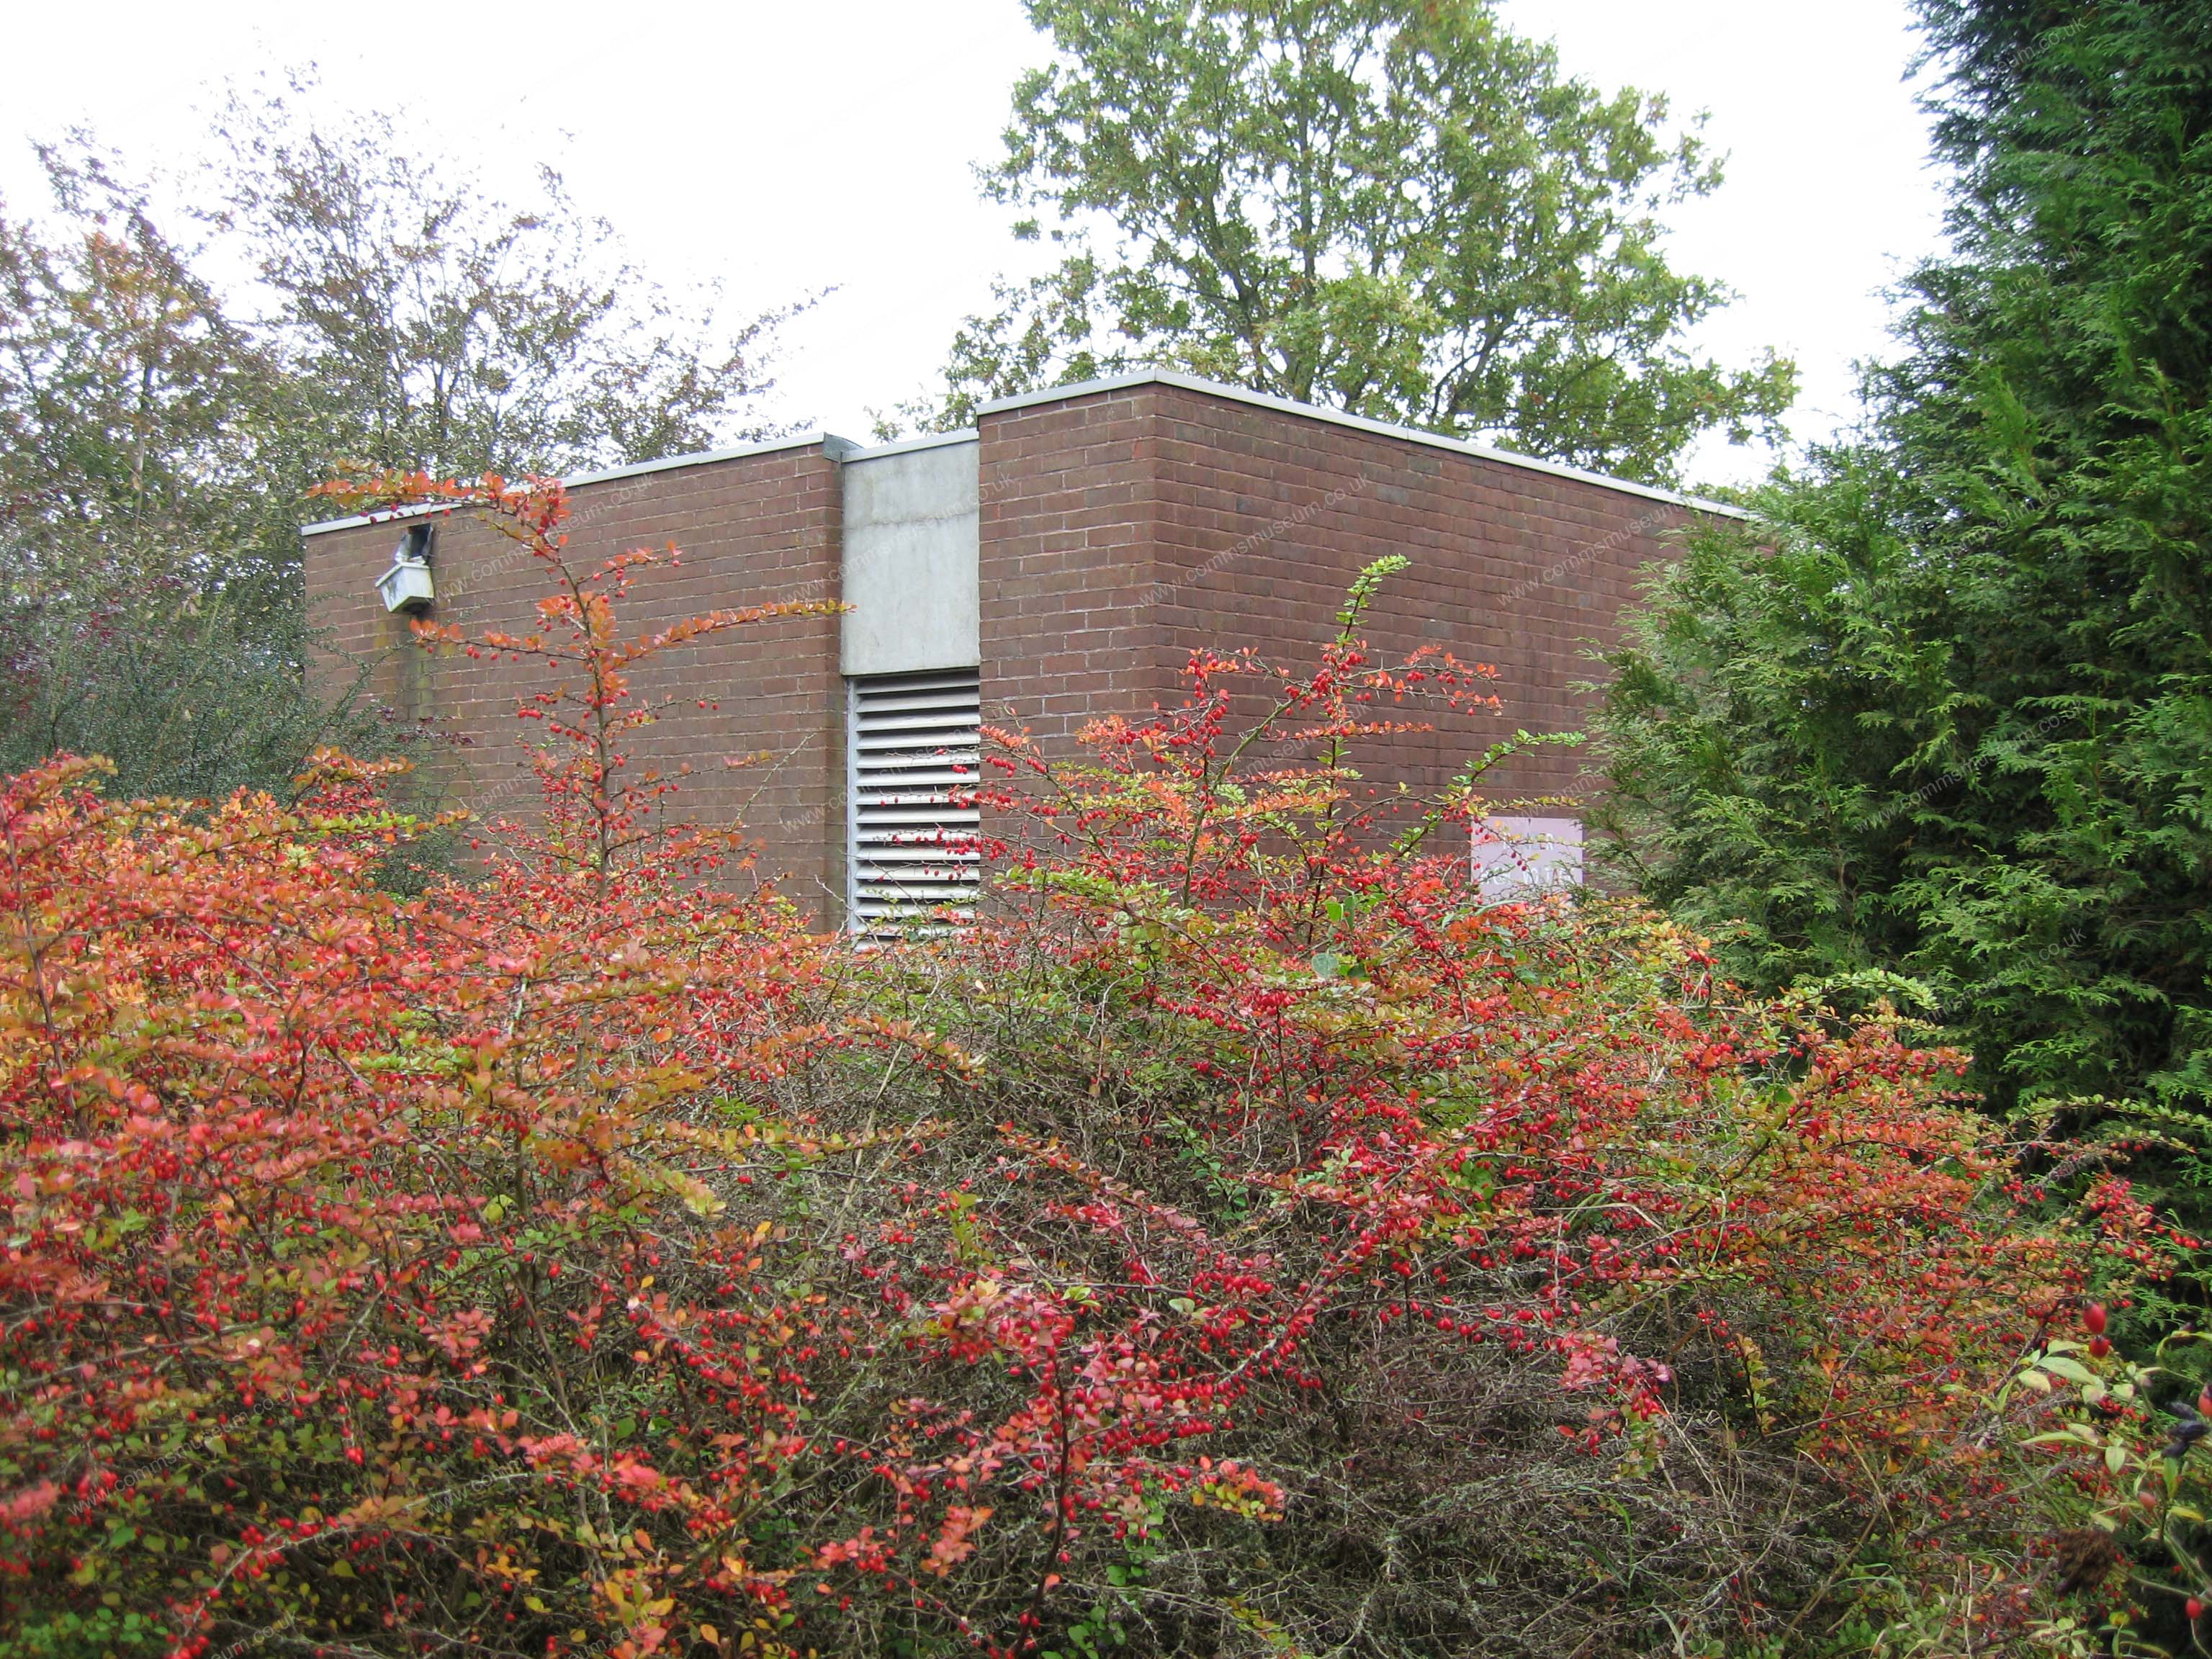
Sub Station |
|
Wardroom |
Wardroom |
Wardroom |
Wardroom |